
Authorization
Send API credentials and reuse authorization from a collection or folder.
Open Authorization in a request and choose the scheme specified by the endpoint. Use Inherit from parent to reuse a folder or collection configuration. Set the request to No auth when it needs to call a public endpoint in an authenticated collection.
Choose a scheme
| Scheme | Values to provide |
|---|---|
| Bearer token | The token, sent as Authorization: Bearer <token>. Change Prefix if the API expects another word, or clear it to send the token alone. |
| Basic auth | A username and password, sent as Authorization: Basic <base64>. |
| API key | Key is the header or parameter name, such as X-API-Key. Add to puts it in a header or in the query parameters. |
| OAuth 2.0 | The grant, the provider’s addresses, and the client credentials. Schemo fetches the token. See Let Schemo fetch an OAuth token. |
| JWT Bearer | The signing algorithm, the secret or key, and the claims. Schemo signs a new token for each send. See Sign a JWT. |
| Digest auth | A username and password. Schemo answers the server’s challenge with MD5, SHA-256, or SHA-512-256, whichever the server asks for. |
| AWS Signature | Access Key ID, Secret Access Key, Region, and Service. Schemo signs the request with Signature Version 4. Add a Session Token when the keys come from AWS STS. |
Any field accepts template variables, so a key or secret can stay in an environment instead of in the request.
Try an API key
- Start the Catalog API and send
GET http://127.0.0.1:8787/account. The server returns 401 Unauthorized. - In Authorization, choose API key. Set the name to
X-API-Key, entercatalog-demoas the value, and send it as a header. - Resend the request. The server returns 200 OK and the demo account’s role.
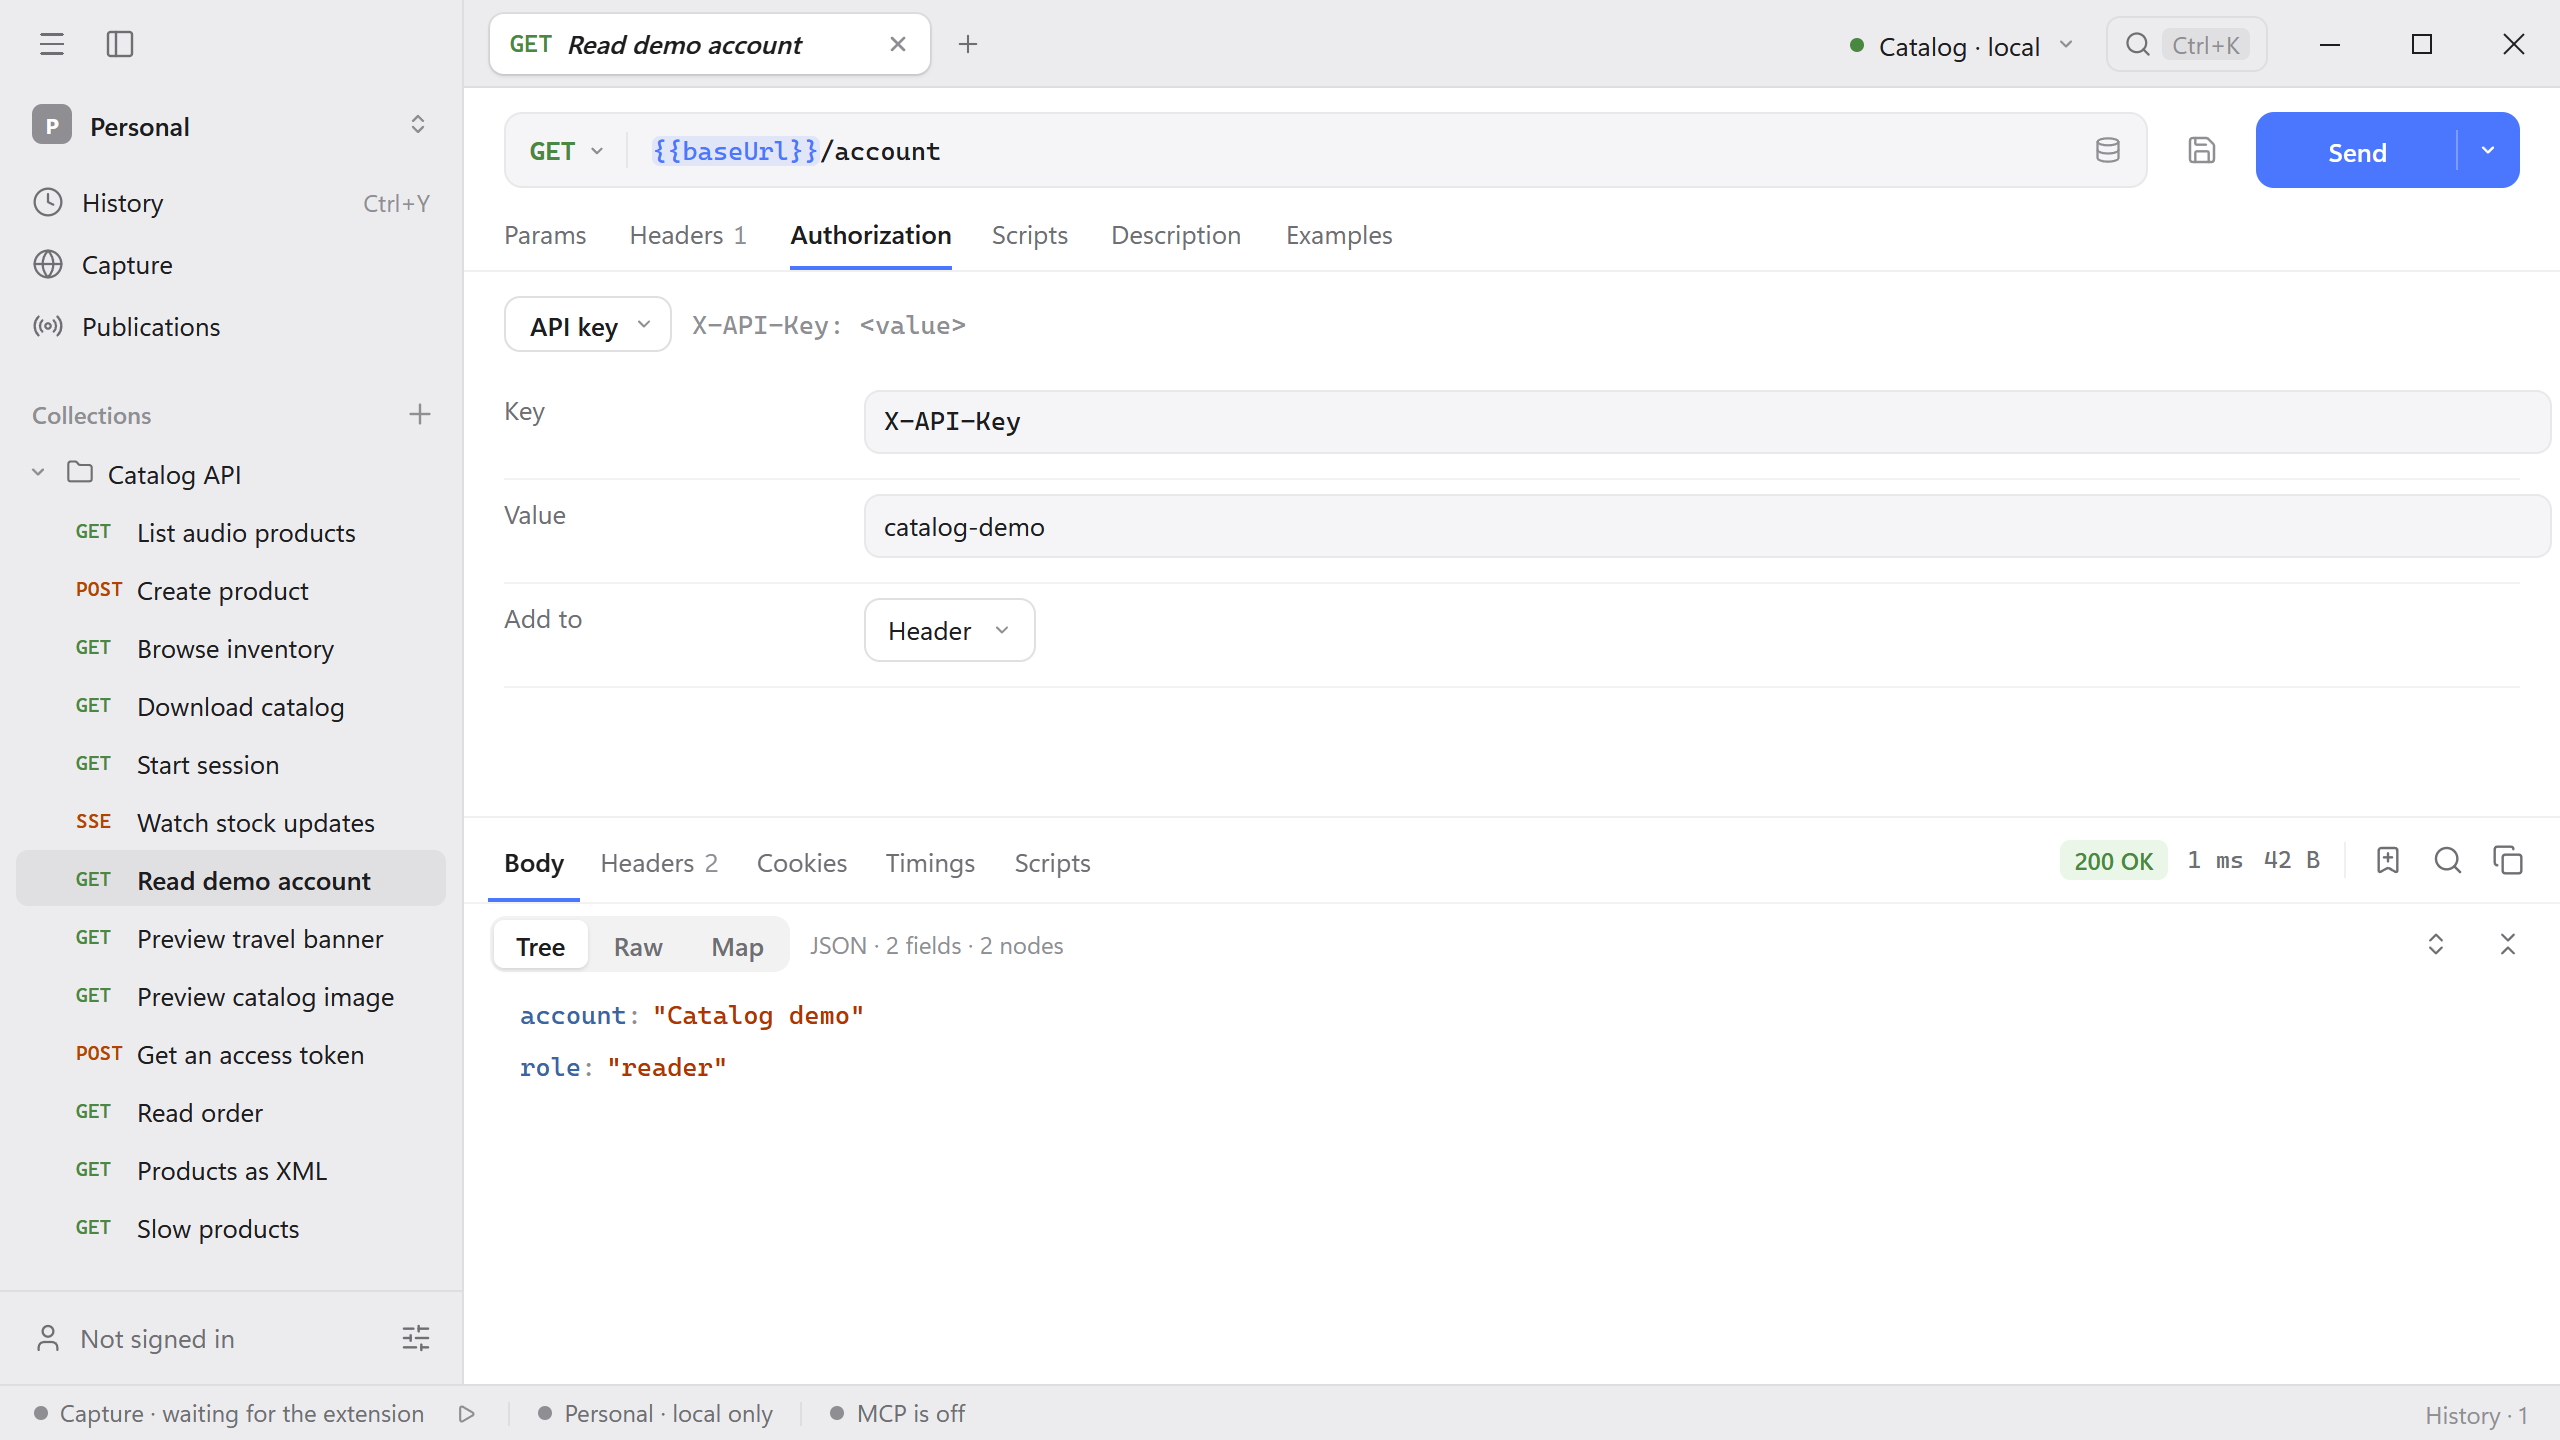
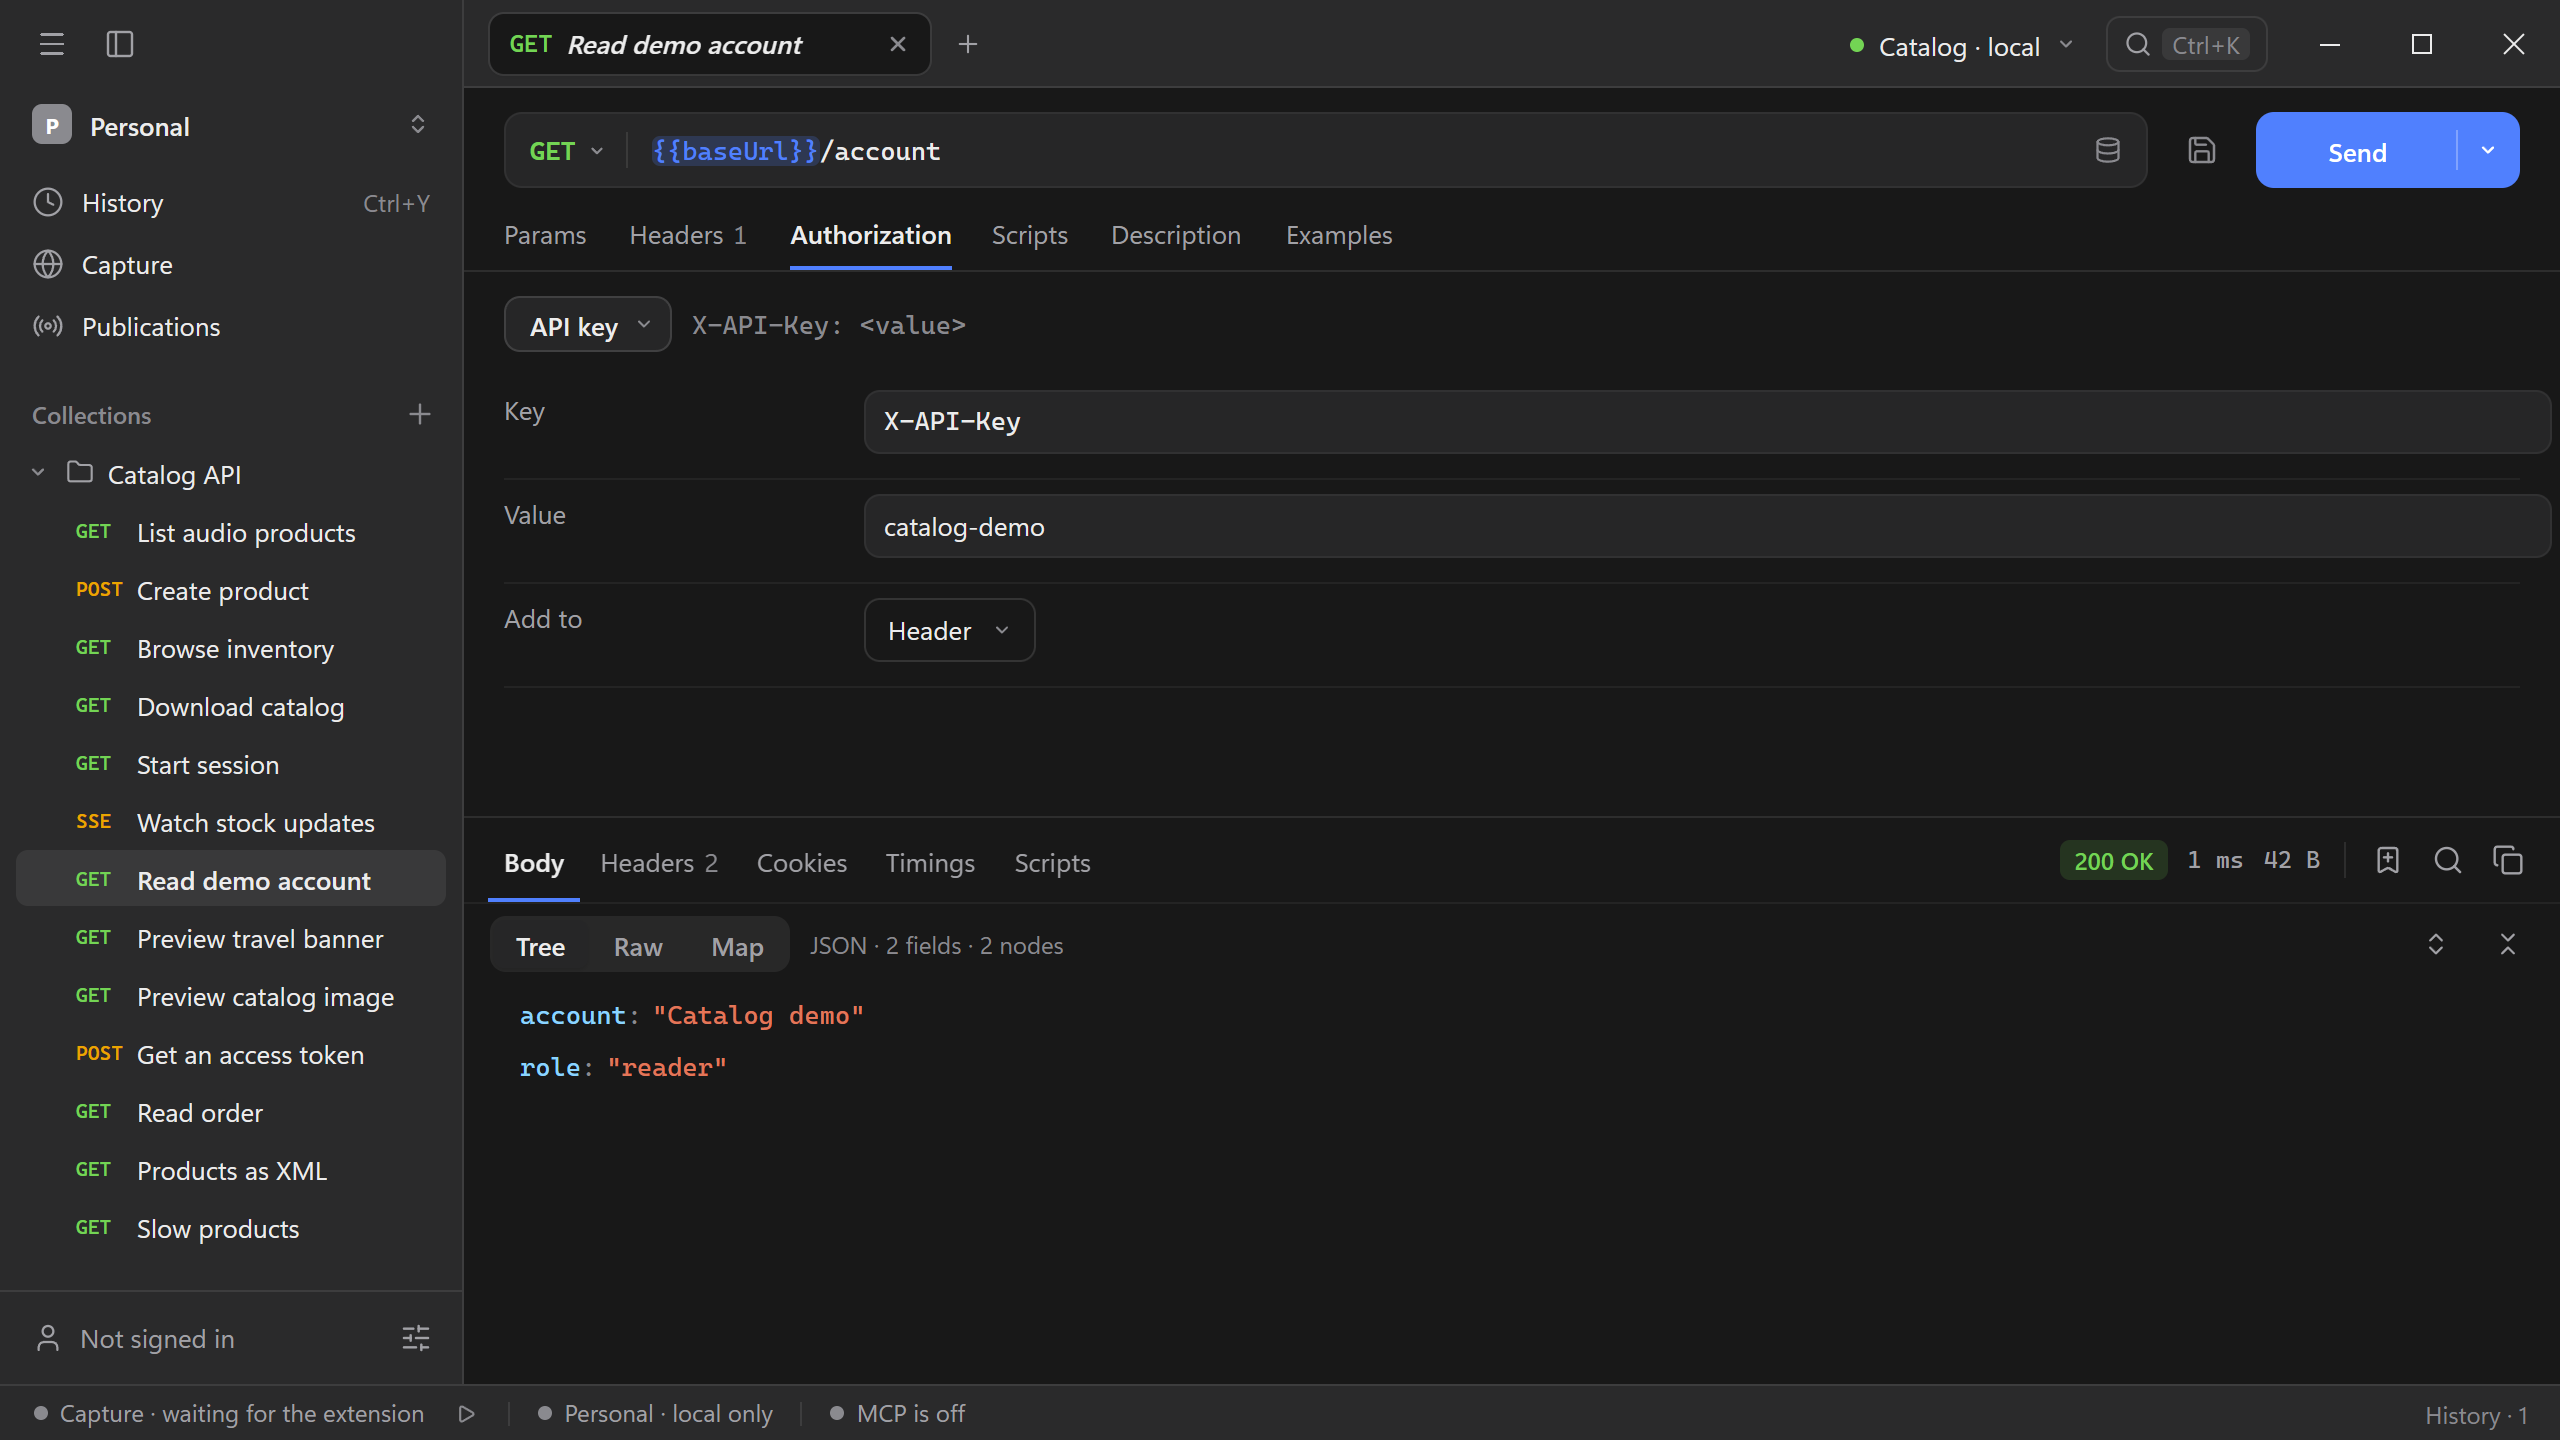
In a saved request, replace the example value with a variable reference if you want the key to follow the active environment.
OAuth 2.0
With OAuth 2.0, Schemo asks the provider for a token before the first send and reuses it until it expires. The fields change with Grant Type:
| Grant Type | What Schemo does |
|---|---|
| Client Credentials | Posts the client ID and secret to Token URL. Use it for server-to-server access. |
| Password Credentials | Posts the client credentials with a user’s Username and Password. |
| Authorization Code | Opens Authorization URL in your browser, waits for you to sign in, and exchanges the returned code at Token URL. |
| Implicit | Opens Authorization URL in your browser and takes the token straight from the redirect. |
The remaining fields apply to every grant:
- Client Authentication: Basic header sends the client ID and secret in an
Authorizationheader. In the request body sends them as form fields. Choose the one your provider documents. - Scope: the scopes to request, separated by spaces, such as
openid profile. - Audience: sent as the
audienceparameter for providers that issue tokens for a named API. Leave it empty otherwise. - Add token to: Header sends
Authorization: <prefix> <token>, with Header Prefix set toBearerby default. Query parameters addsaccess_token=<token>to the address.
Catalog example
- Start the Catalog API and select the Catalog · local environment.
- Create
GET {{baseUrl}}/orders/o-3207. In Authorization, choose OAuth 2.0. - Keep Client Credentials. Set Token URL to
{{baseUrl}}/token, Client ID tocatalog-docs, Client Secret tocatalog-secret, and Scope toorders:read. - Select Get a token. The panel under the fields shows Token good until and the expiry time.
- Send the request. The server accepts the token and returns 200 OK with the order.
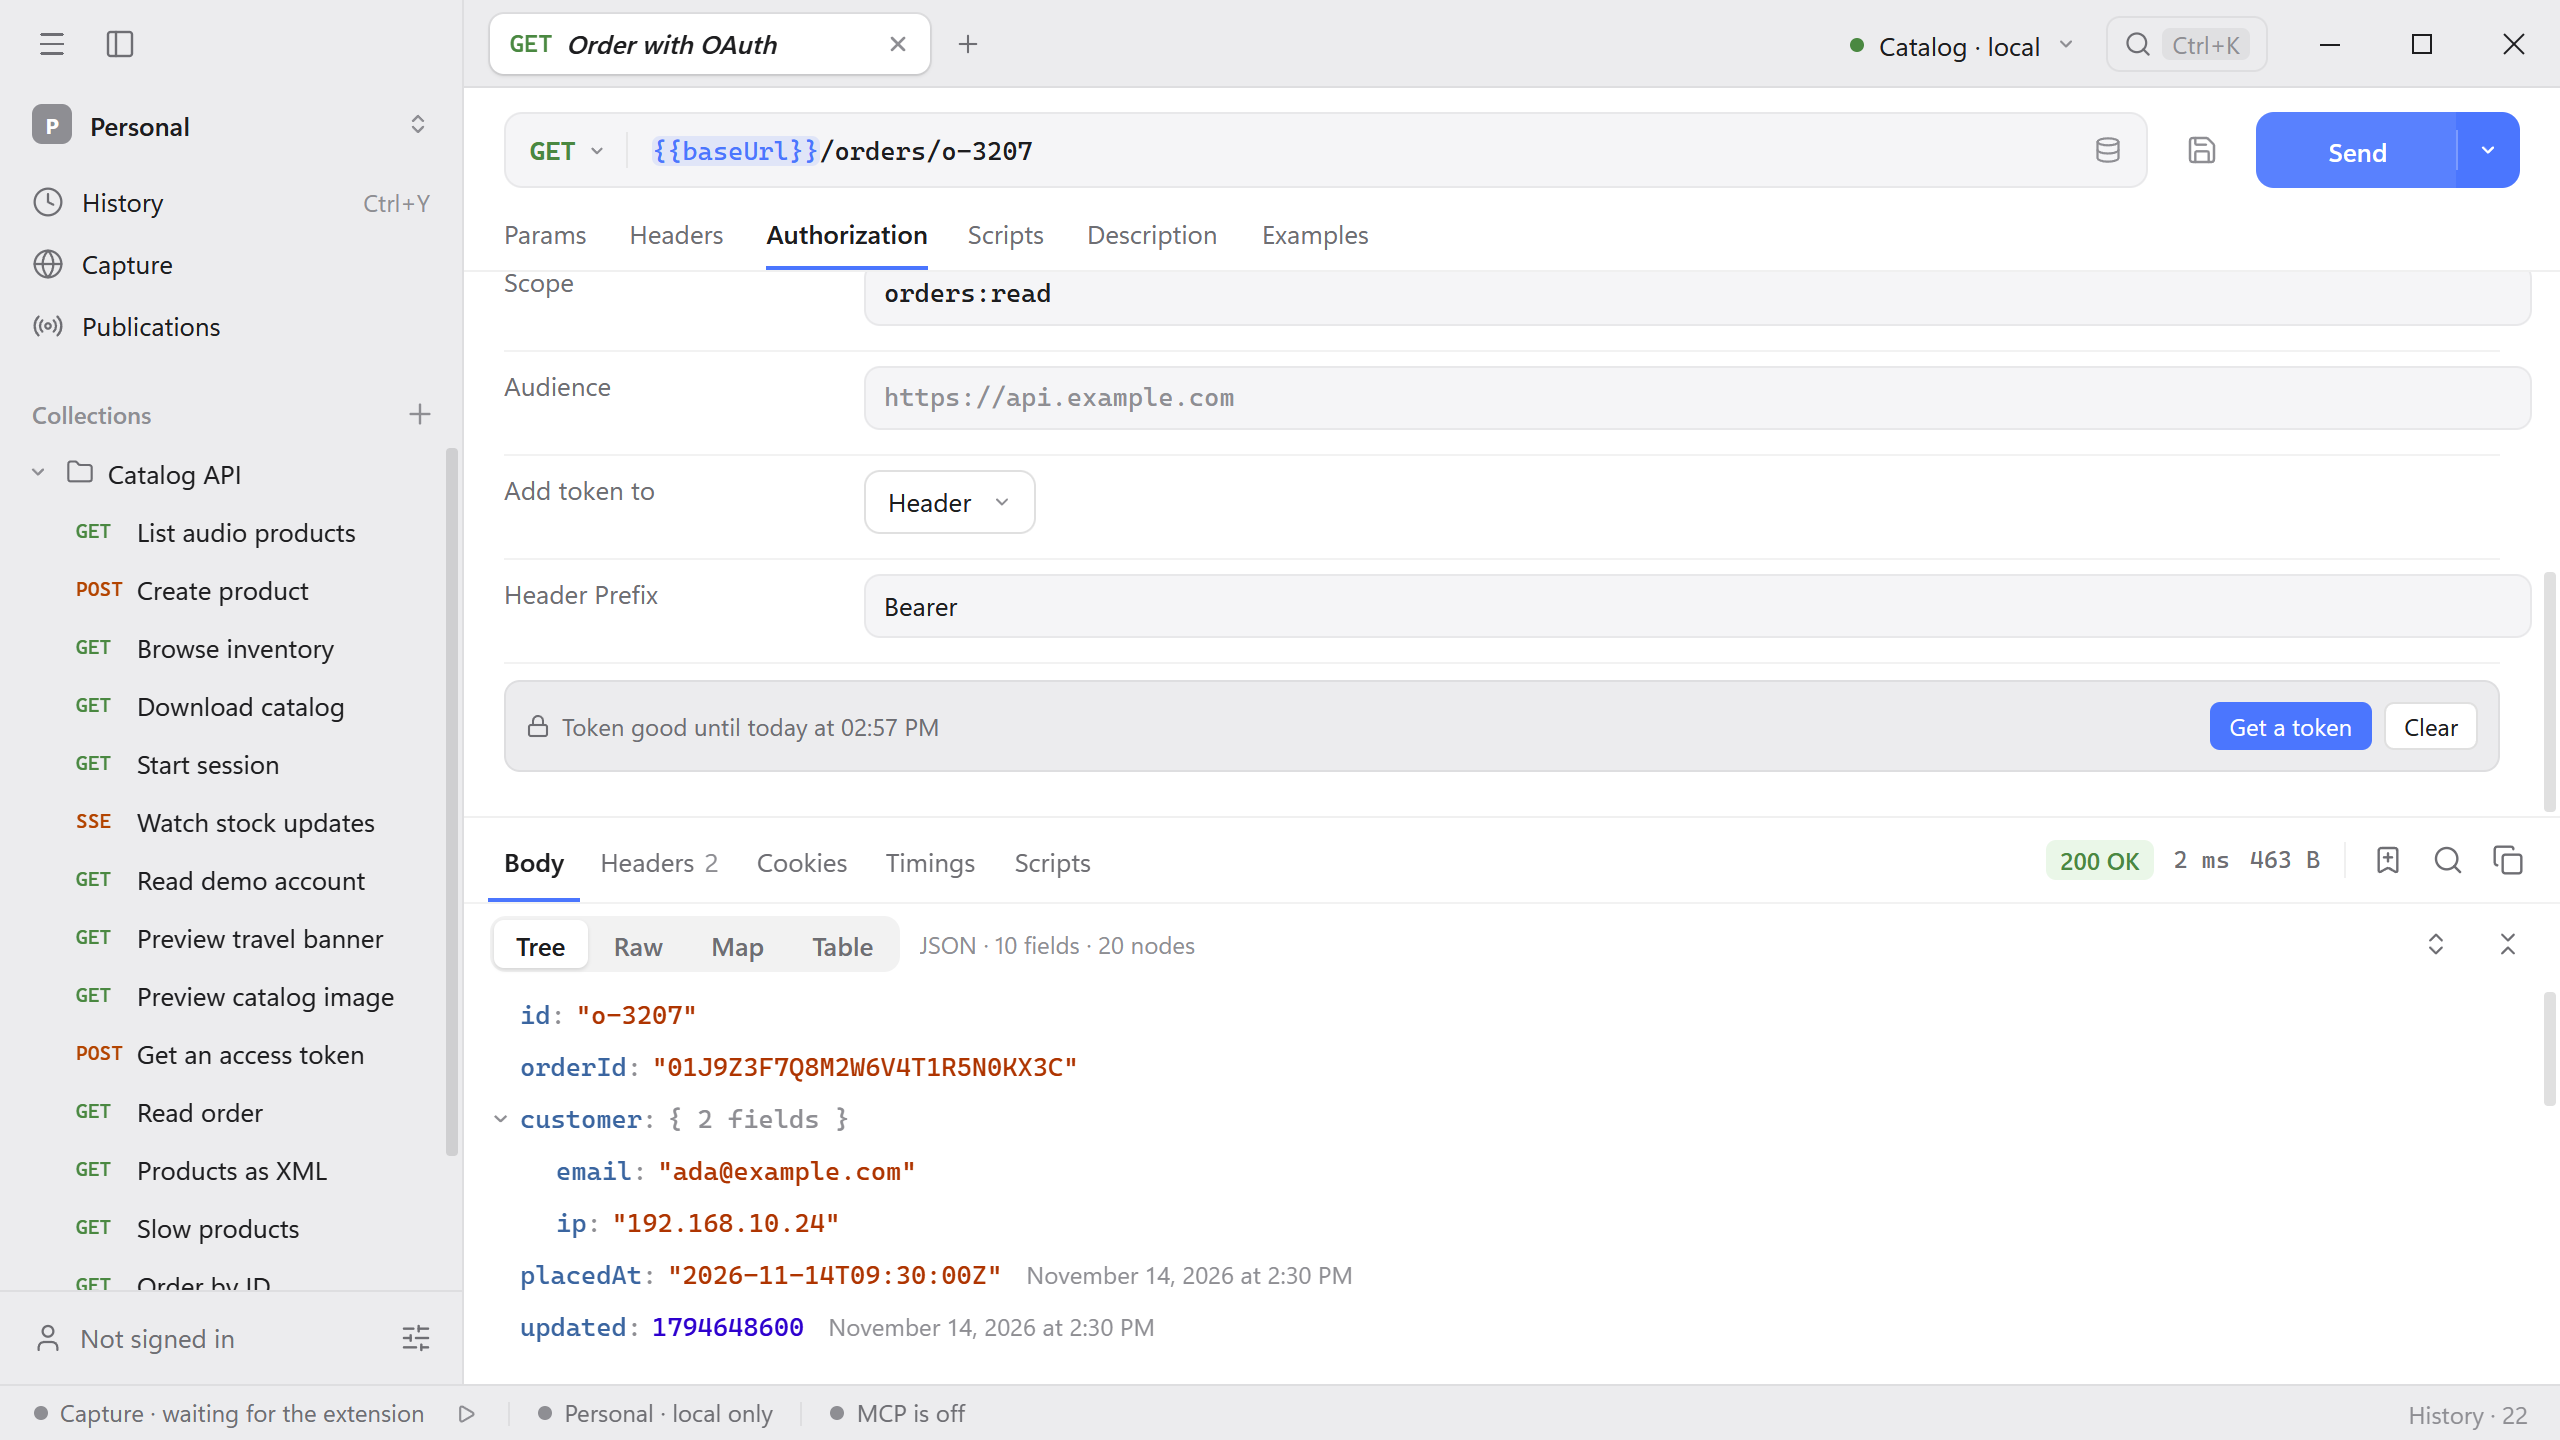
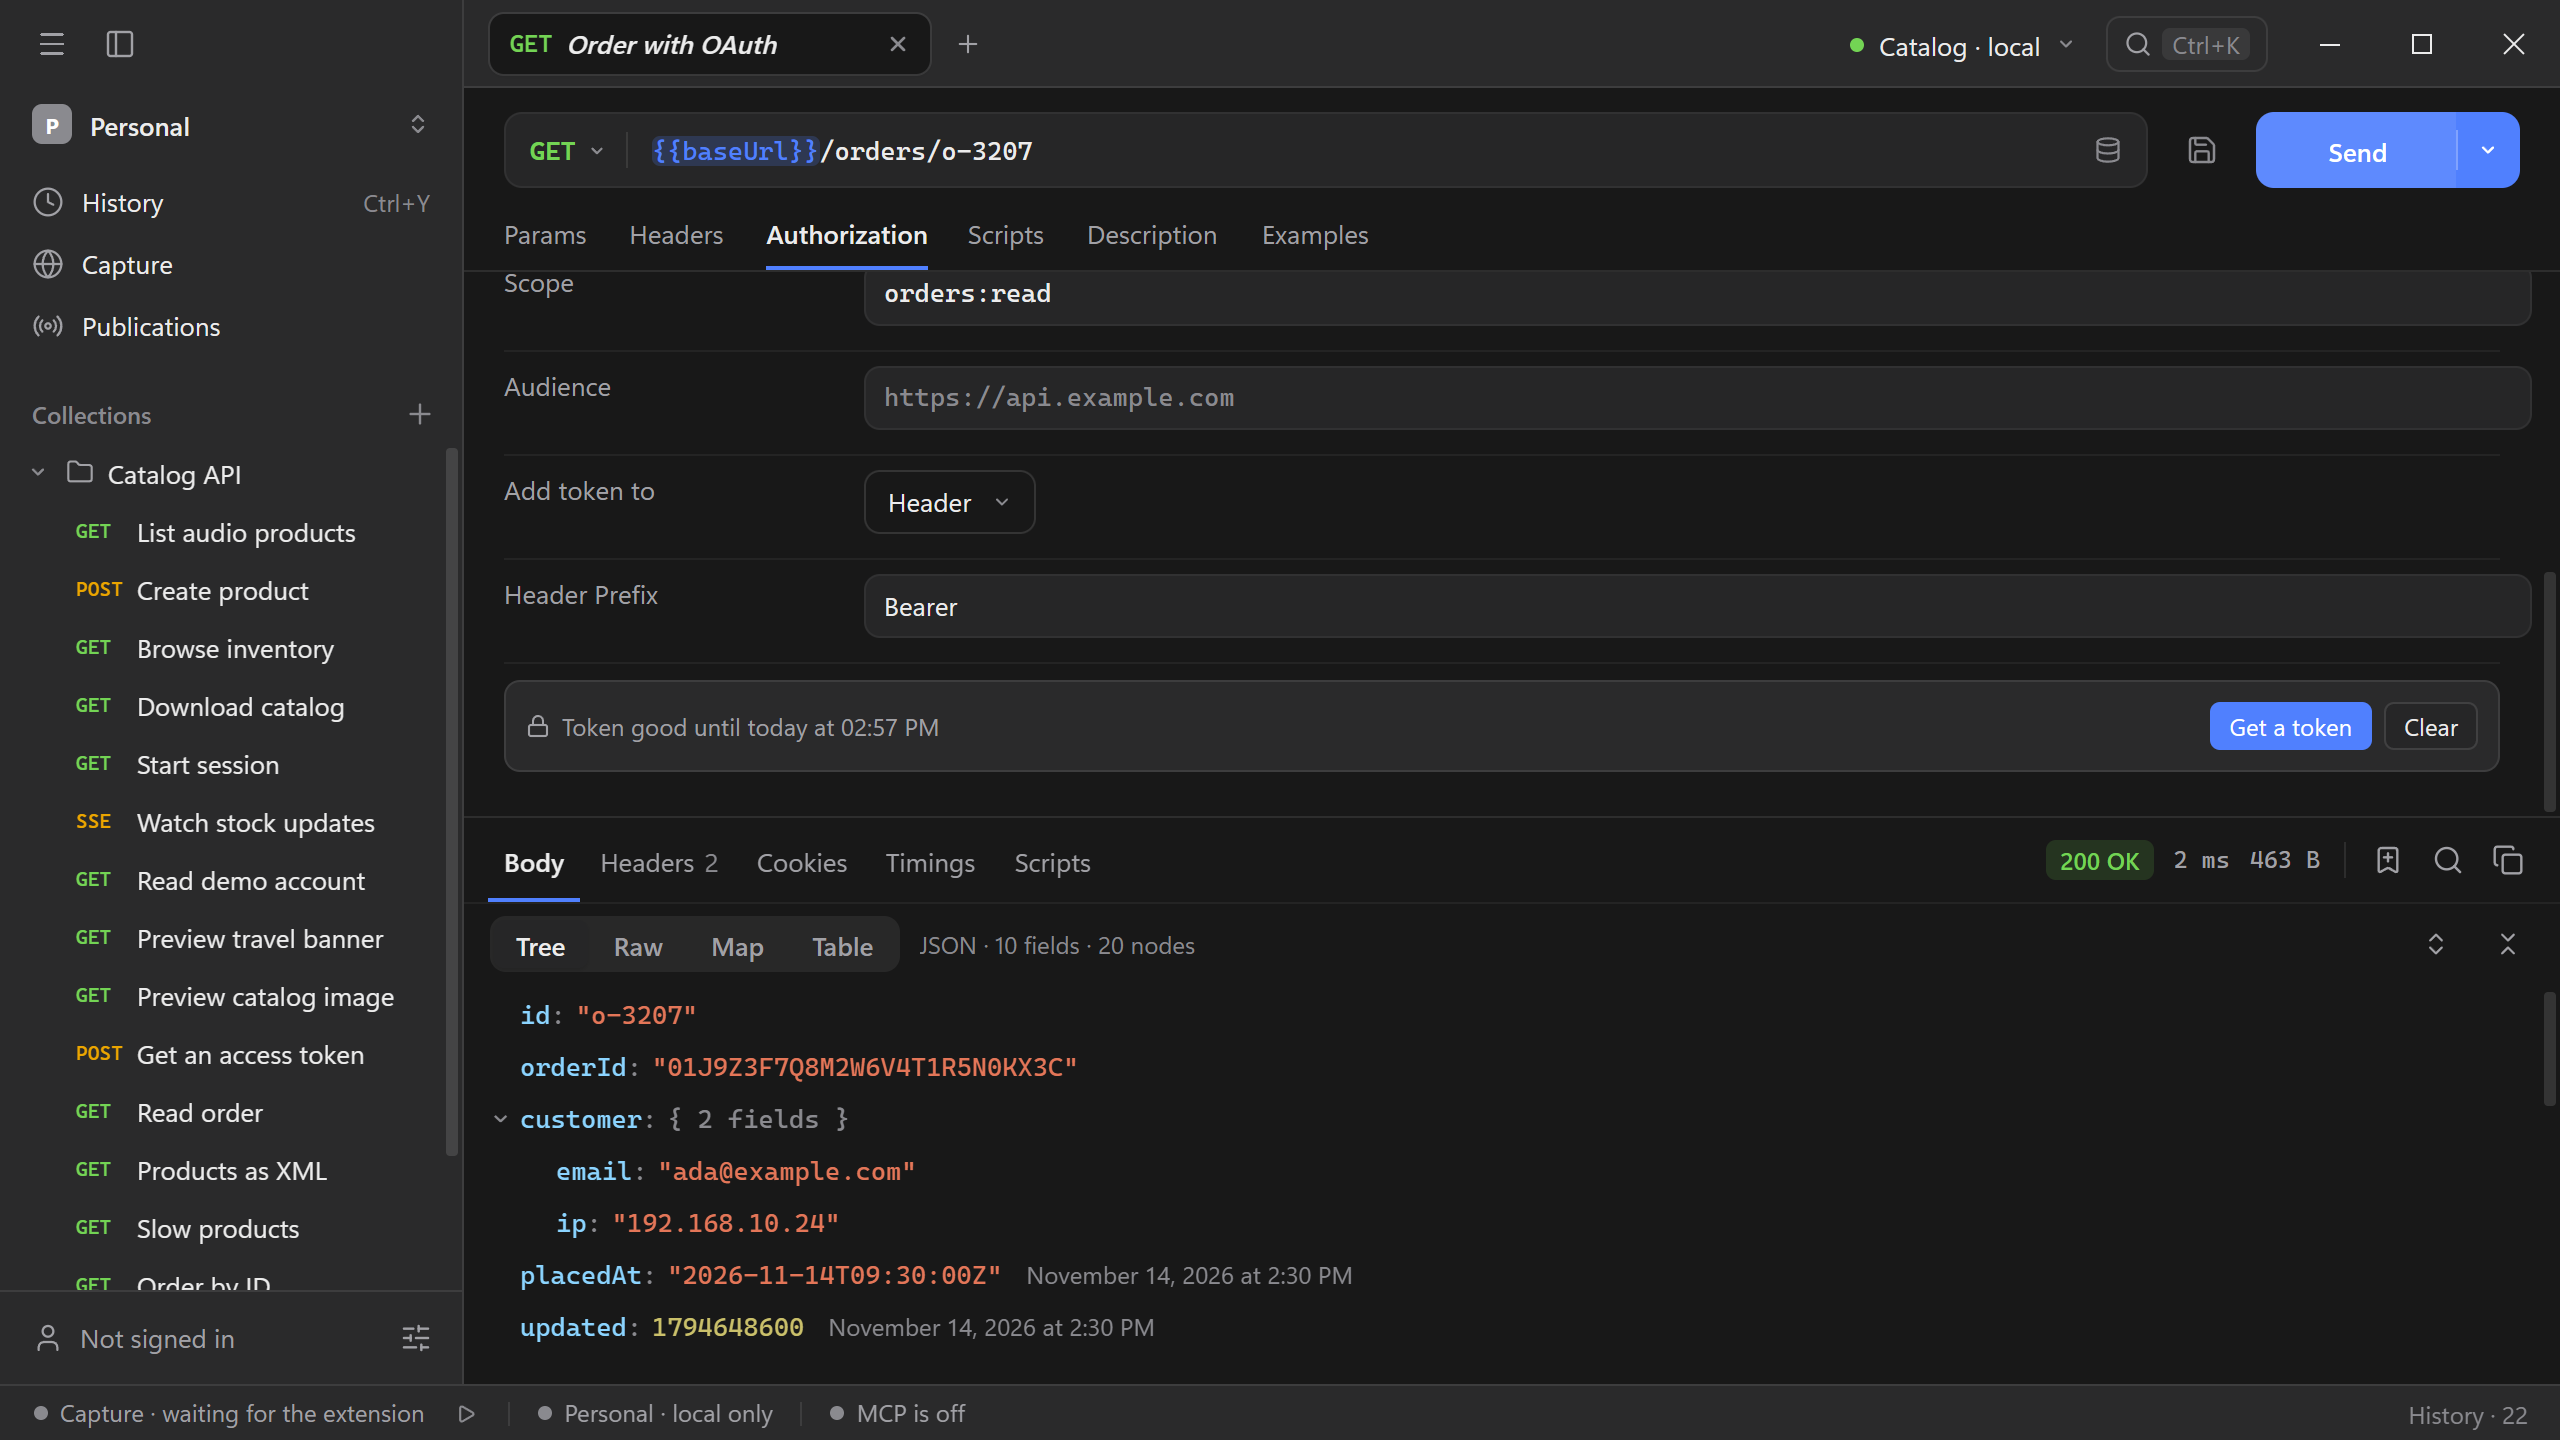
You can skip Get a token: a send fetches a token when none is held. Select Clear to drop the token so that the next send asks for a new one. Editing any authorization field also leads to a new token. Tokens stay in memory and are discarded when you quit Schemo.
Browser sign-in
Authorization Code and Implicit open the provider’s sign-in page in your default browser. Register this redirect address with the provider:
http://127.0.0.1/callbackSchemo listens on a random free port, so the provider must accept any port for a loopback address. This is the usual rule for desktop apps (RFC 8252). The code grant also uses PKCE. After you sign in, the browser shows a page you can close. Schemo waits up to five minutes for you to finish.
Sign a JWT
JWT Bearer creates and signs a token on your computer, then sends it like an OAuth token.
- Choose an Algorithm. HS256, HS384, and HS512 sign with a shared Secret. Set Secret Encoding to Base64 if the secret is given in that form. RS256, RS384, and RS512 sign with an RSA private key: paste the PEM key into Secret.
- Enter the claims as JSON in Payload (claims). Schemo adds
iatandexpat send time unless the claims already have them. - Set Expires In (seconds). It is
3600by default. Enter0for a token withoutexp. - Optionally edit JOSE Header. It accepts
kid,typ,cty,x5t,x5u, andjku. Thealgvalue always comes from Algorithm.
Select a JWT in a response to read its header and claims in the Node inspector.
Shared credentials
- In the collection or folder, open its authorization settings and enter the scheme and fields.
- In each child request, choose Inherit from parent. A child can also select its own scheme.
- To use different credentials per API instance, enter variable references in the authorization fields and choose the intended environment before sending.
See Collections and environments to create a variable and Local data and credentials for storage and exports.