
Workspaces
Keep collections and environments grouped by project or team.
A workspace is the context for the collections and environments you see in the sidebar and use when sending requests. Use one workspace for related APIs or for a team that shares those requests.
Choose where to work
Open the workspace menu above the sidebar and select a workspace. Create another workspace from that menu when you want a separate set of collections and environments.
When recording or importing a request, check which workspace is active and choose the collection where it belongs. Use the title-bar environment menu to switch the active environment in that workspace.
Team workspaces
Use Personal for requests and environments you manage yourself. Use Team to share a workspace through Schemo Cloud. Creating a team workspace requires sign-in and a plan that includes shared workspaces.
- Open the workspace menu and choose New workspace….
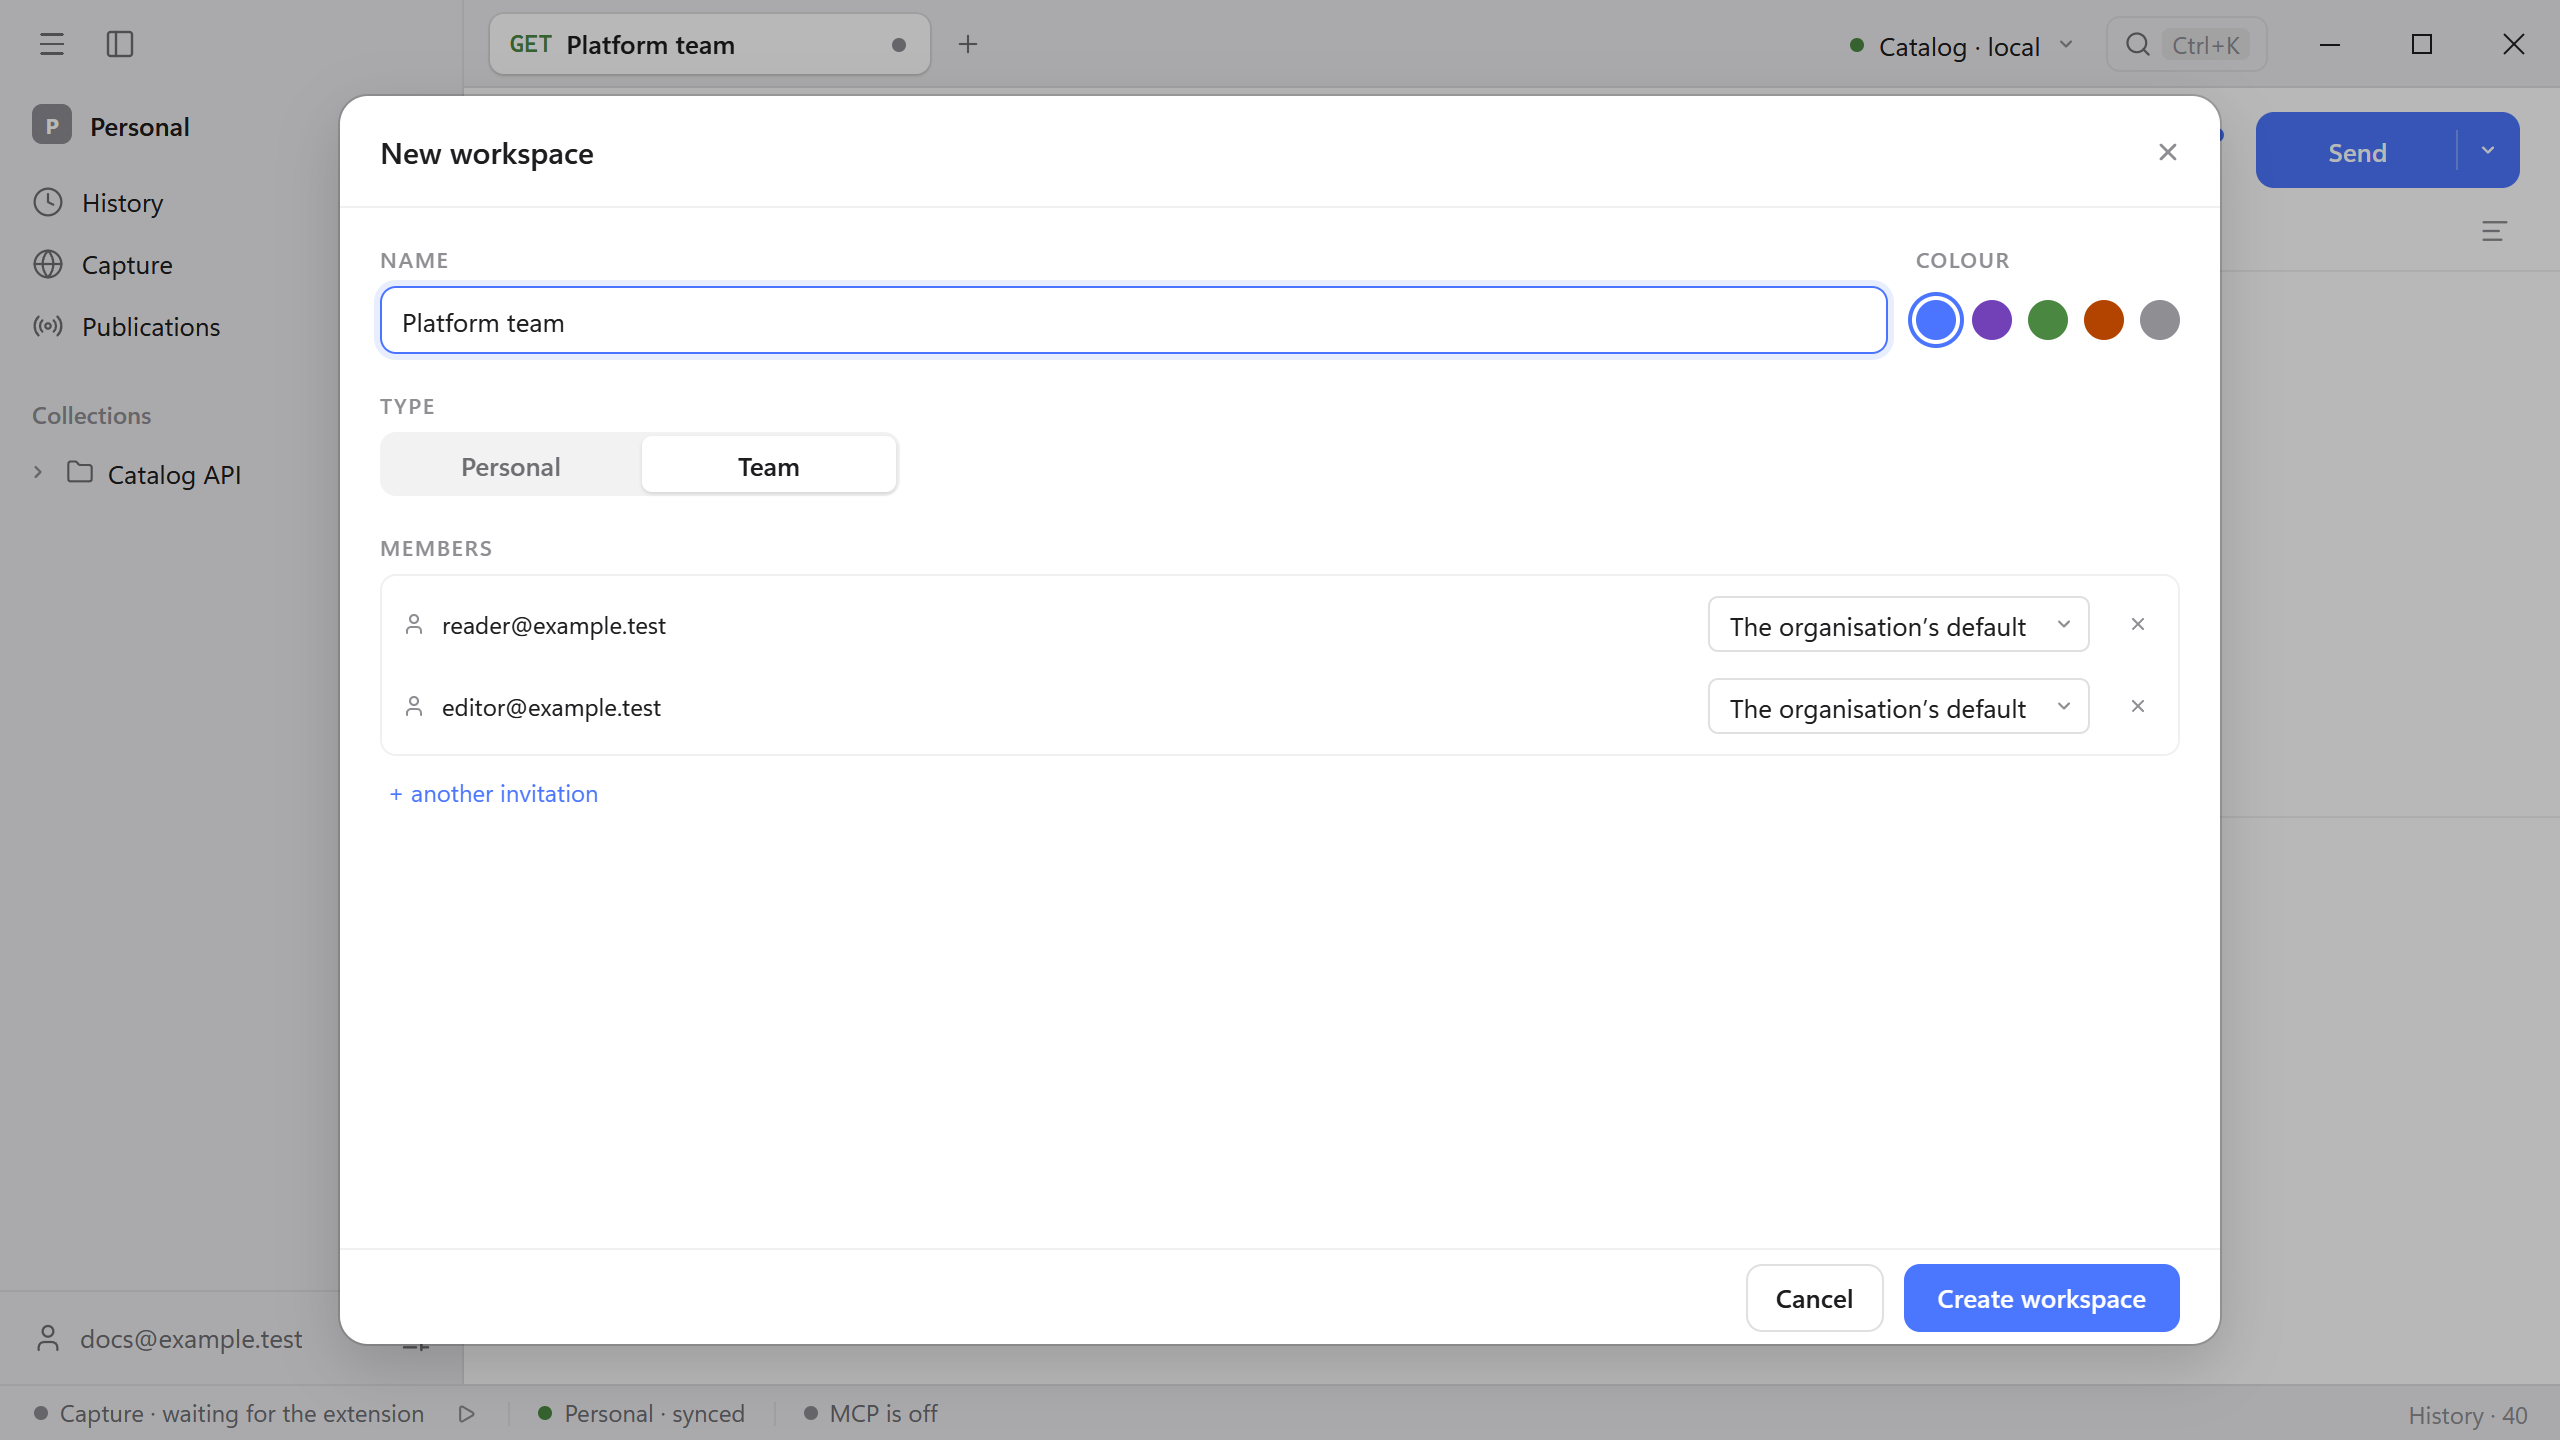
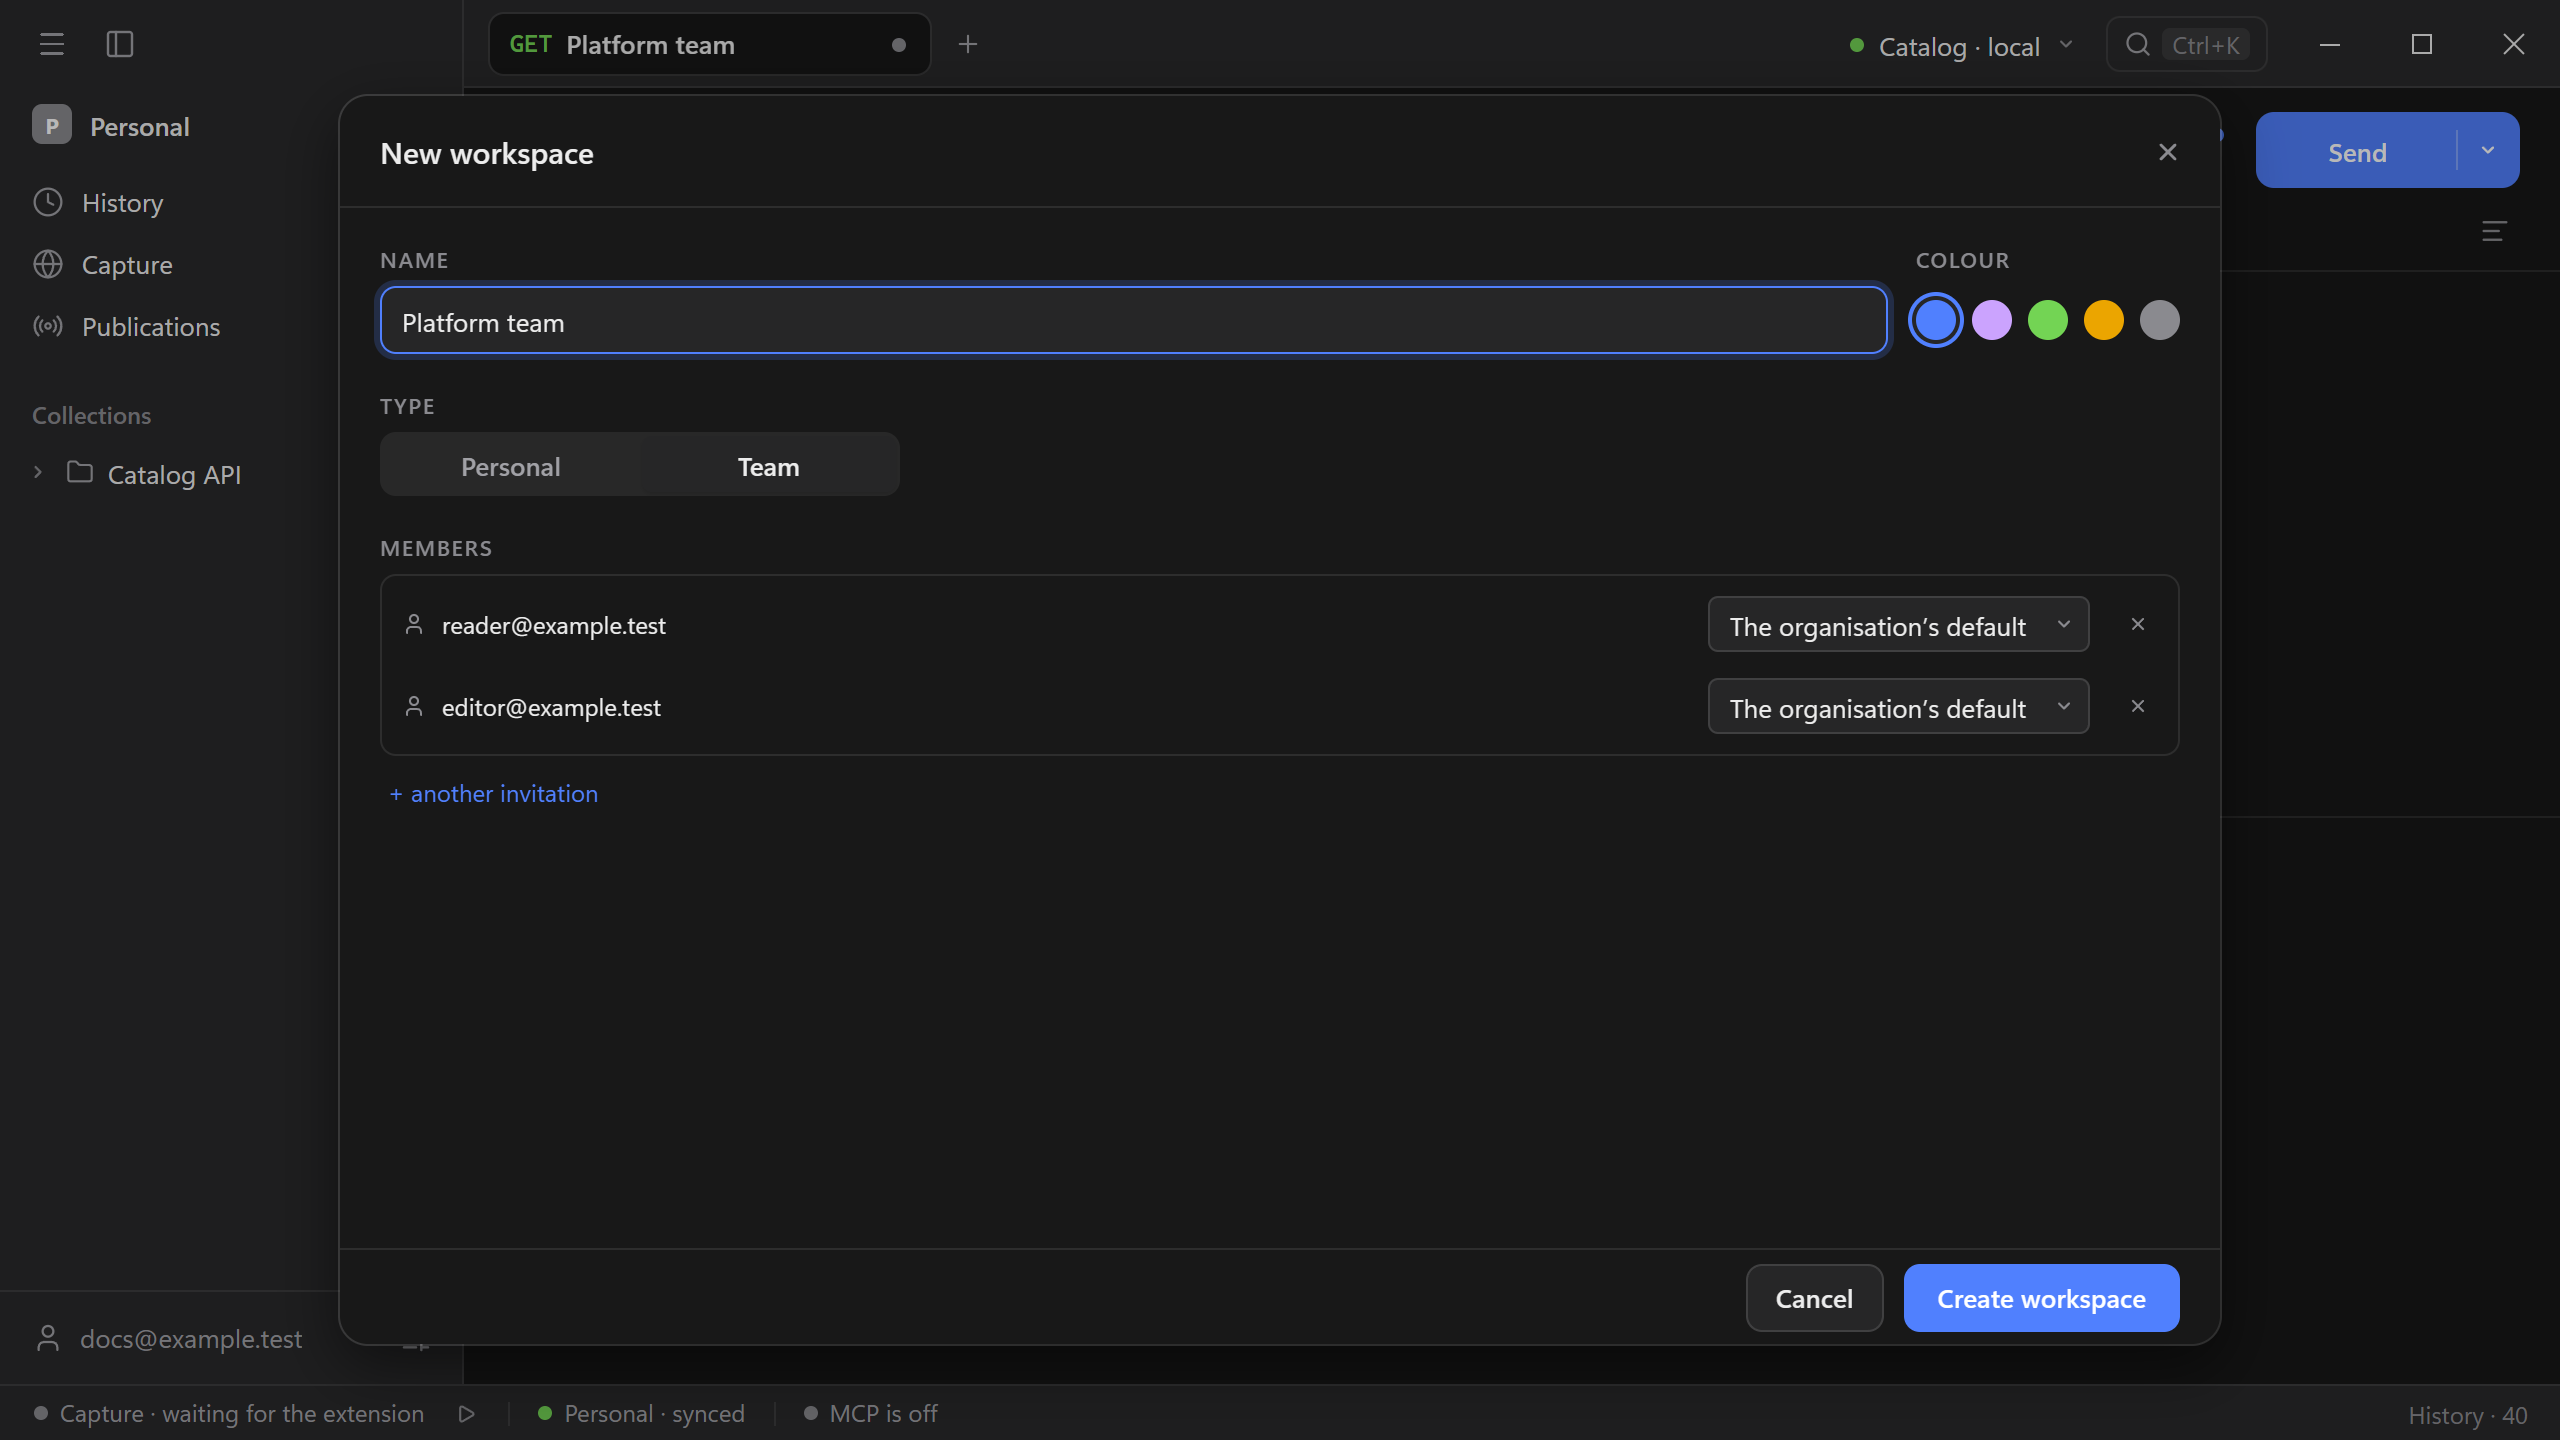
- Enter a name, pick a colour, and choose Team.
- Under Members, add an invitation row. Enter an email and choose a role, or use the organisation’s default. Add more rows for additional people.
- Select Create workspace. Schemo creates the workspace and sends the invitations.
Manage invitations
Open the workspace menu, choose Manage…, and select the team workspace. Your role shows which changes you can make. In Members, you can see who has joined and which invitations still await a response.
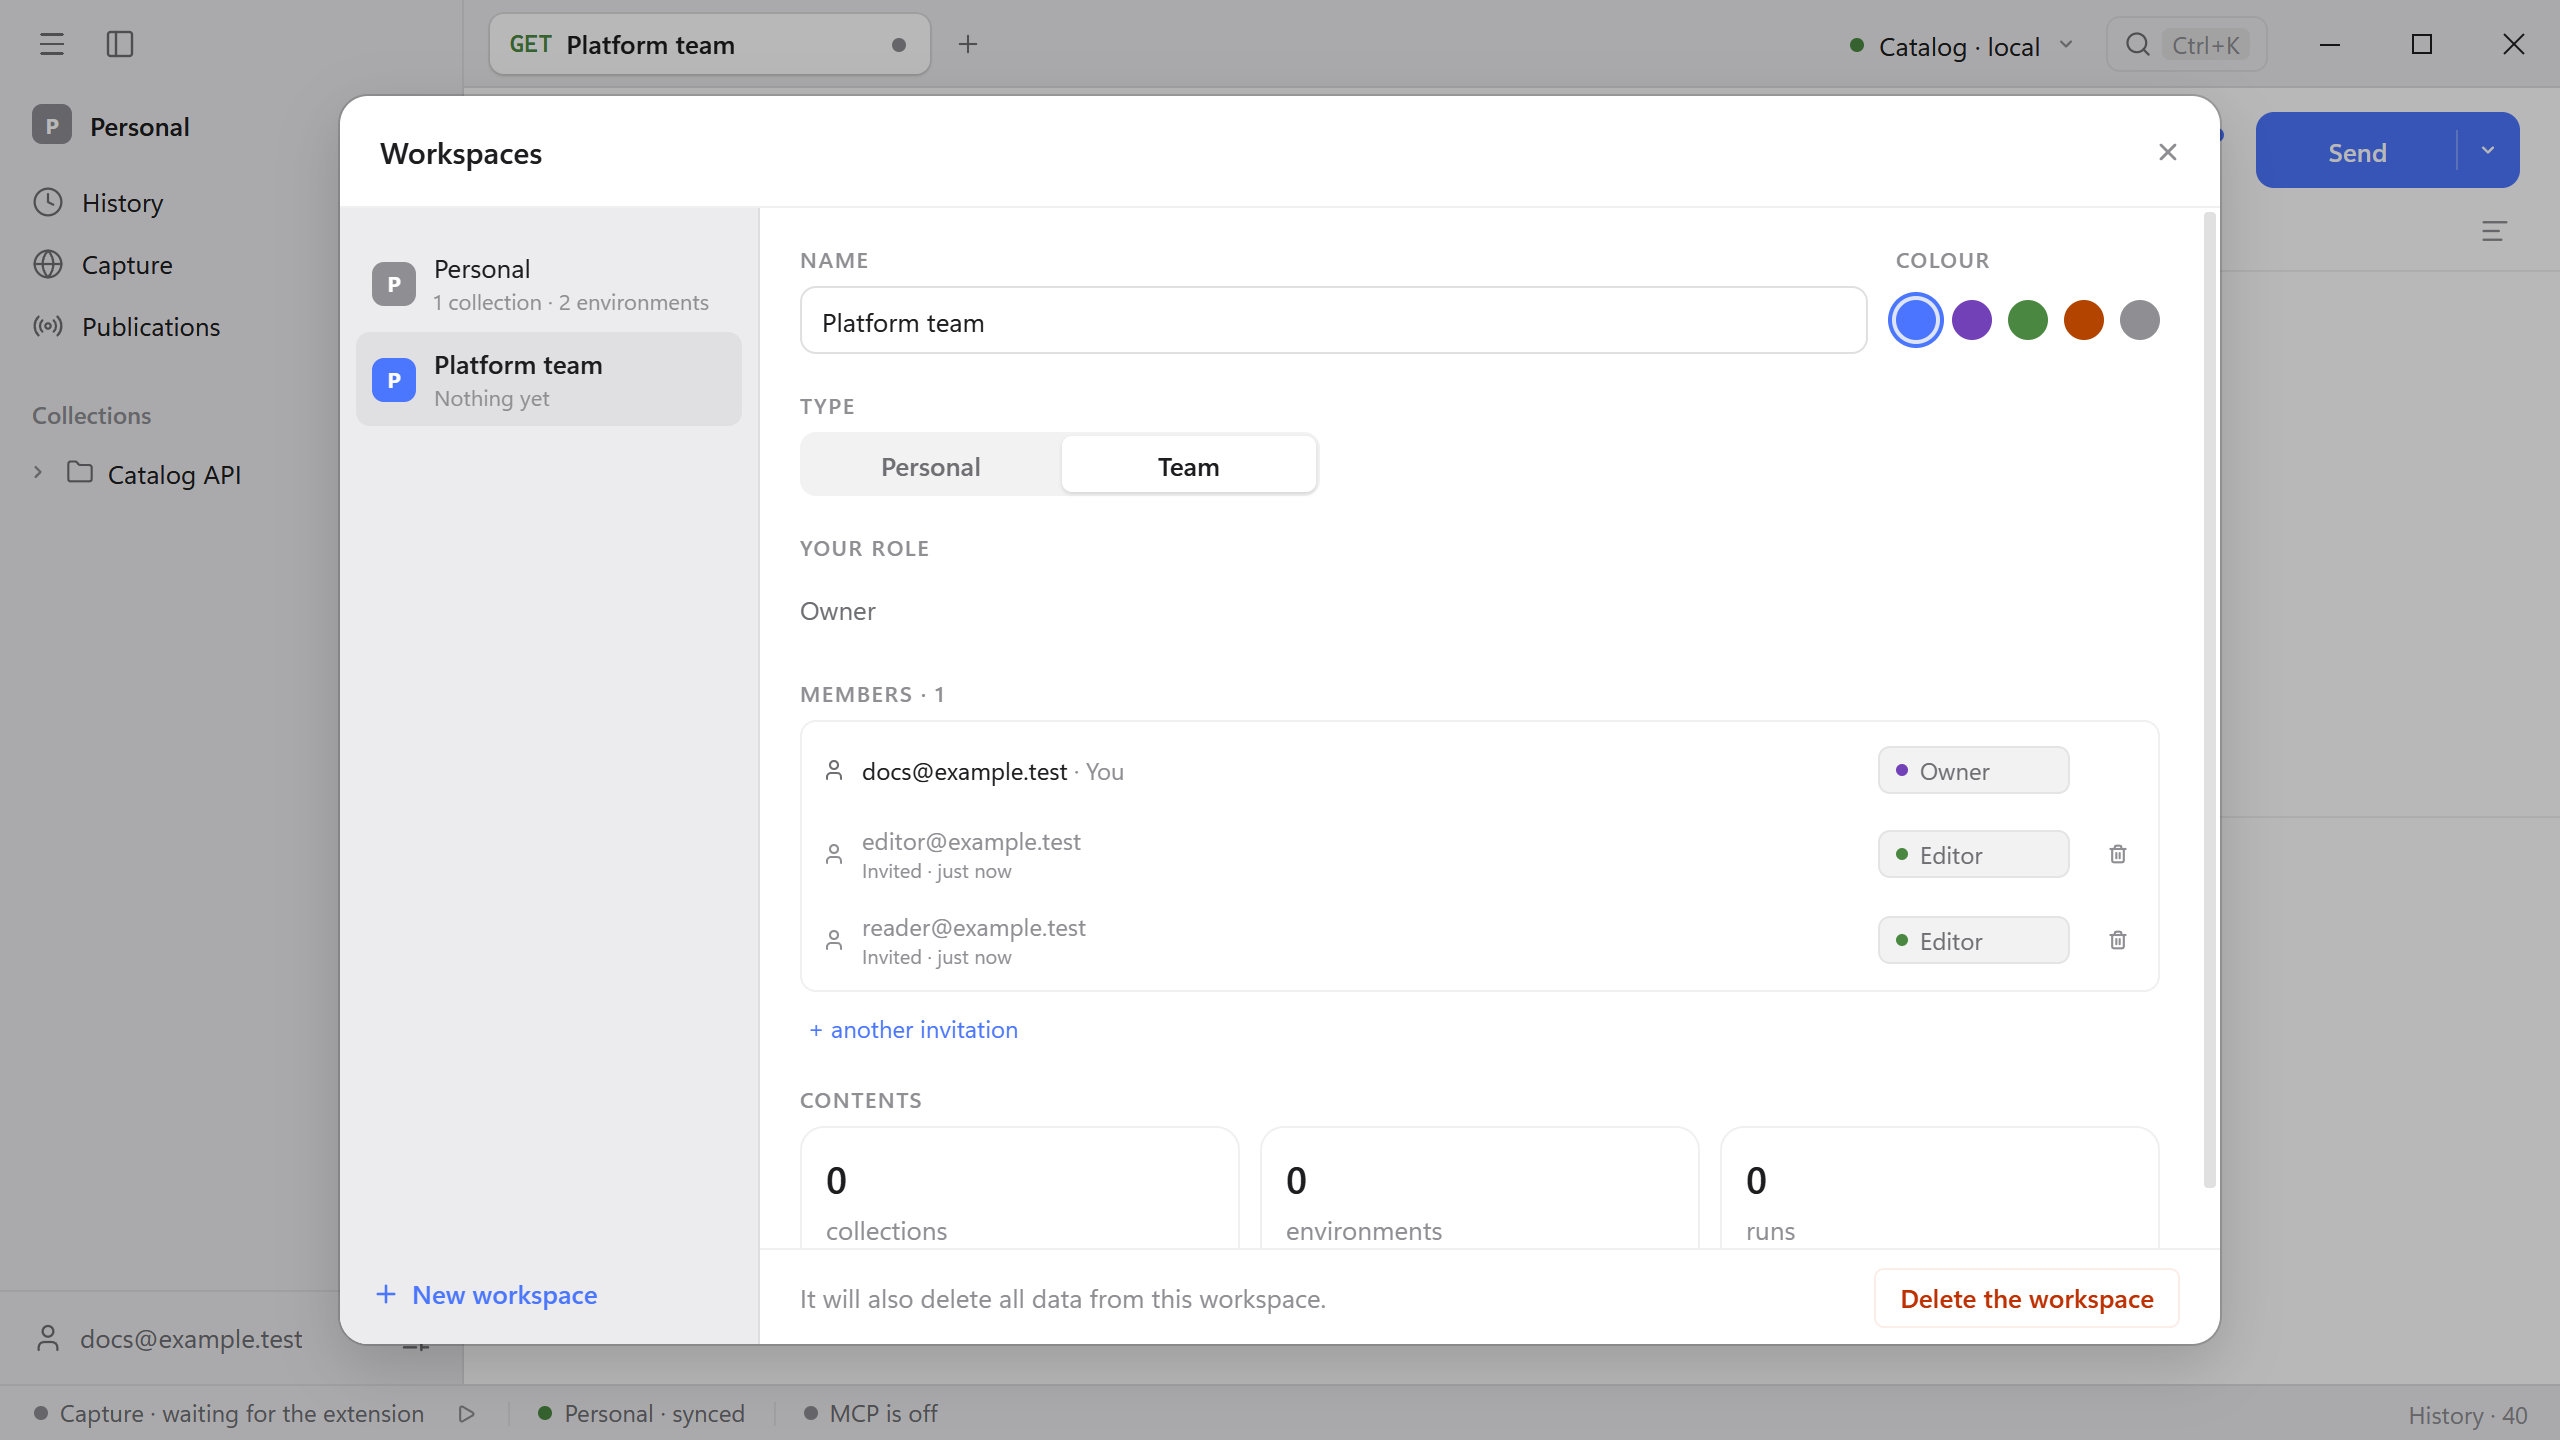
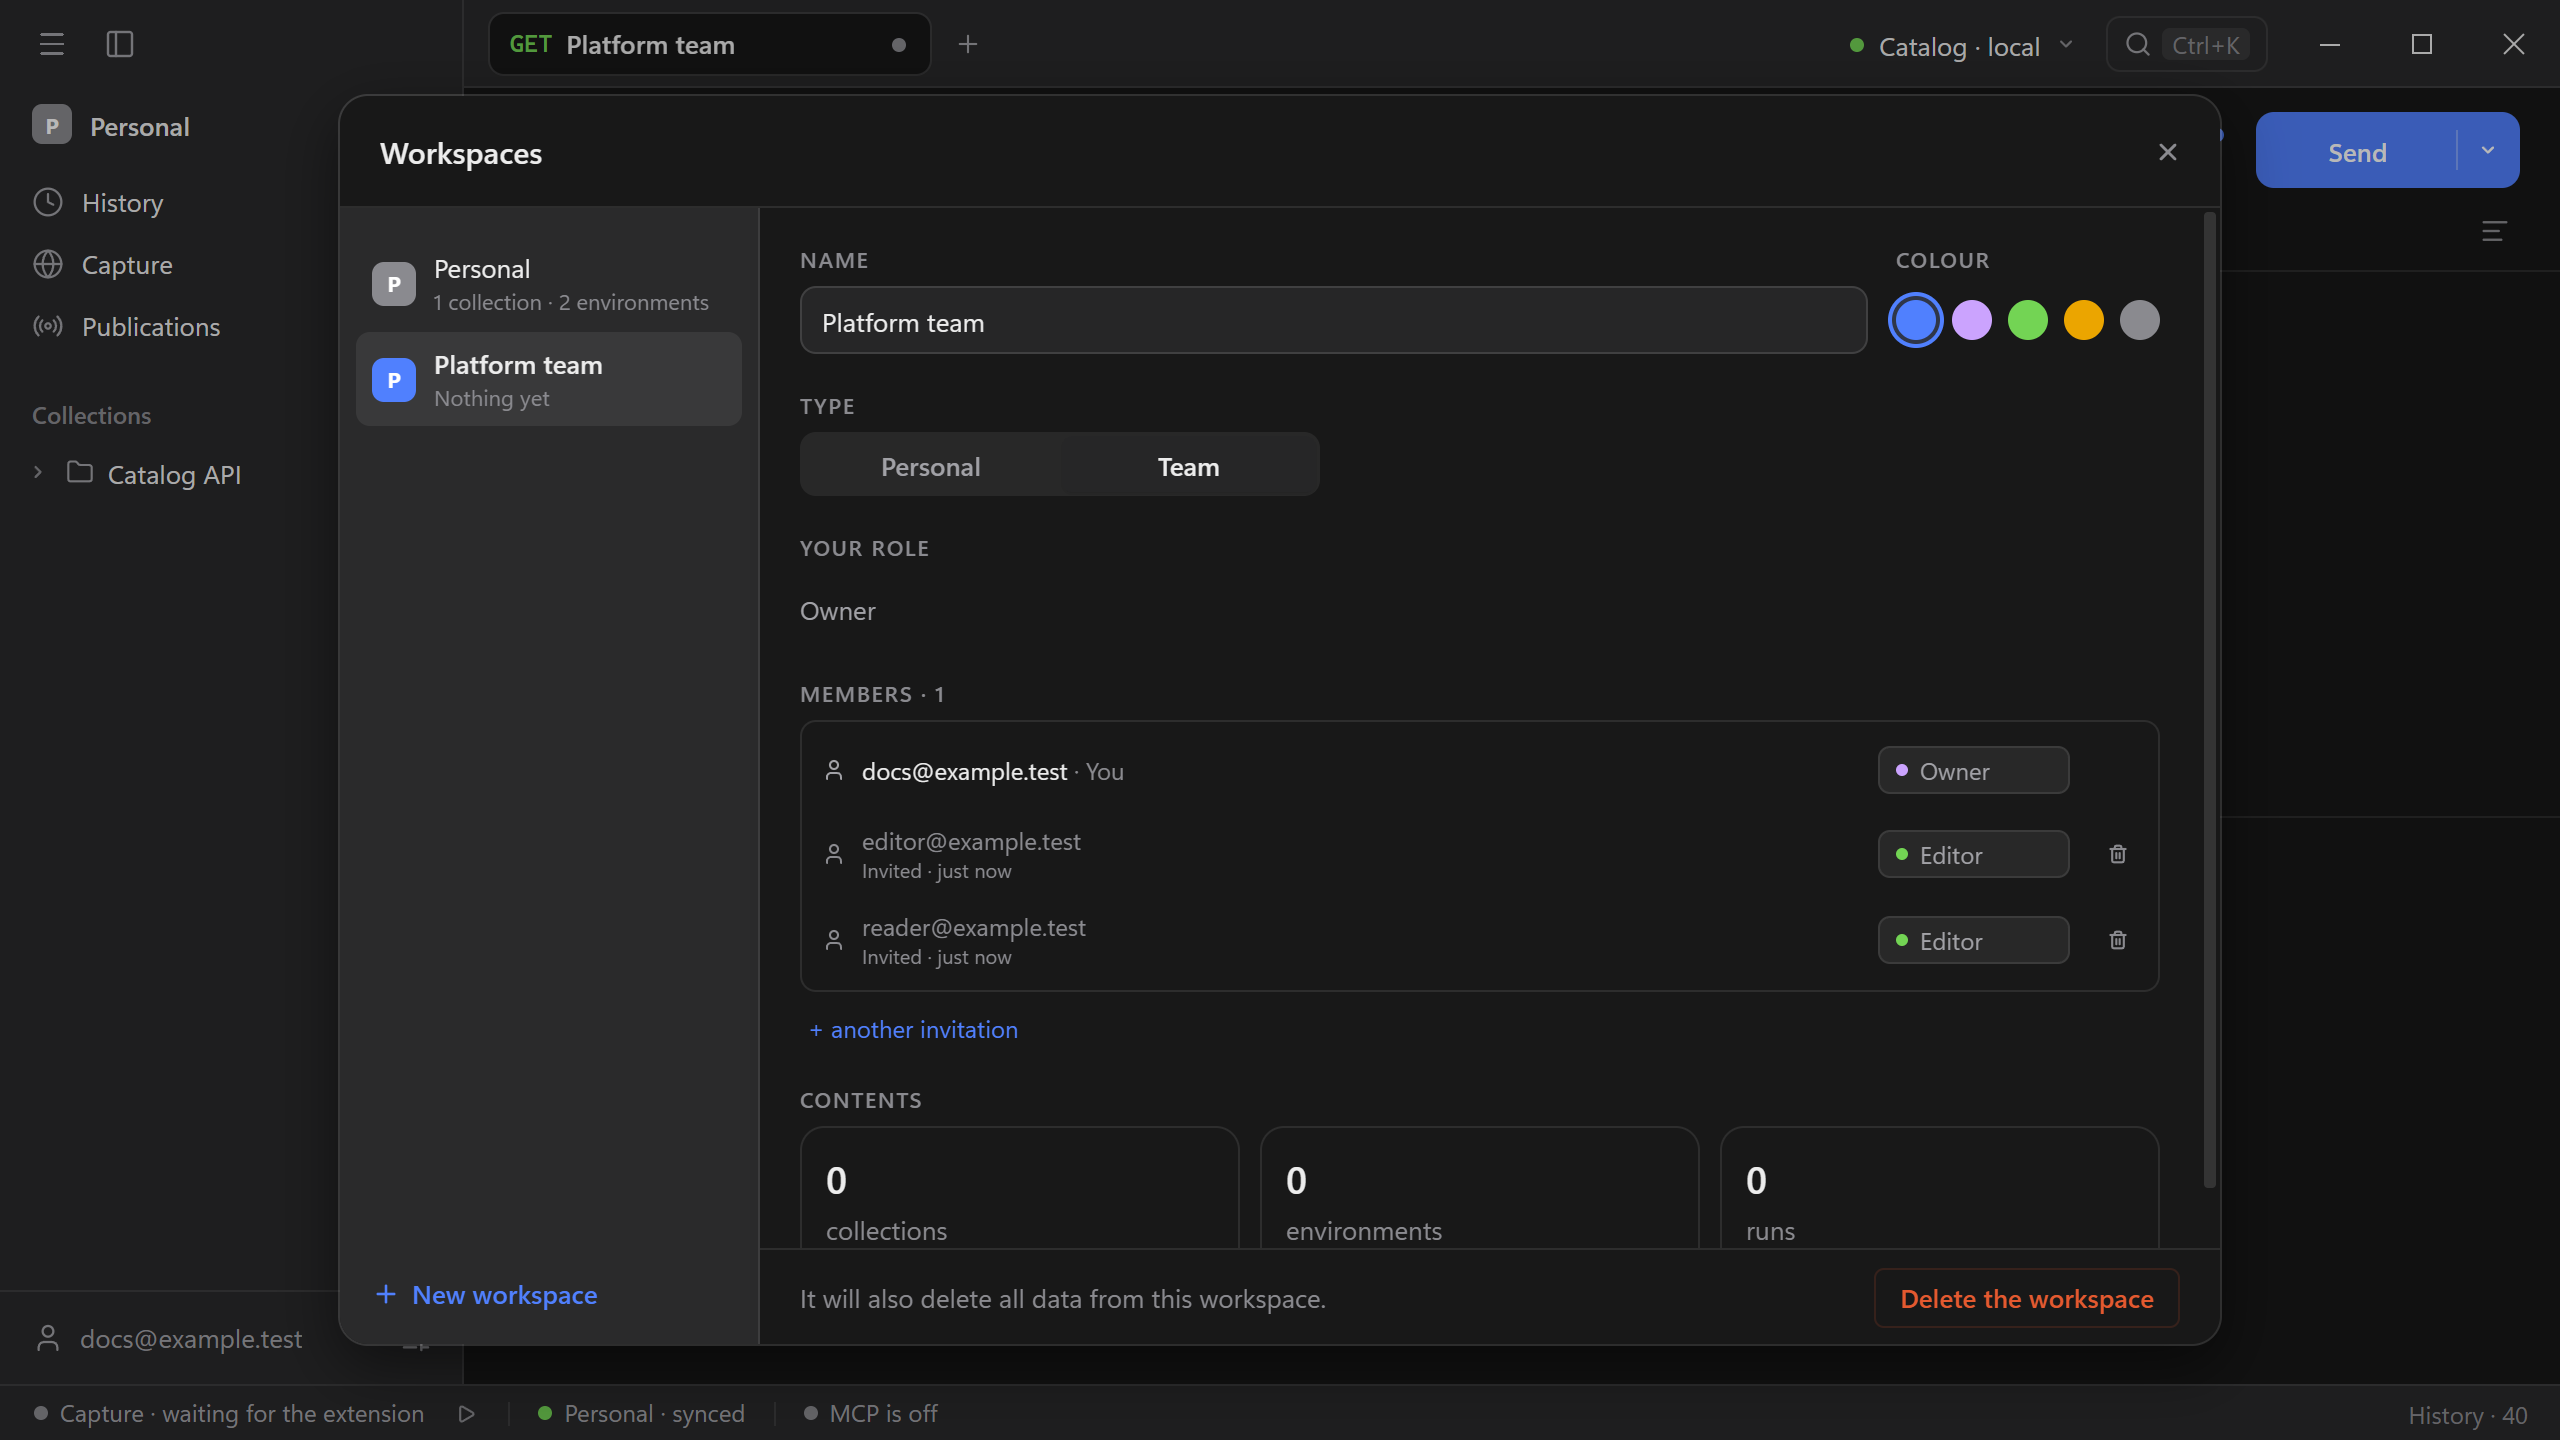
With permission to manage the team, you can change a member’s role, remove a member, or revoke an invitation before it is accepted. To invite someone from this screen, add an invitation row, fill in the email and role, and press Enter. Someone with read-only access can browse and send saved requests. Changes to collections, environments, and cookies require write access.
See Schemo Cloud for device sync, and Import and export to move collections between workspaces.