
Schemo Cloud
Sign in to sync workspaces across devices and publish collection documentation.
Schemo works without an account. Sign in to a Schemo Cloud server when you want your collections and environments on other devices, to share a workspace with a team, or to publish a collection as a web page.
Sign in
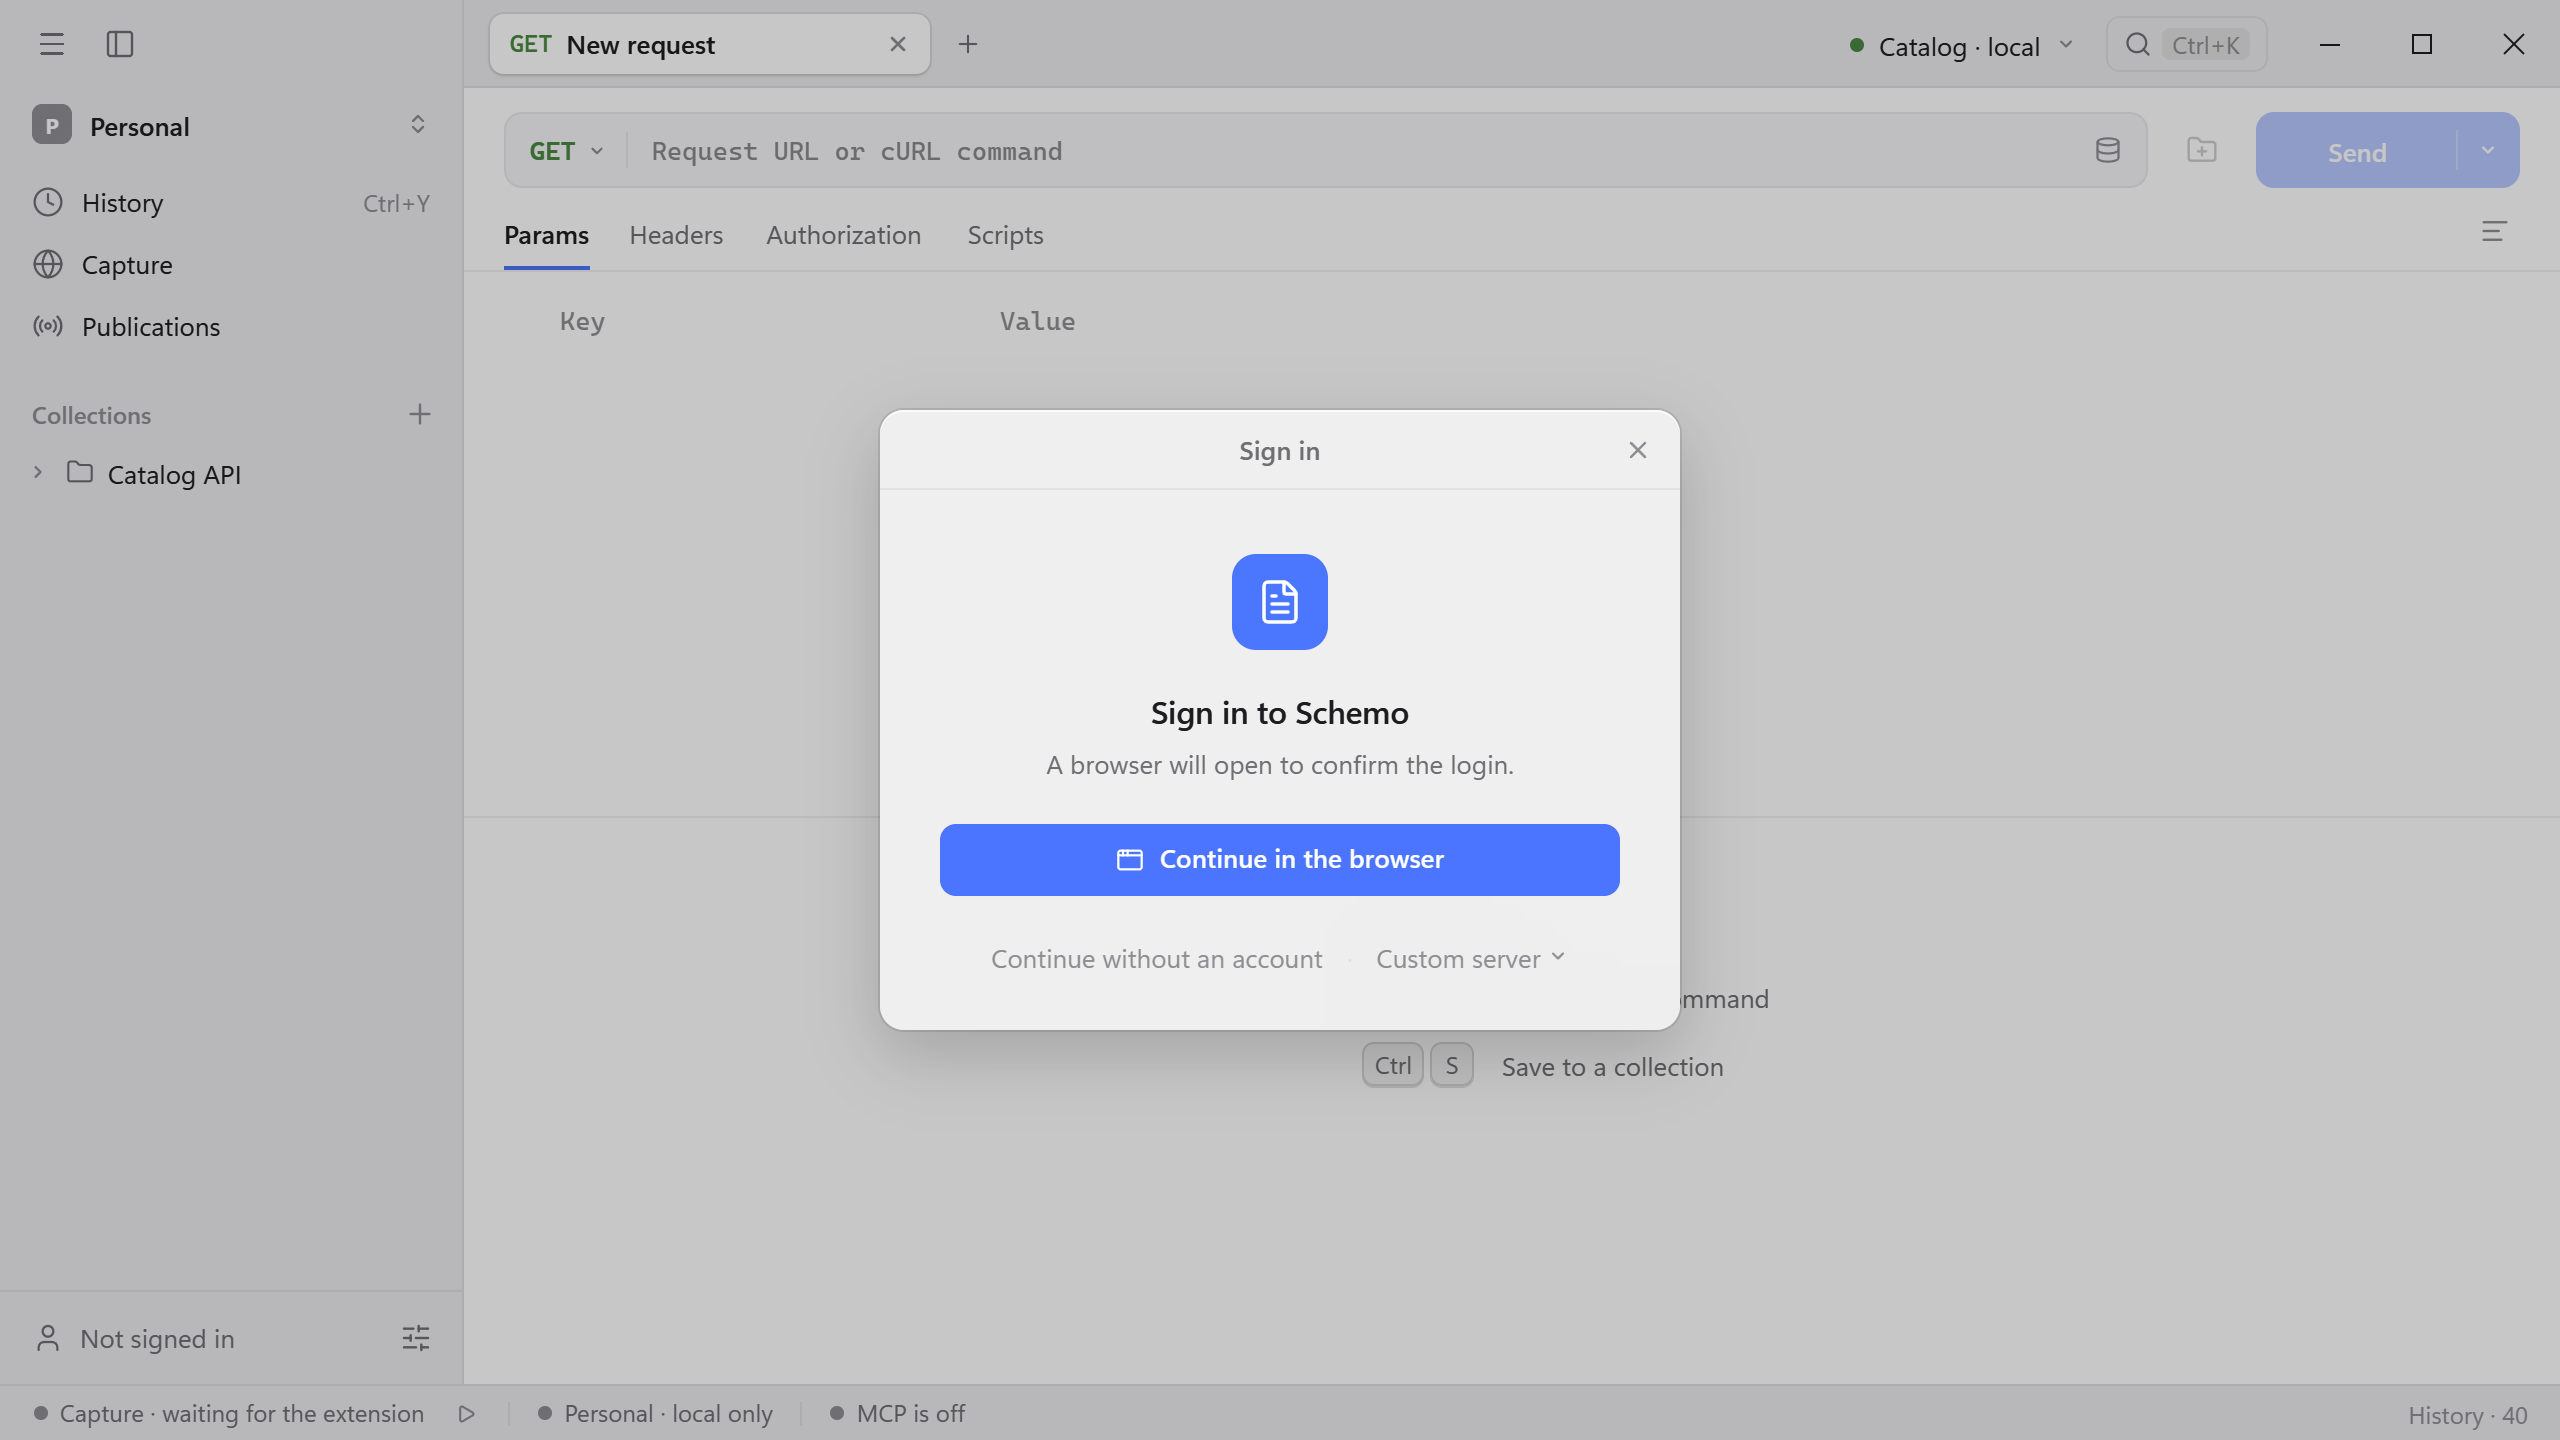
- Select Not signed in at the bottom of the sidebar.
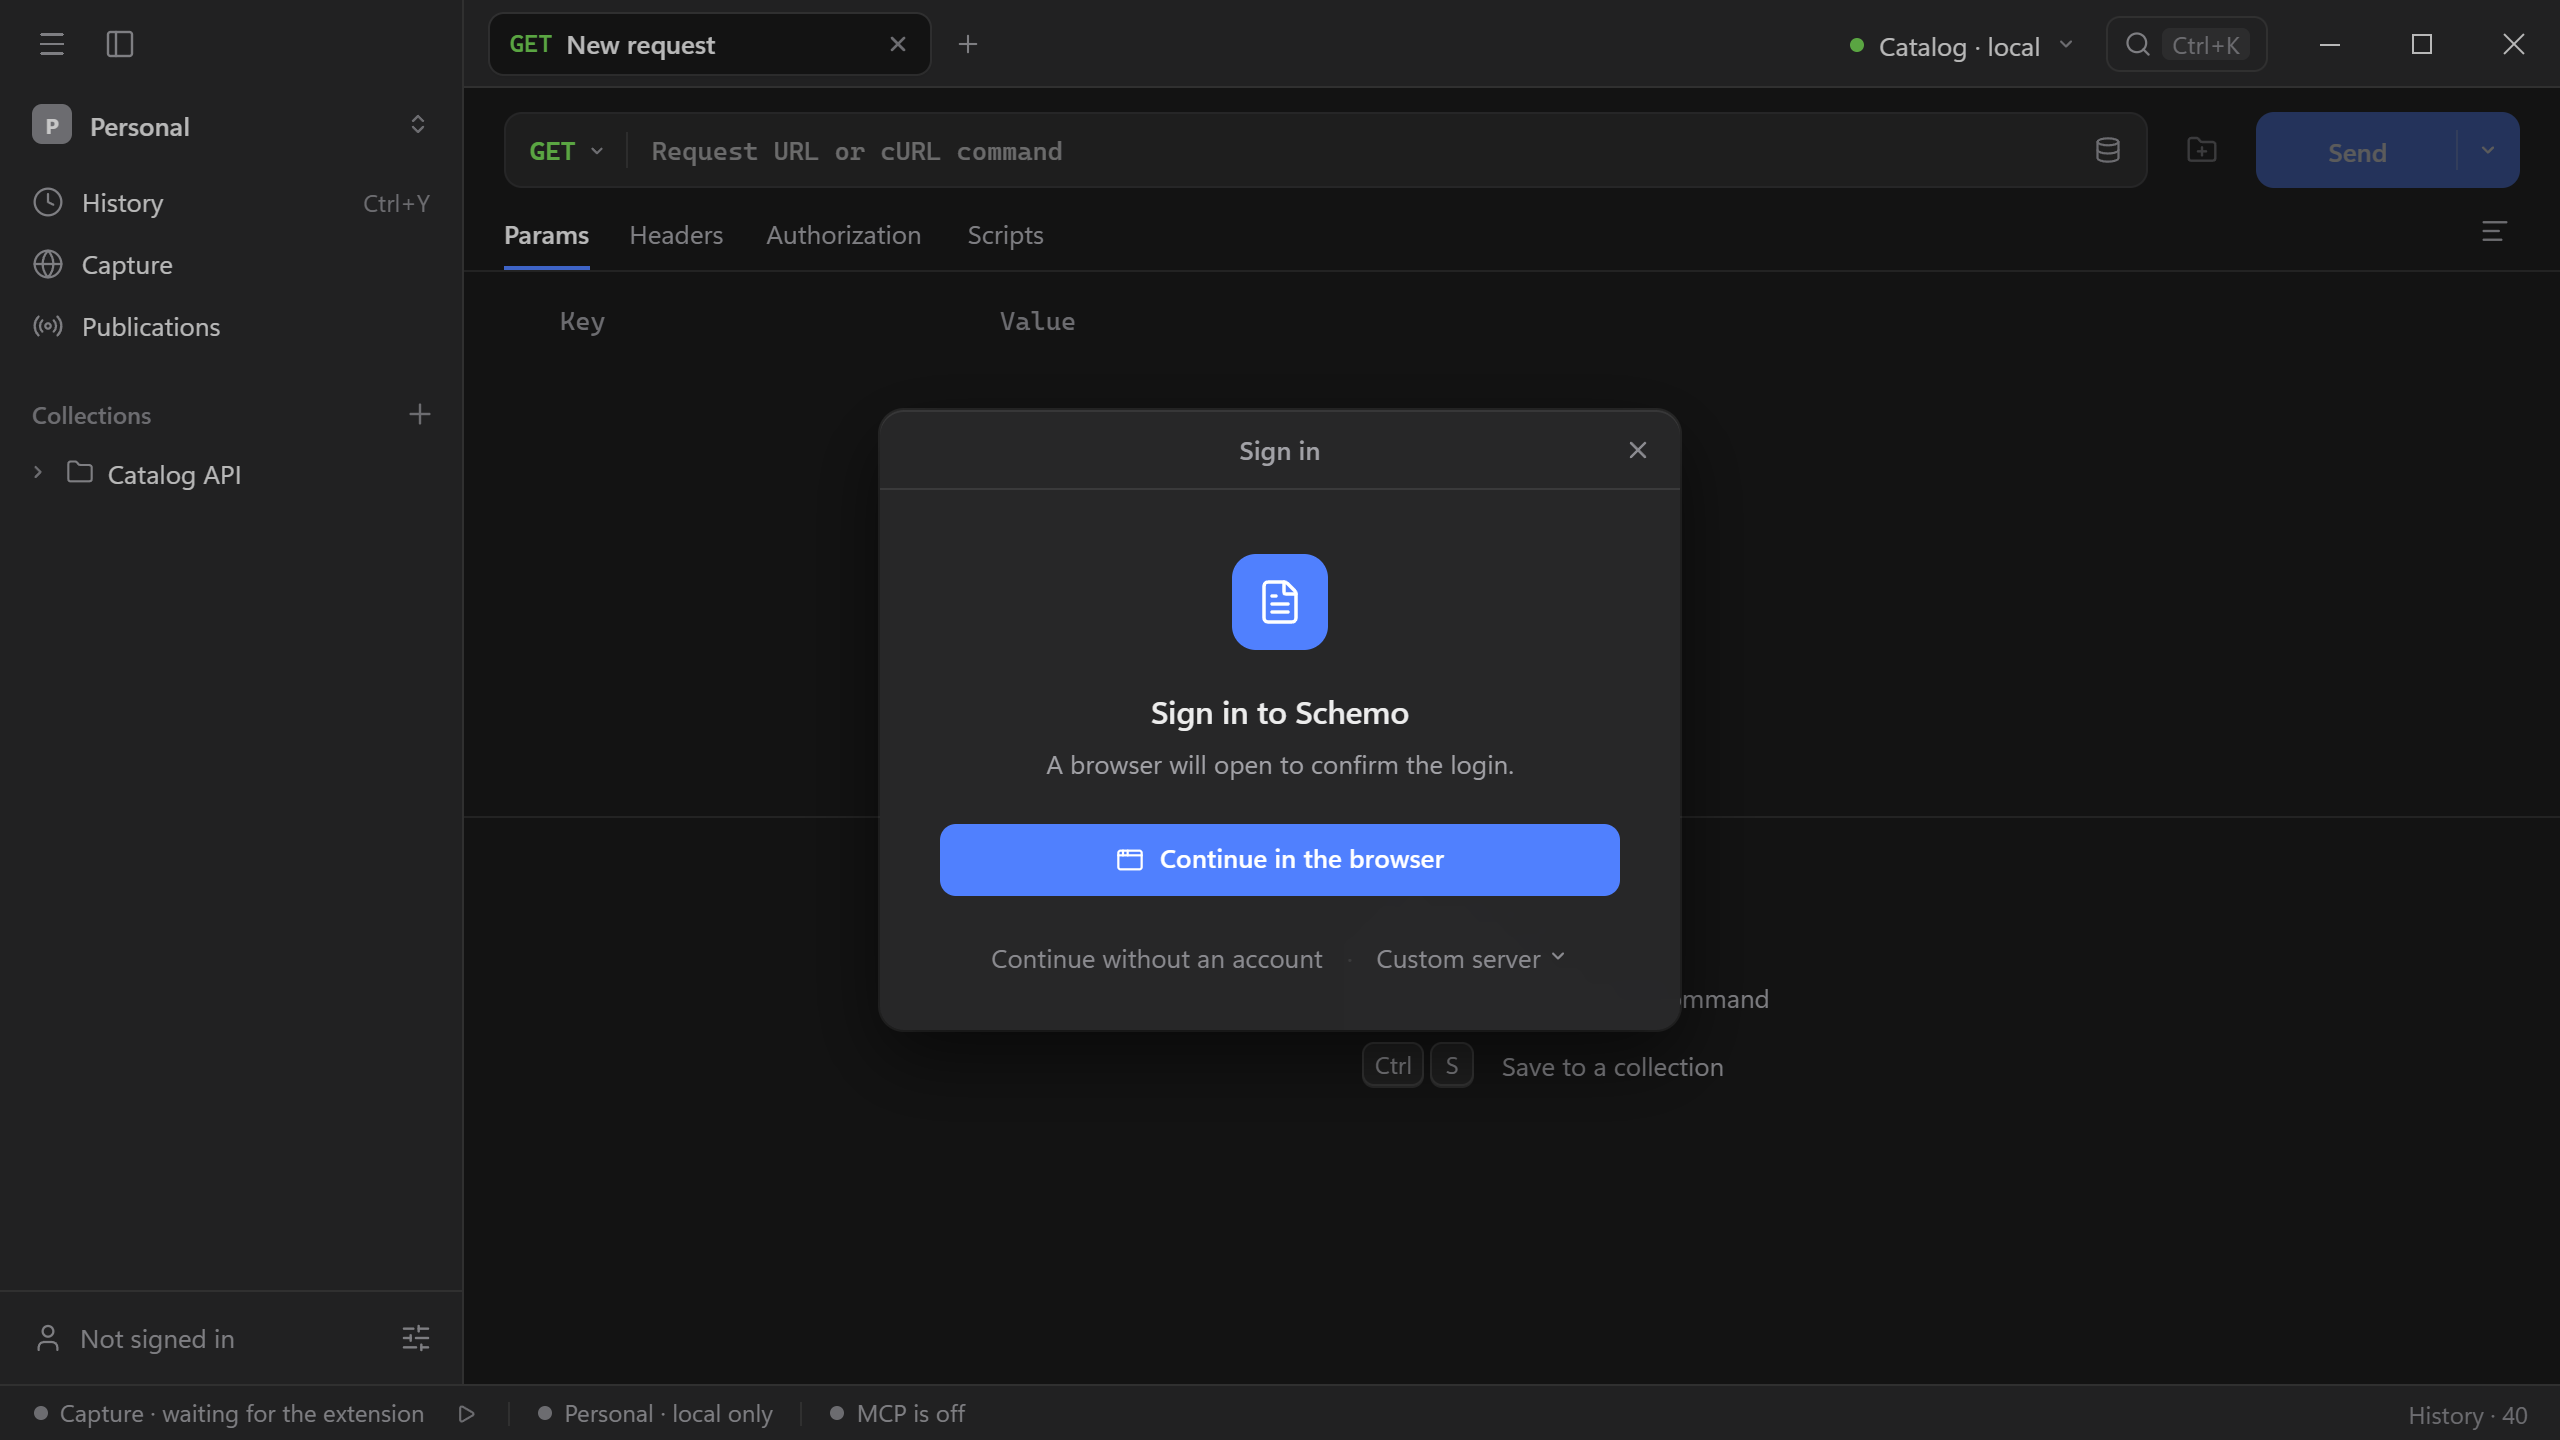
- Select Continue in the browser. To use your company’s own server, open Custom server first, enter its address, and select Apply.
- The browser opens the server’s sign-in page, and Schemo shows a code. Sign in, check that the code in the browser matches the one in Schemo, and allow the sign-in.
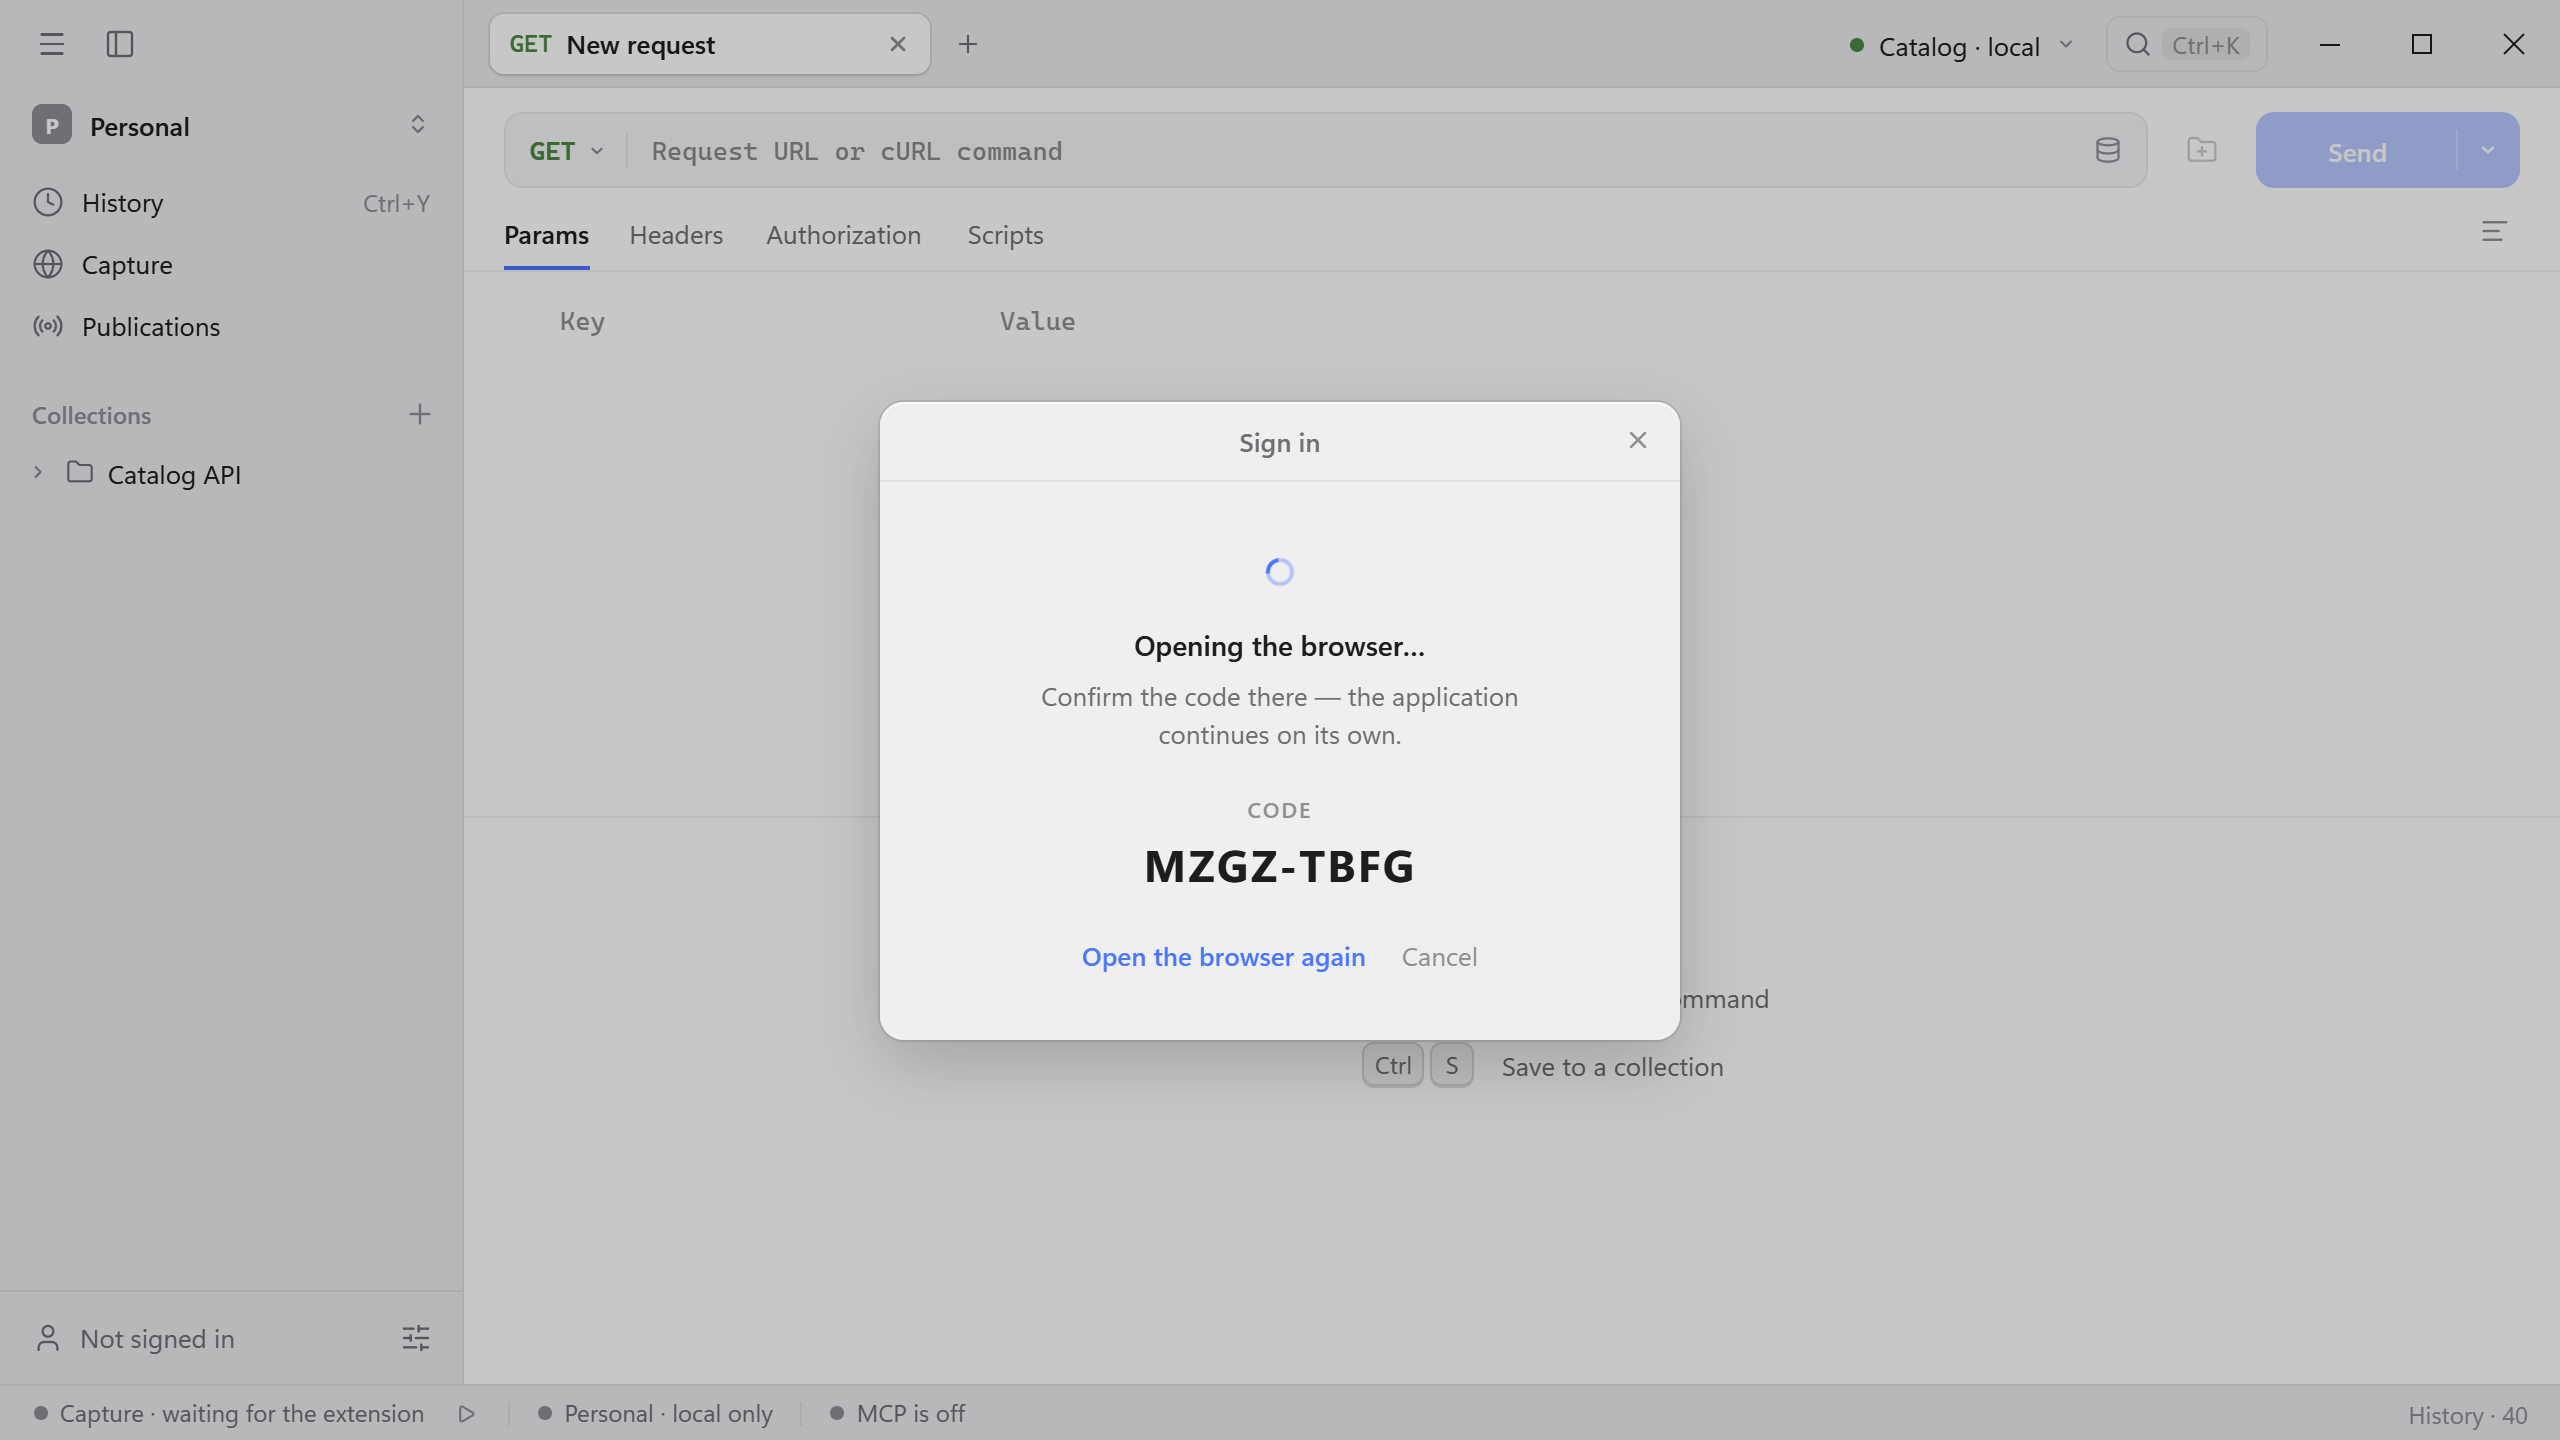
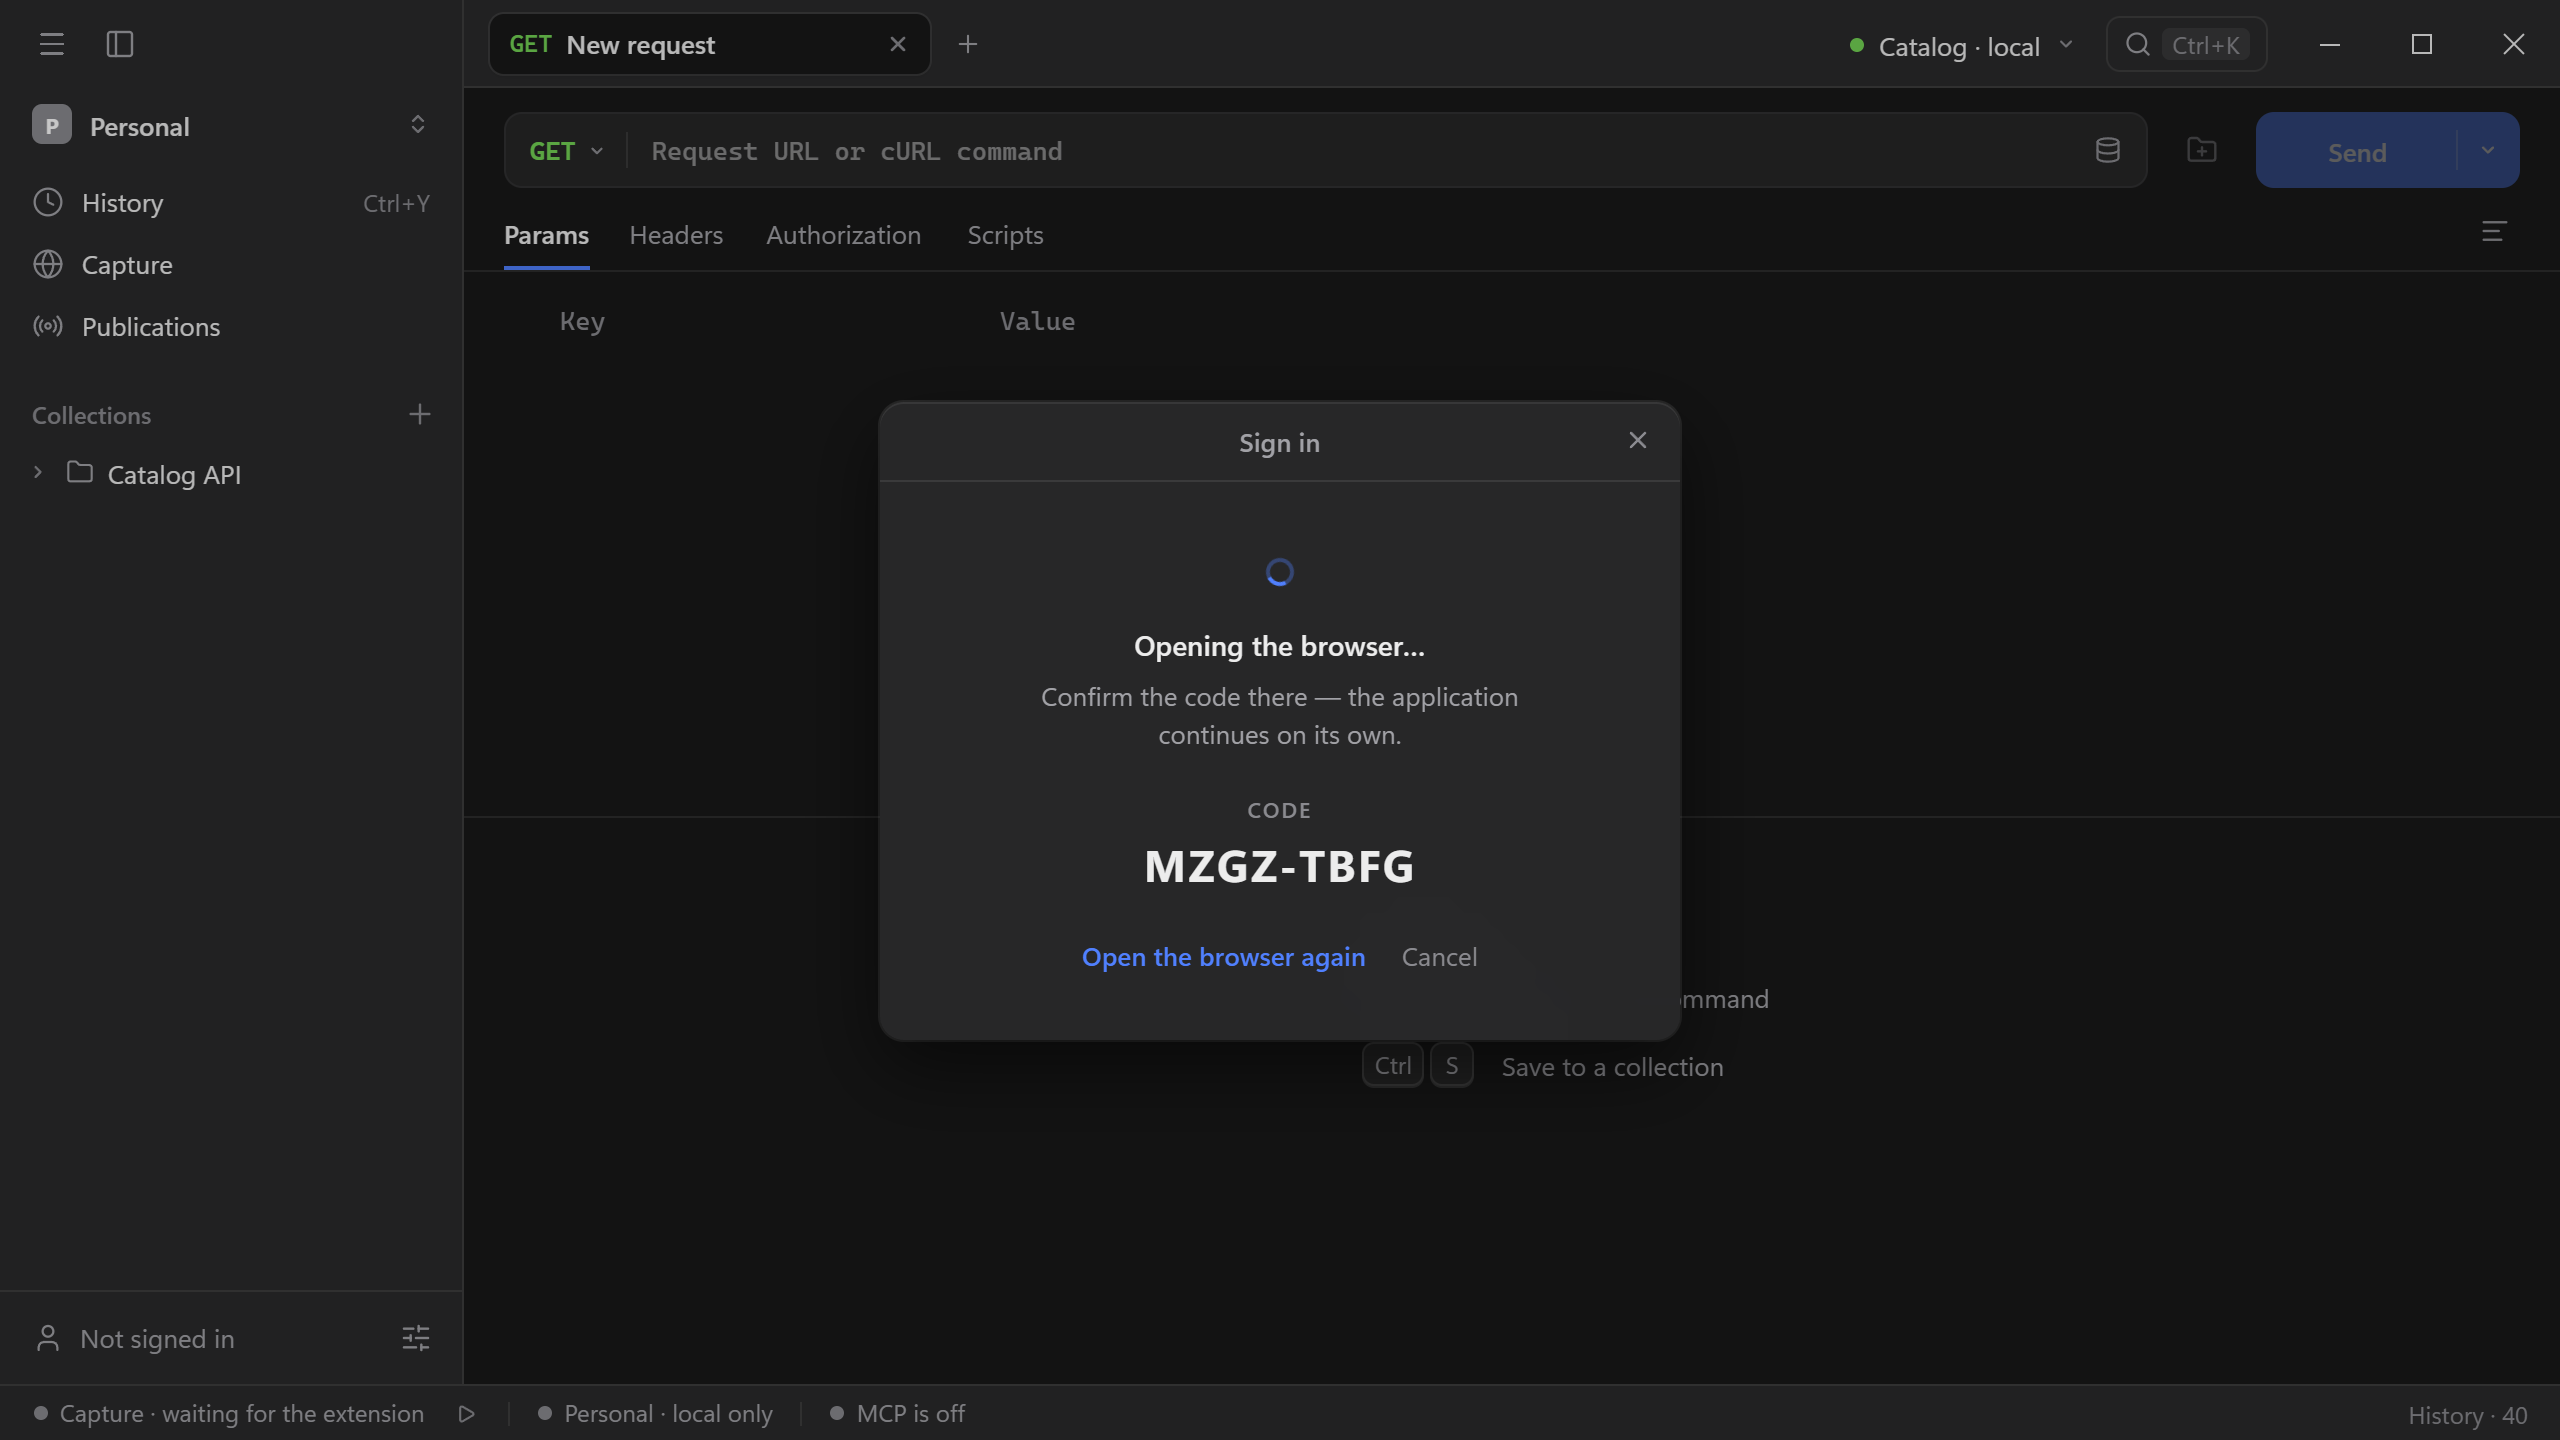
Schemo continues on its own and shows The account is connected. If the browser did not open, select Open the browser again.
Sync
After sign-in, your workspaces sync with the server. The status bar shows whether the active workspace is synced or local only.
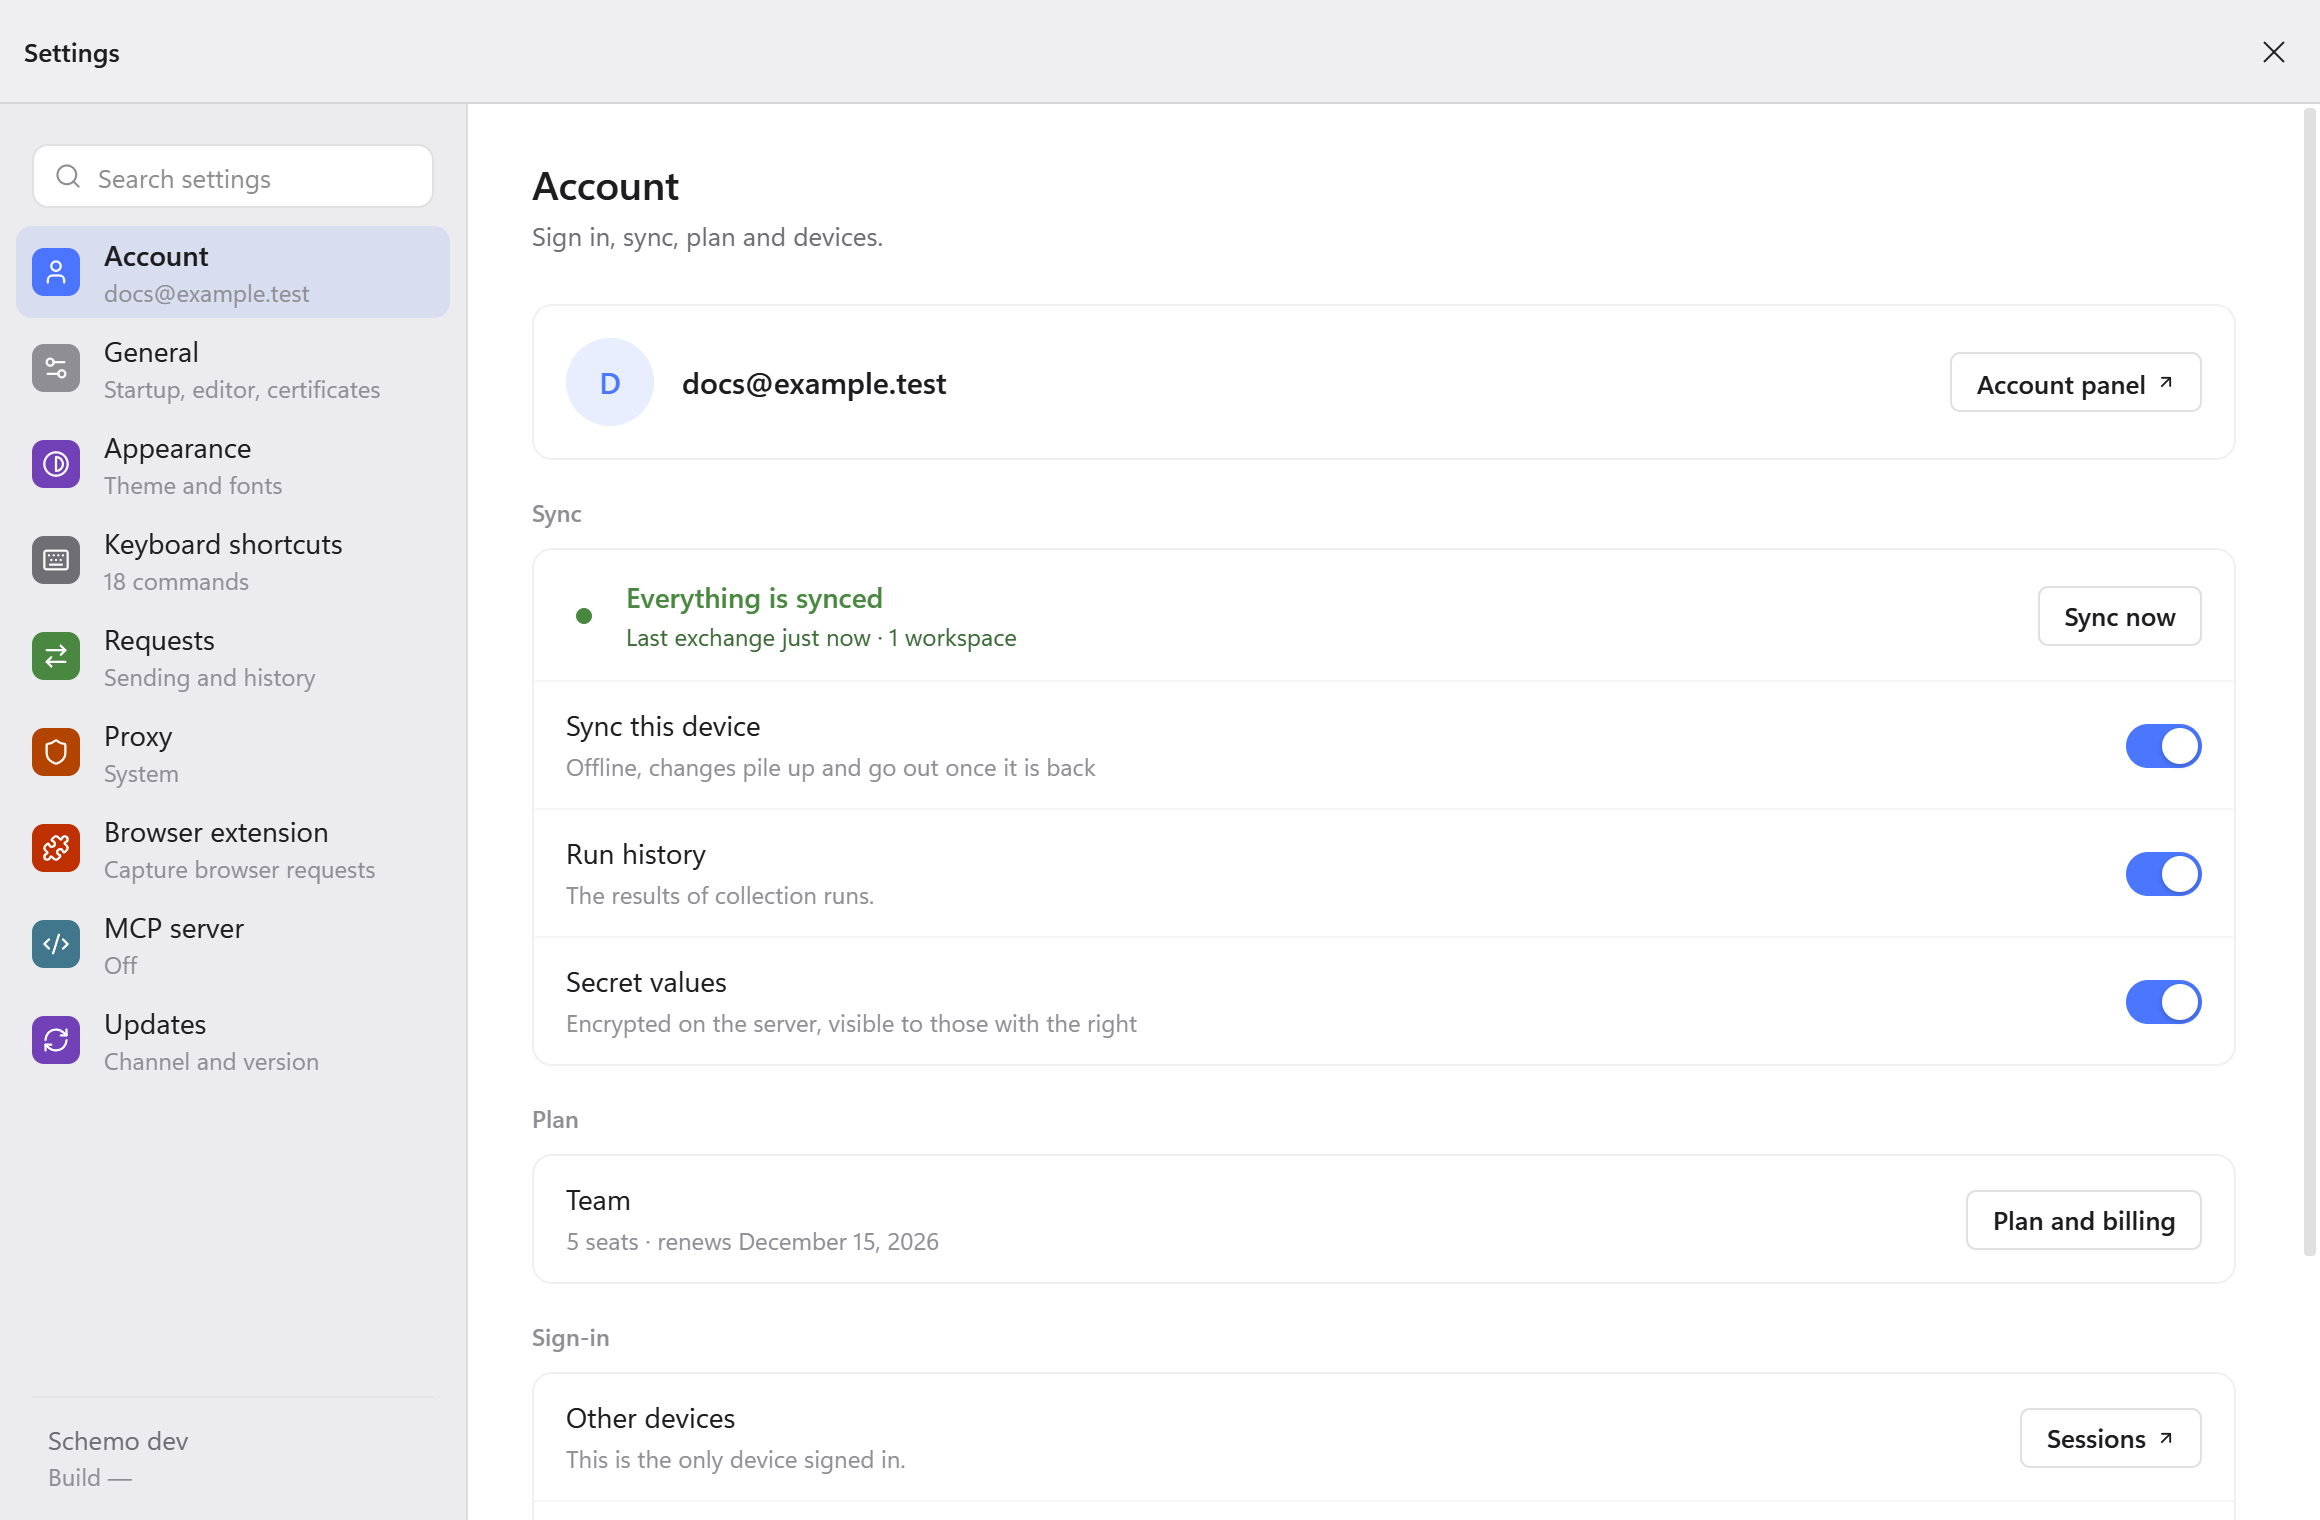
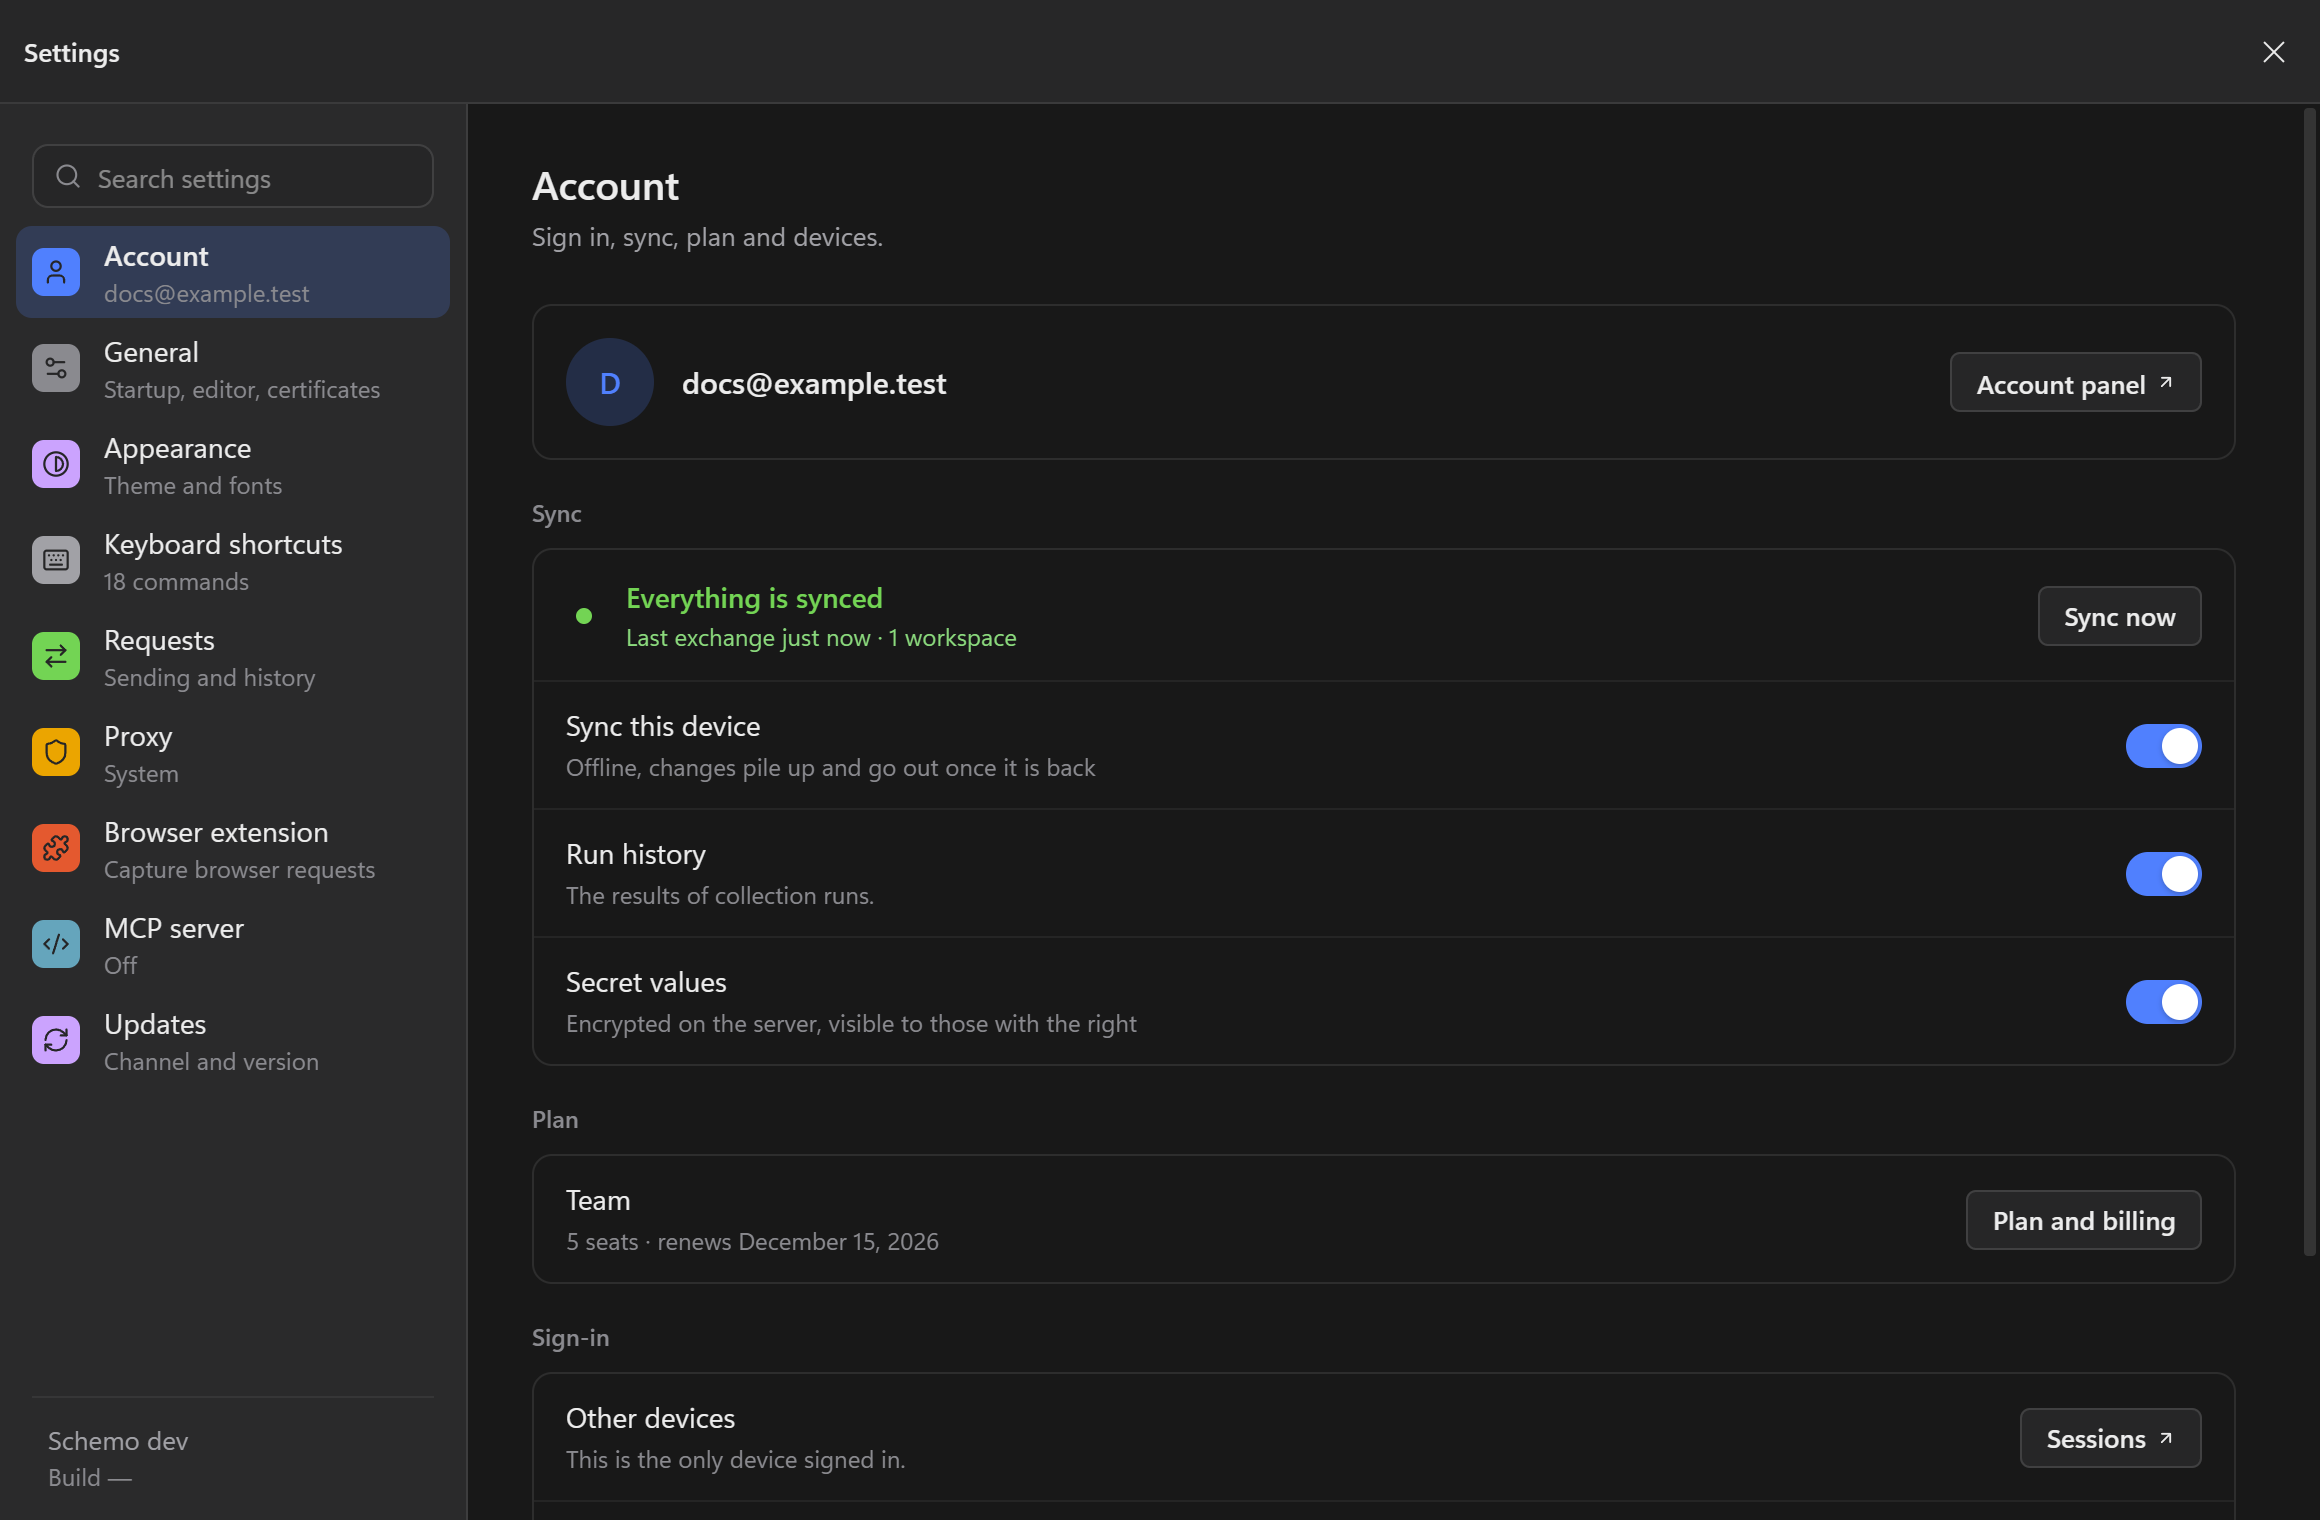
Open Settings → Account to see the sync state, the plan, and the devices signed in to the account.
| Setting | Effect |
|---|---|
| Sync this device | Turn off to keep working without sending or receiving changes. Changes made offline go out once sync is back on. |
| Run history | Syncs the results of collection runs. |
| Secret values | Stores secret variable values encrypted on the server. When off, secrets stay on this device and must be entered again on others. |
Sync now starts an exchange at once. If the server cannot be reached, the status says so and the changes wait on this device.
Use Troubleshoot sync to look up a refusal, permission error, or conflict in Settings → Account.
Publish collection
Publishing turns a collection into a documentation page on the web. It needs a plan that includes publication.
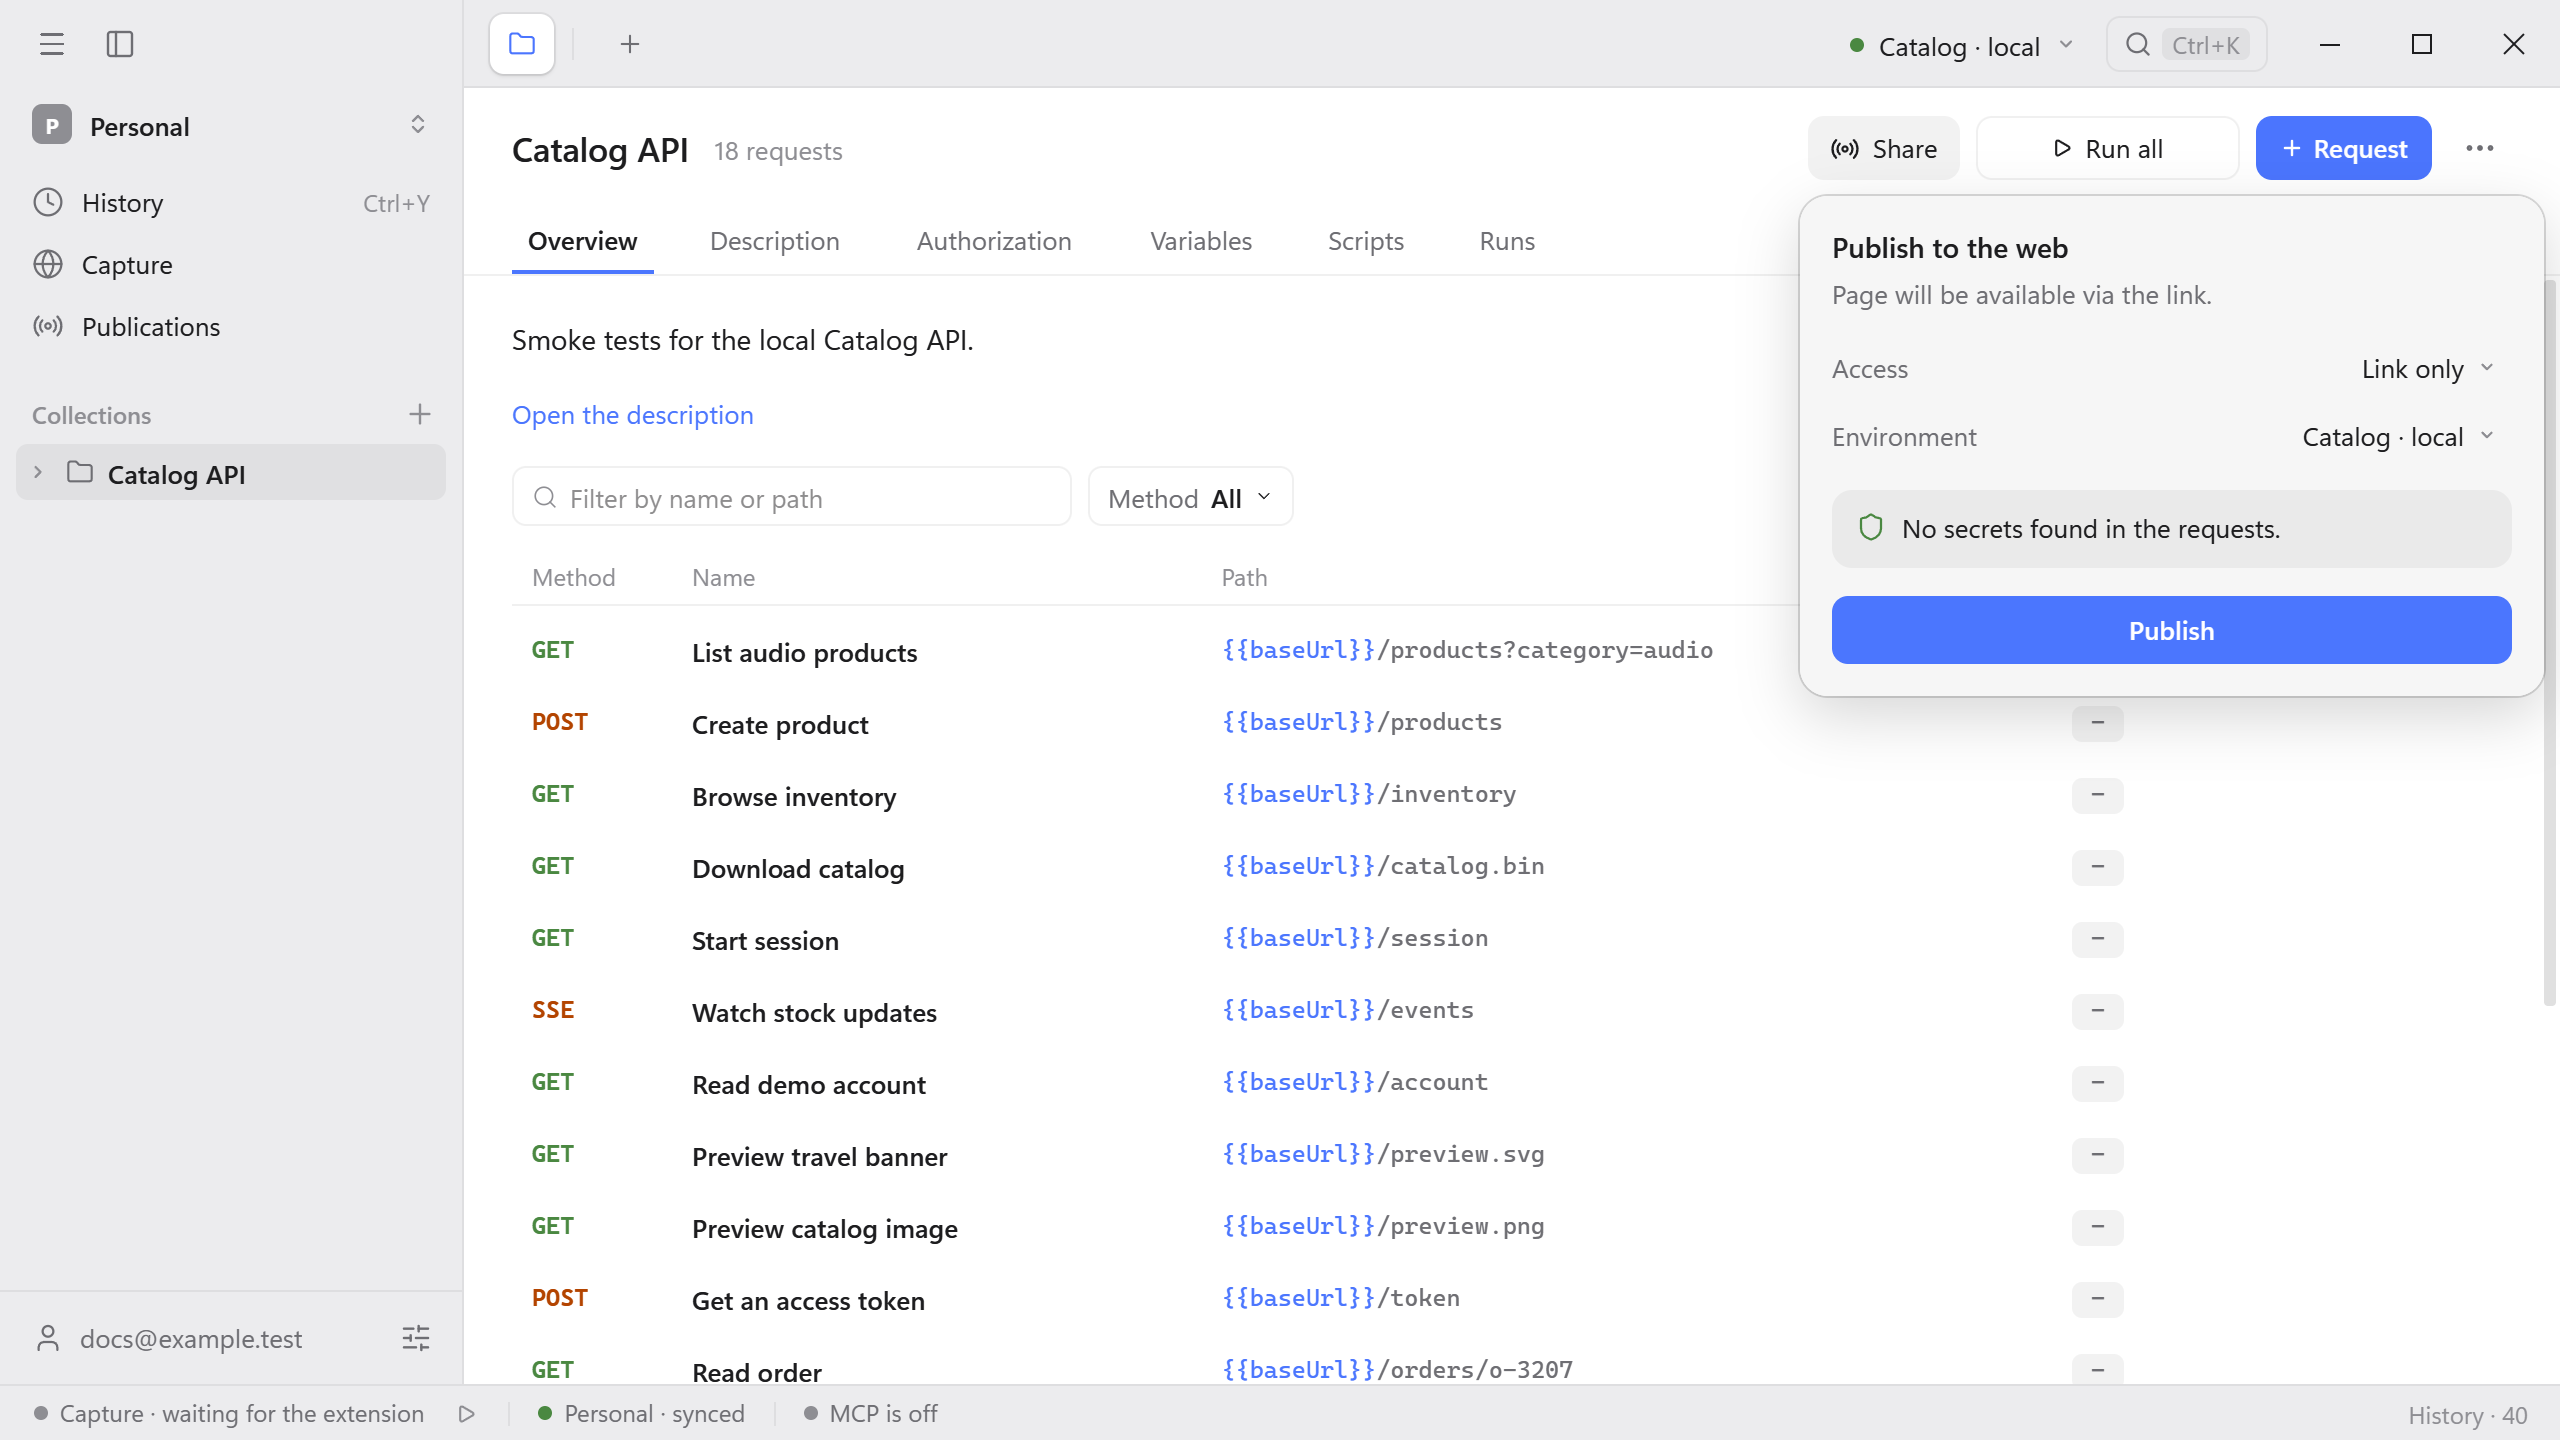
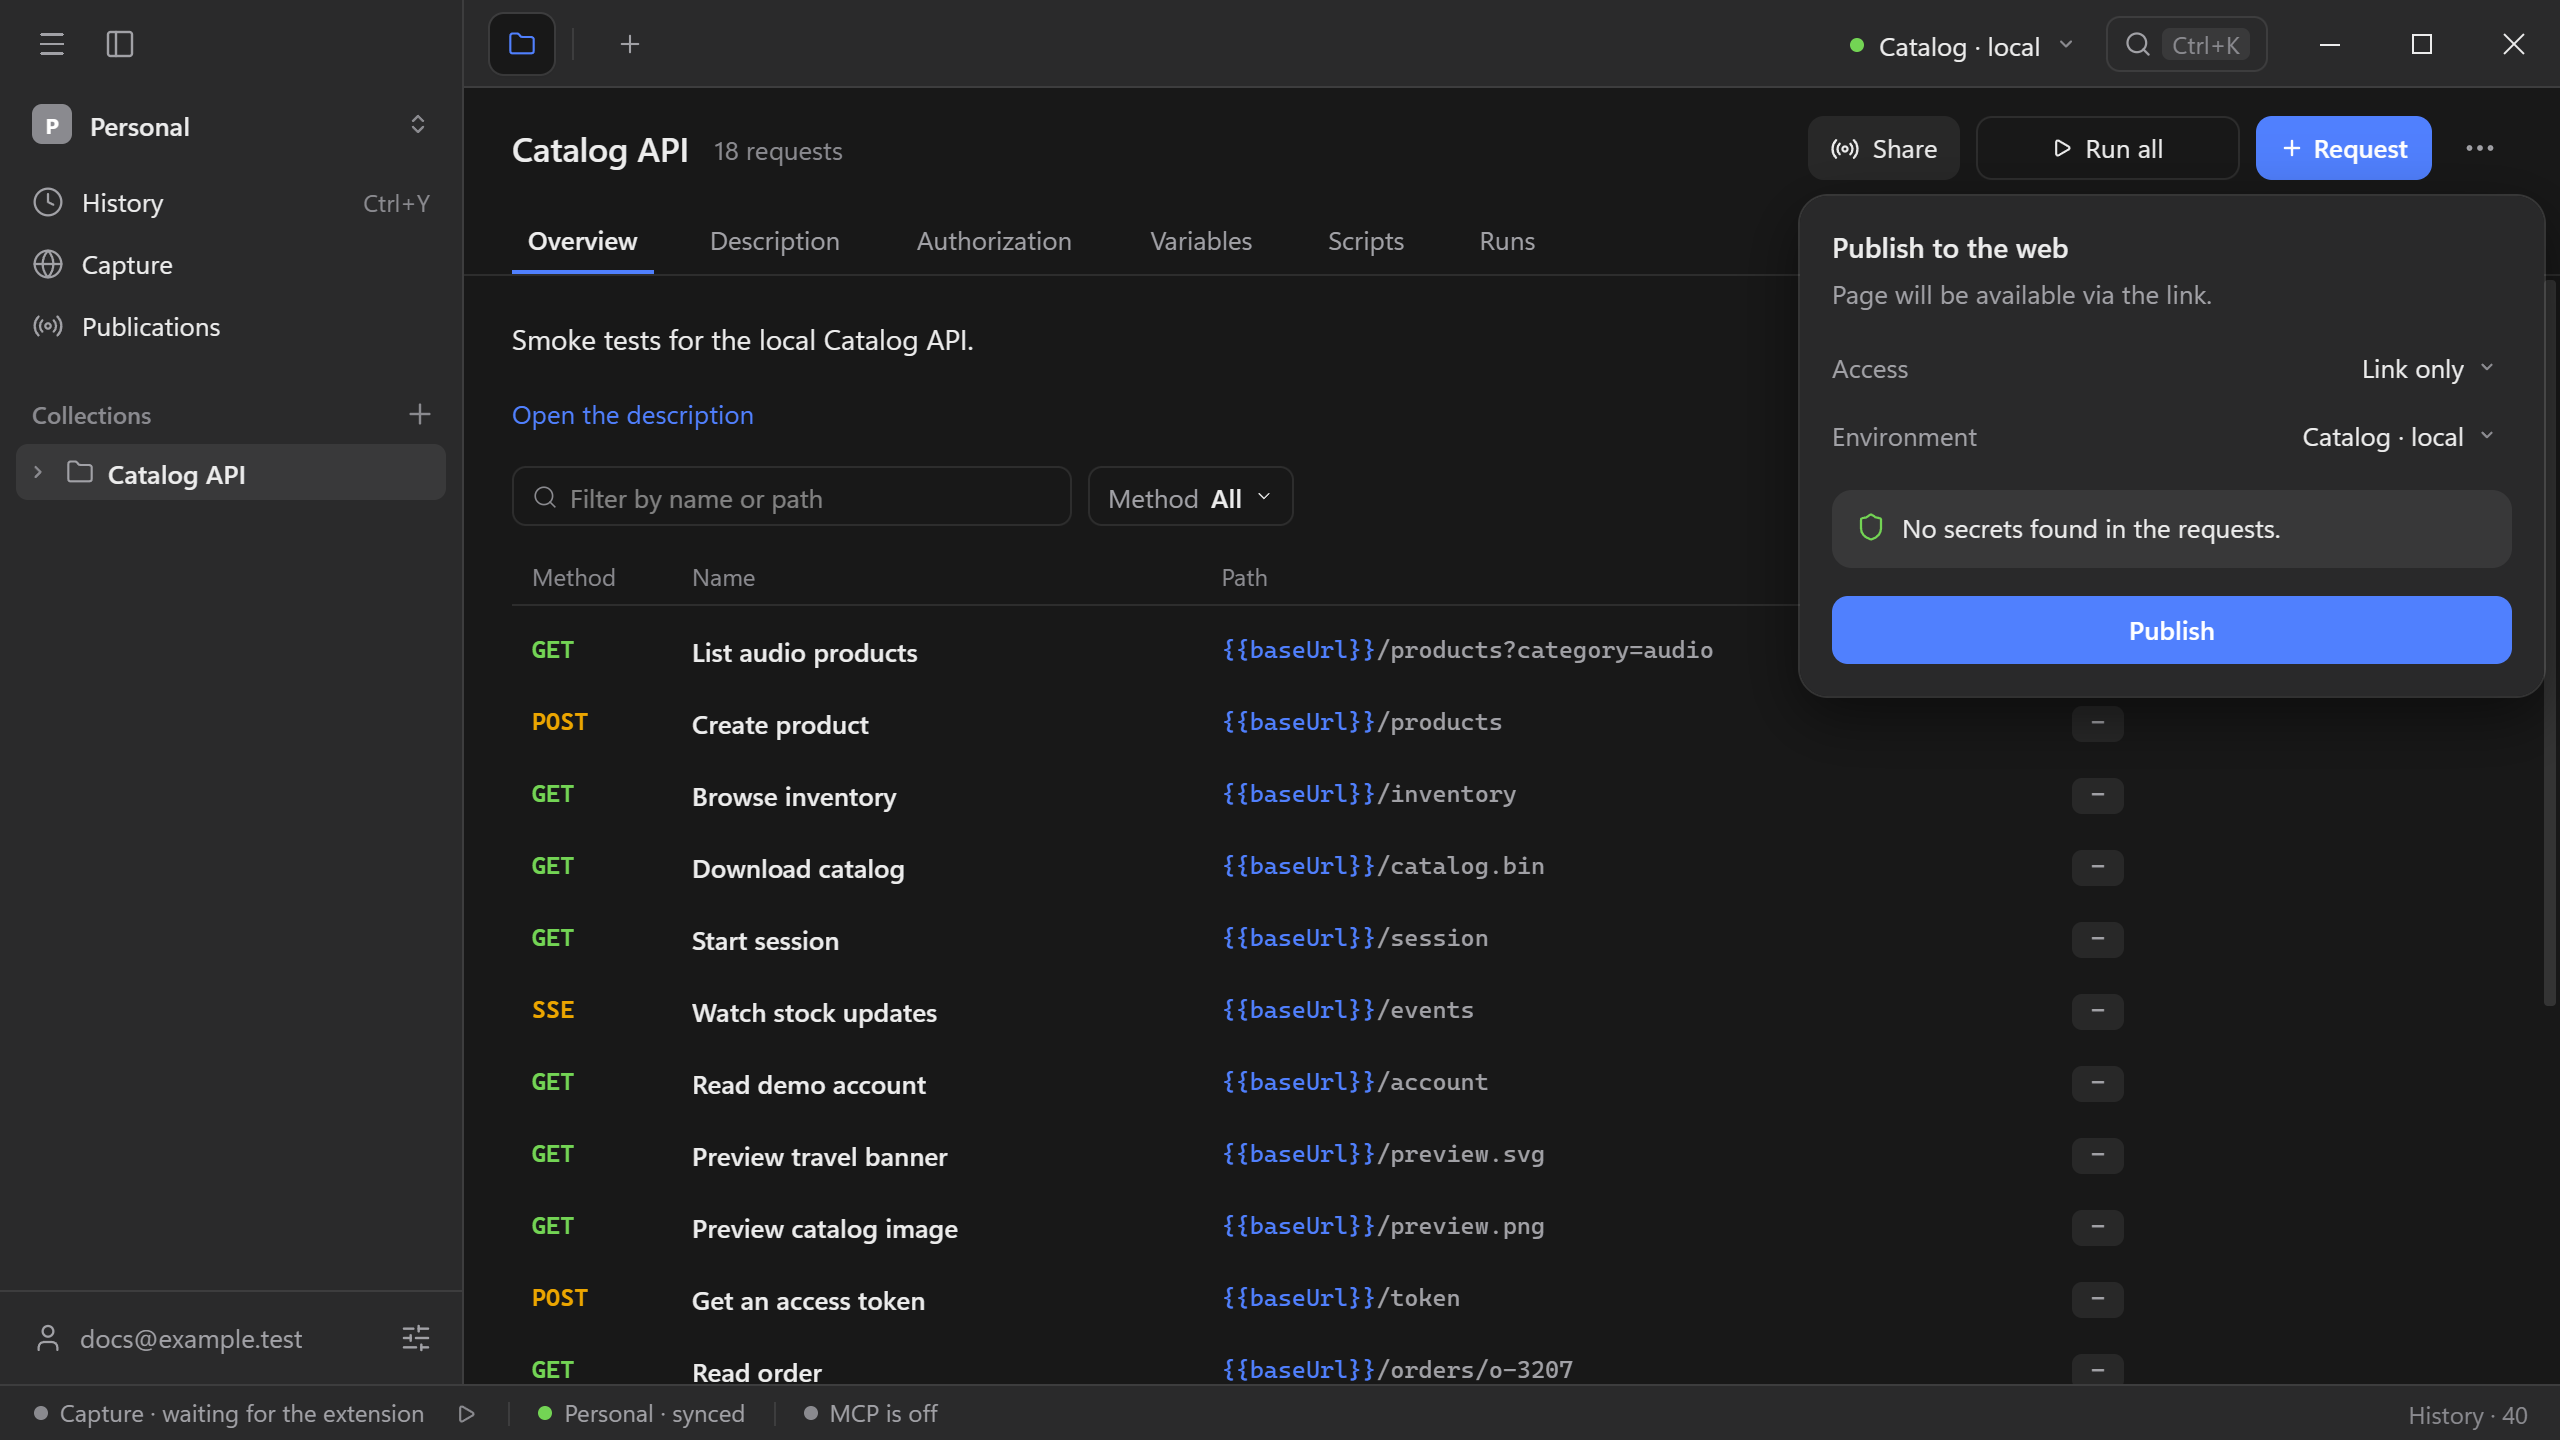
- Open the collection and select Share.
- Choose Access: Link only, Public (listed in the catalogue and search engines), or With a password.
- Choose the Environment whose values fill the variables on the page. Schemo checks the requests and lists any secrets that will be left out.
- Select Publish.
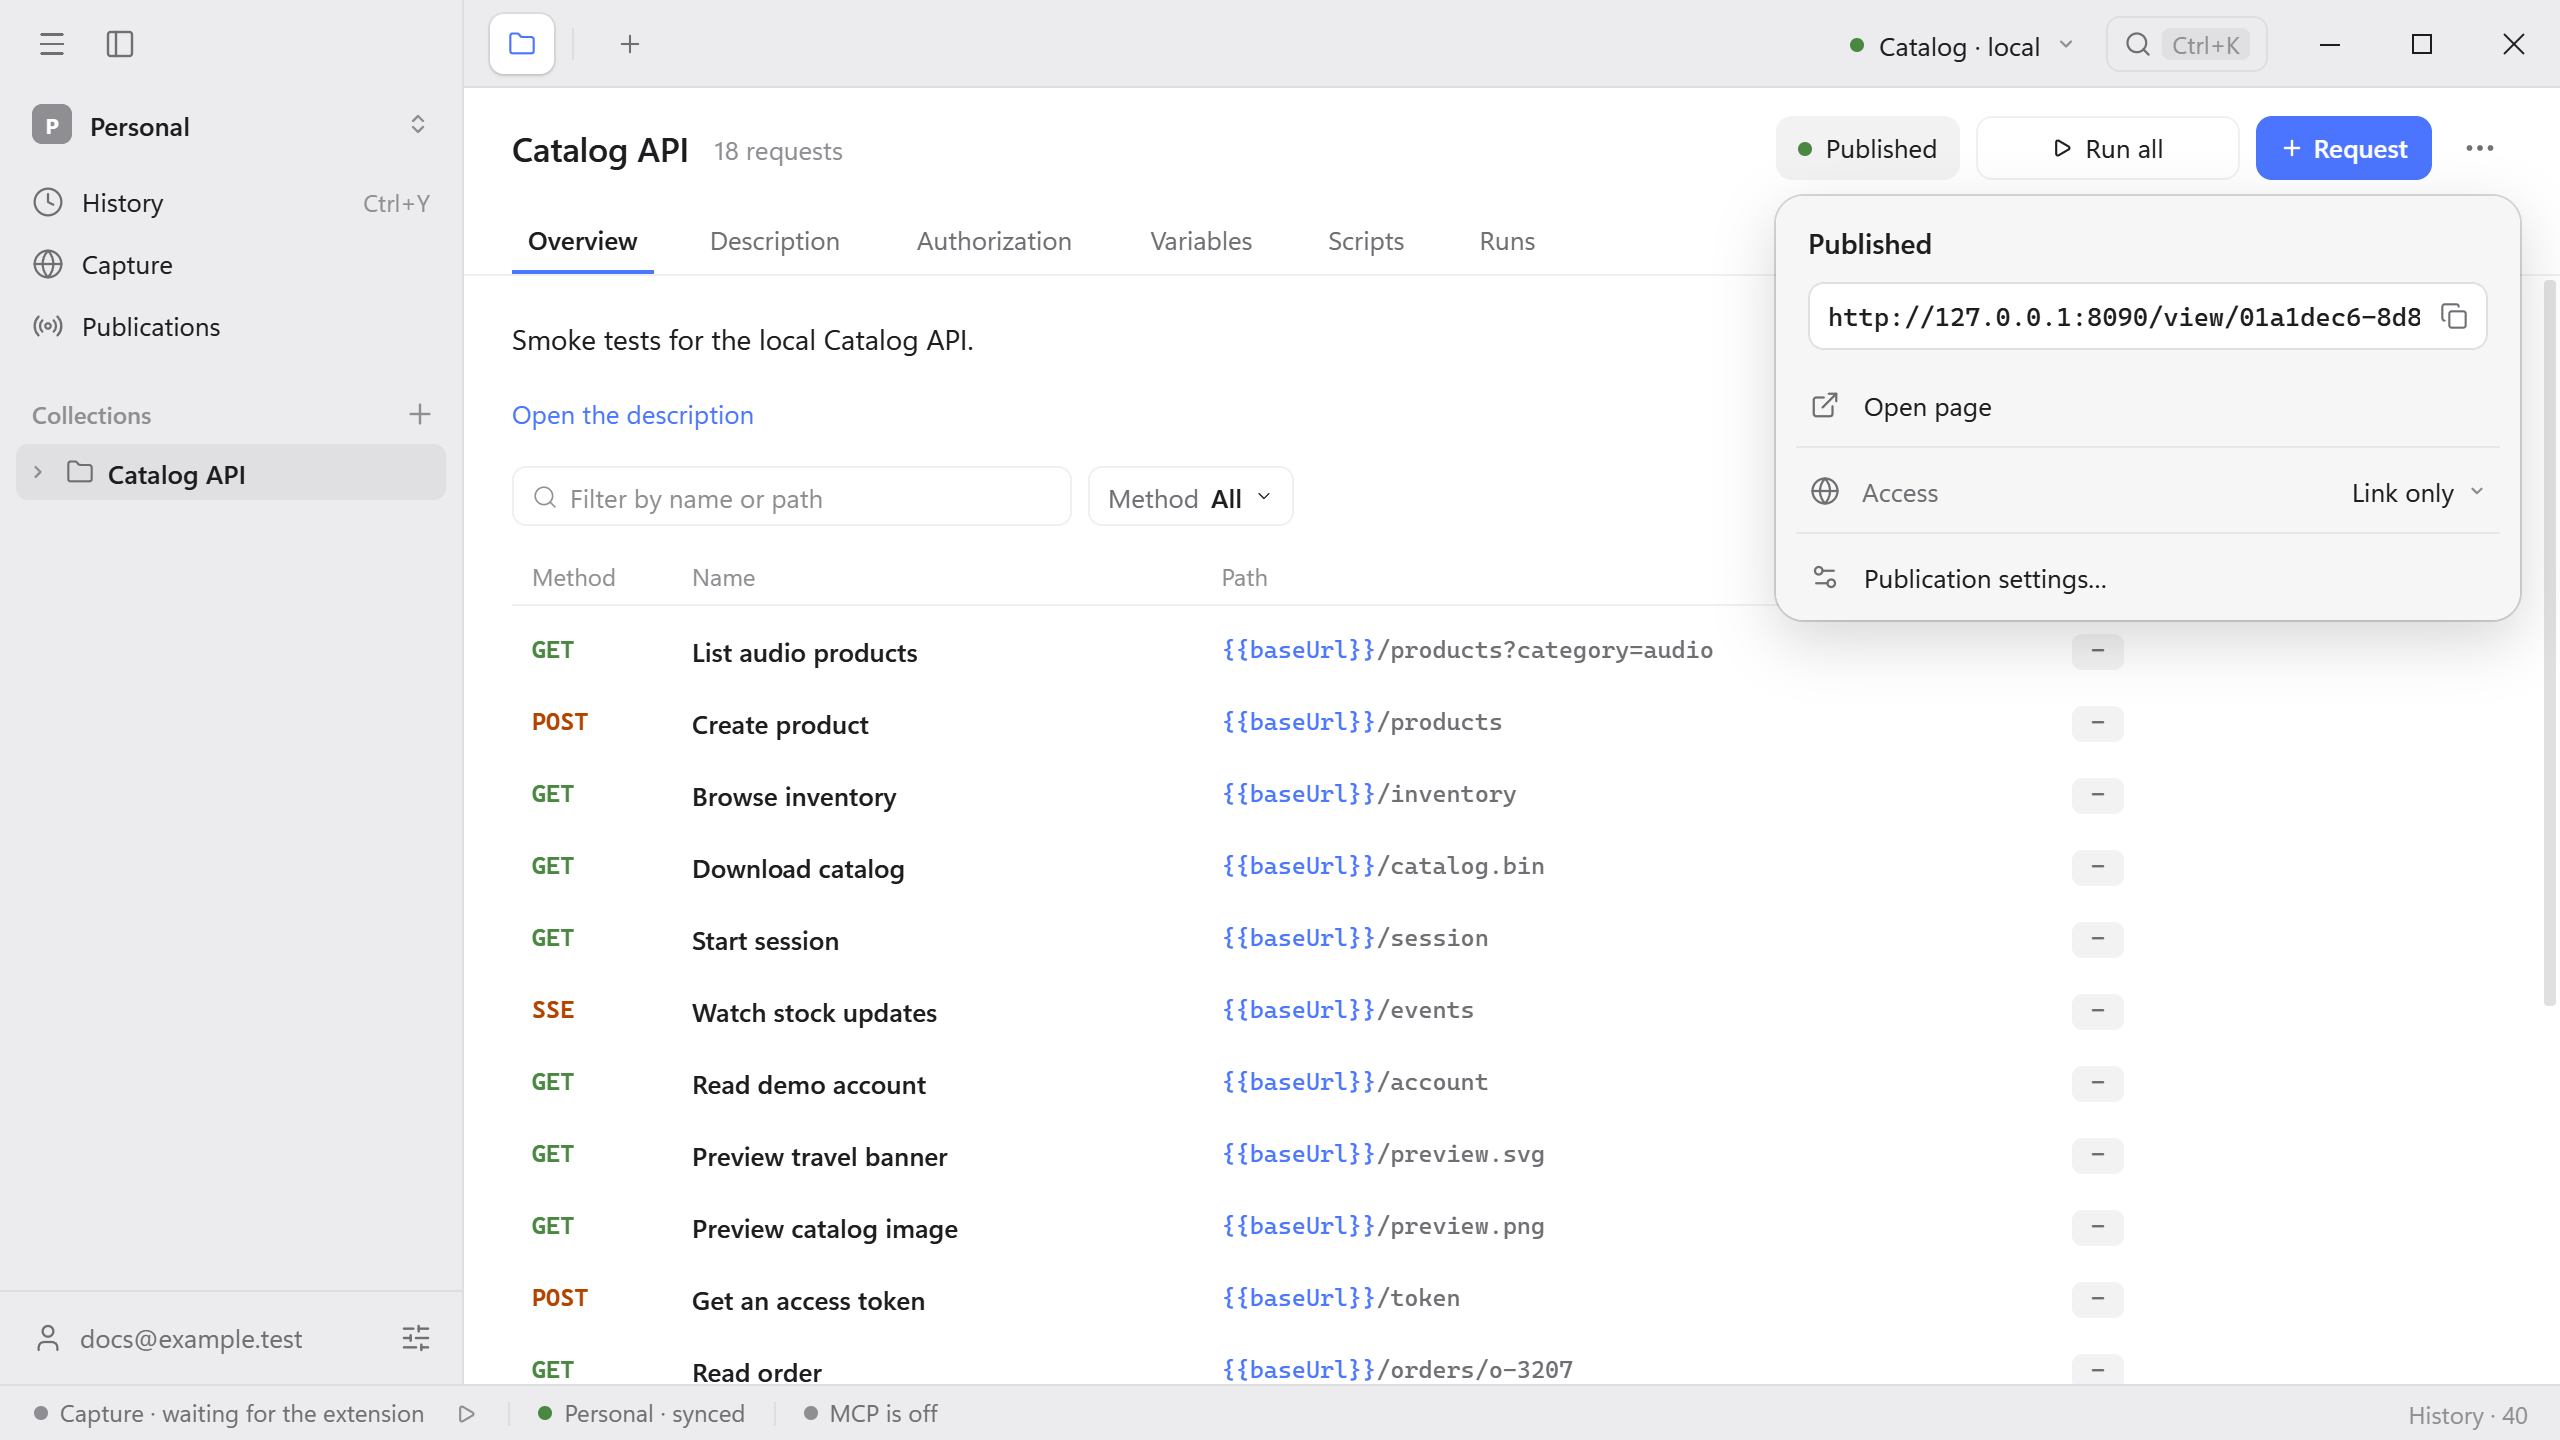
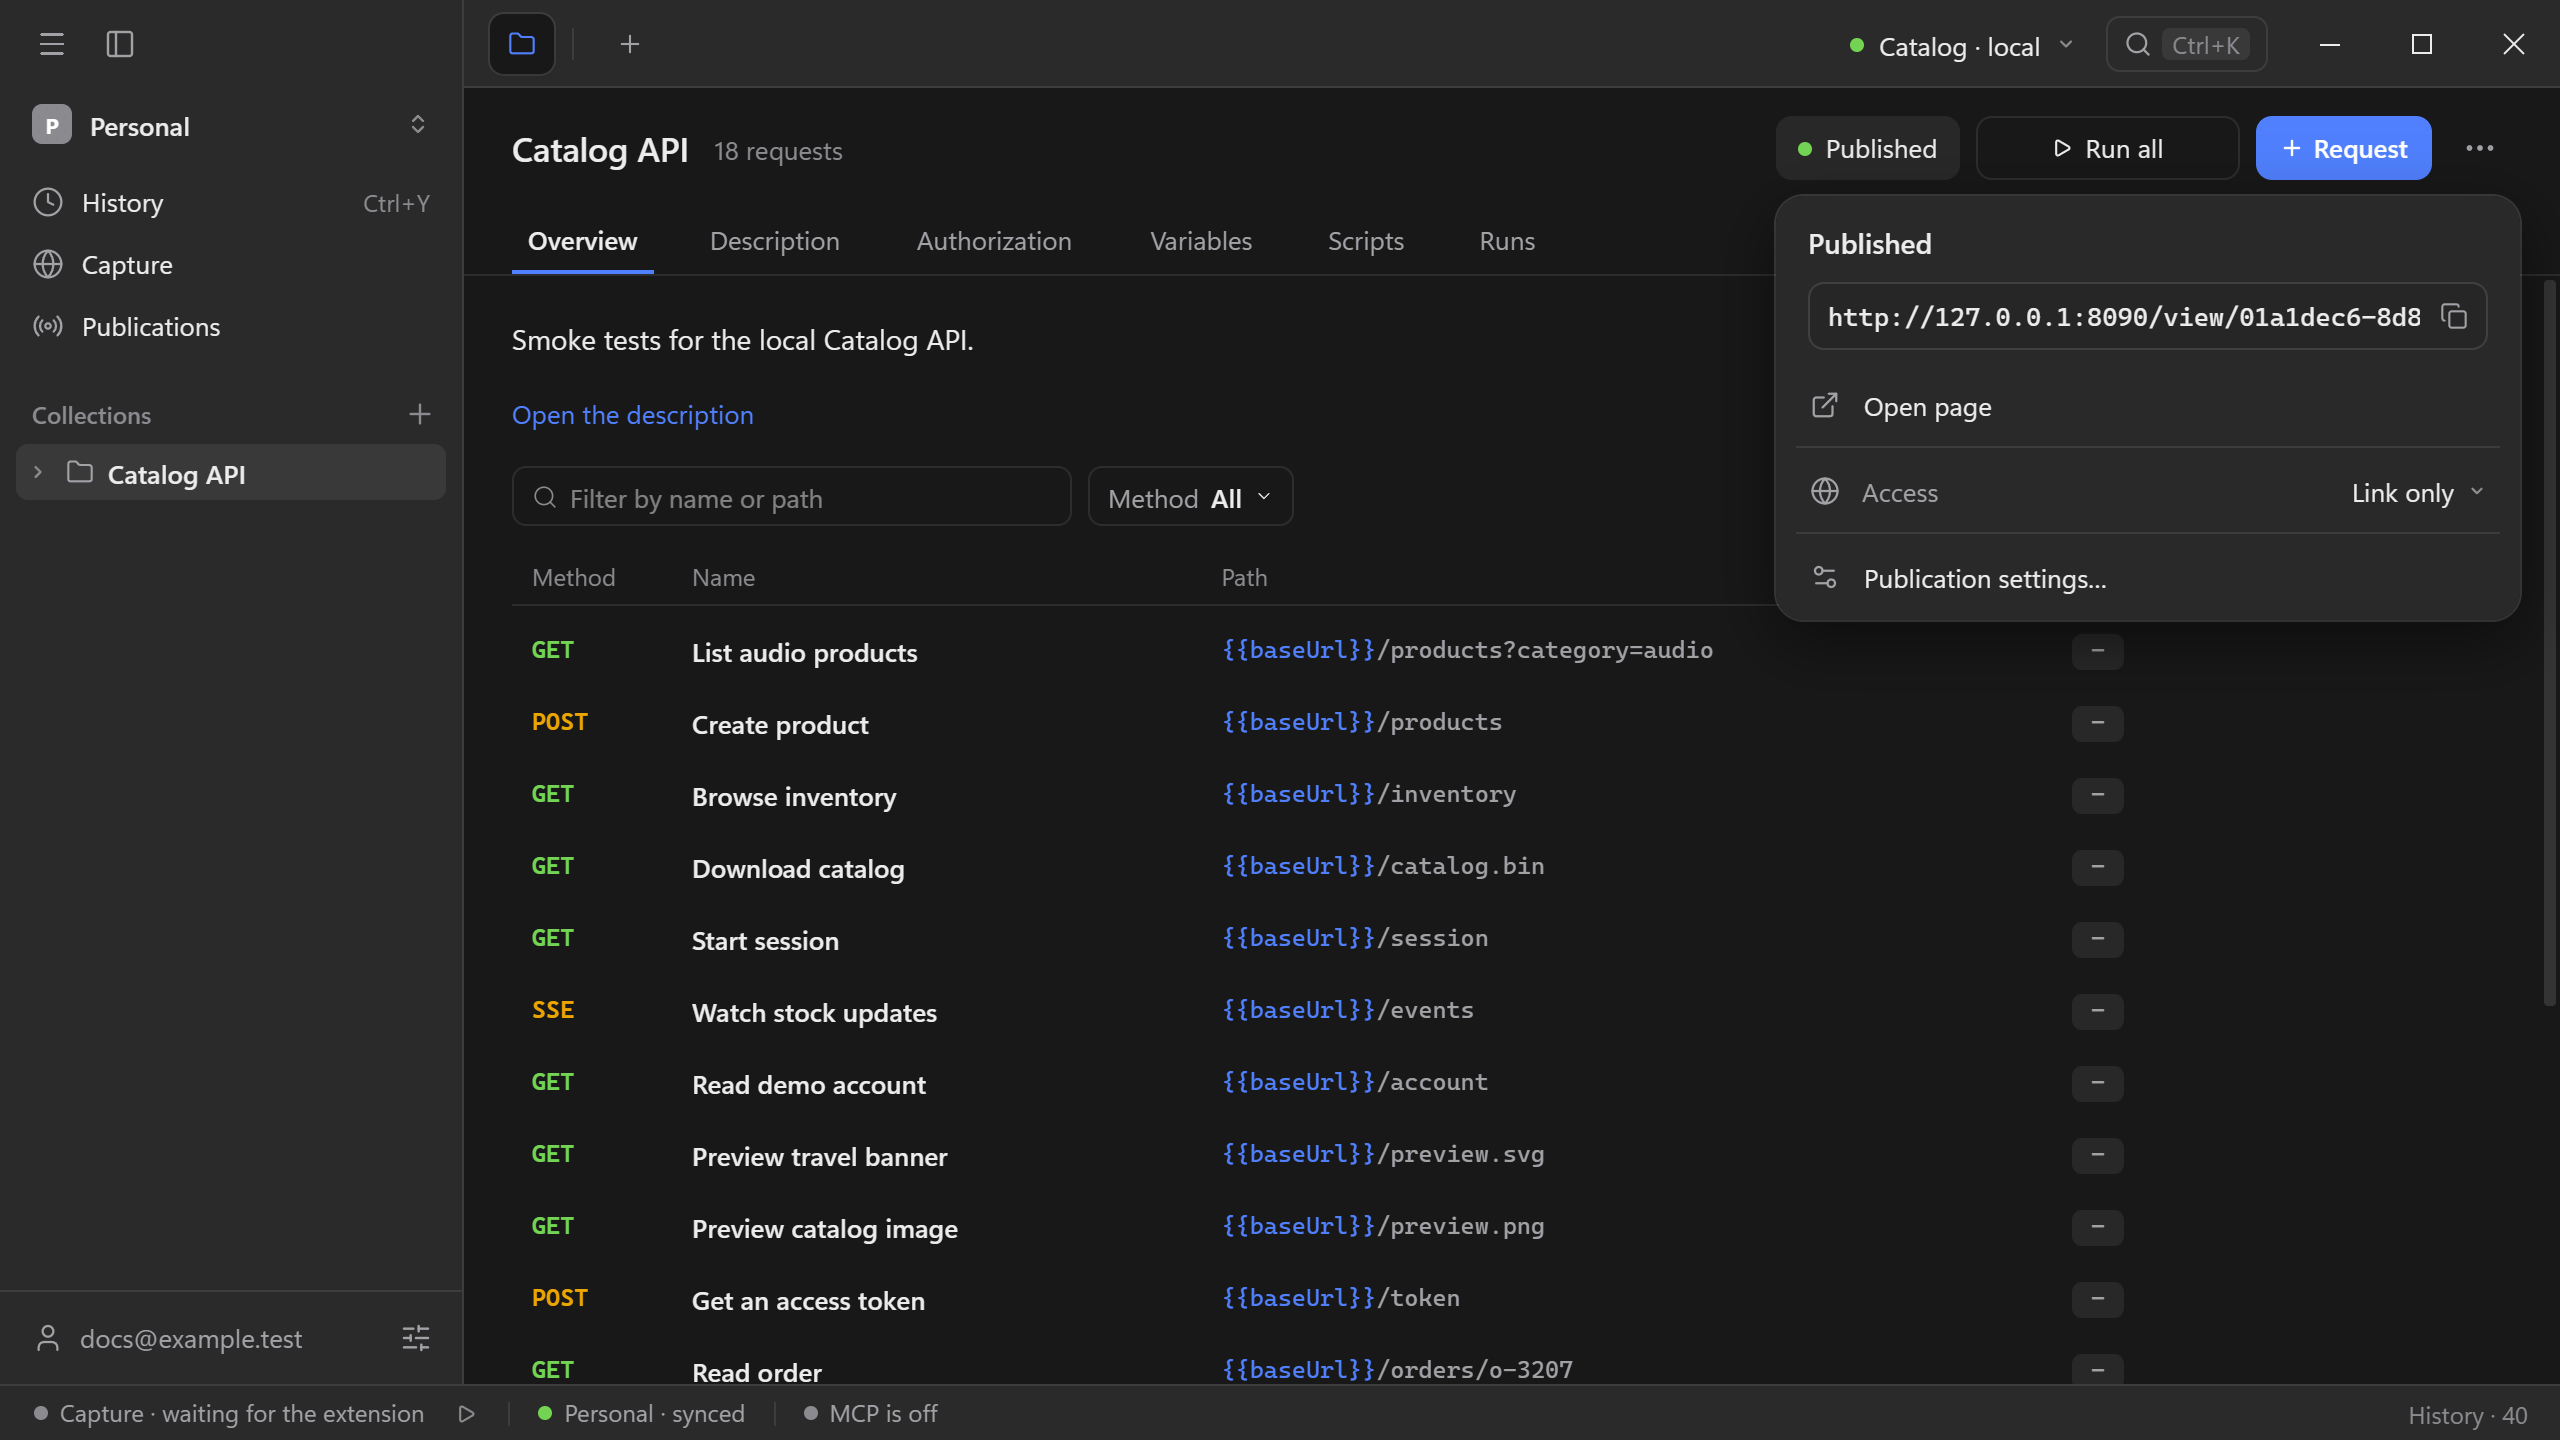
The button now reads Published. Its popover shows the page address with a copy button, Open page, and the access setting.
Page updates
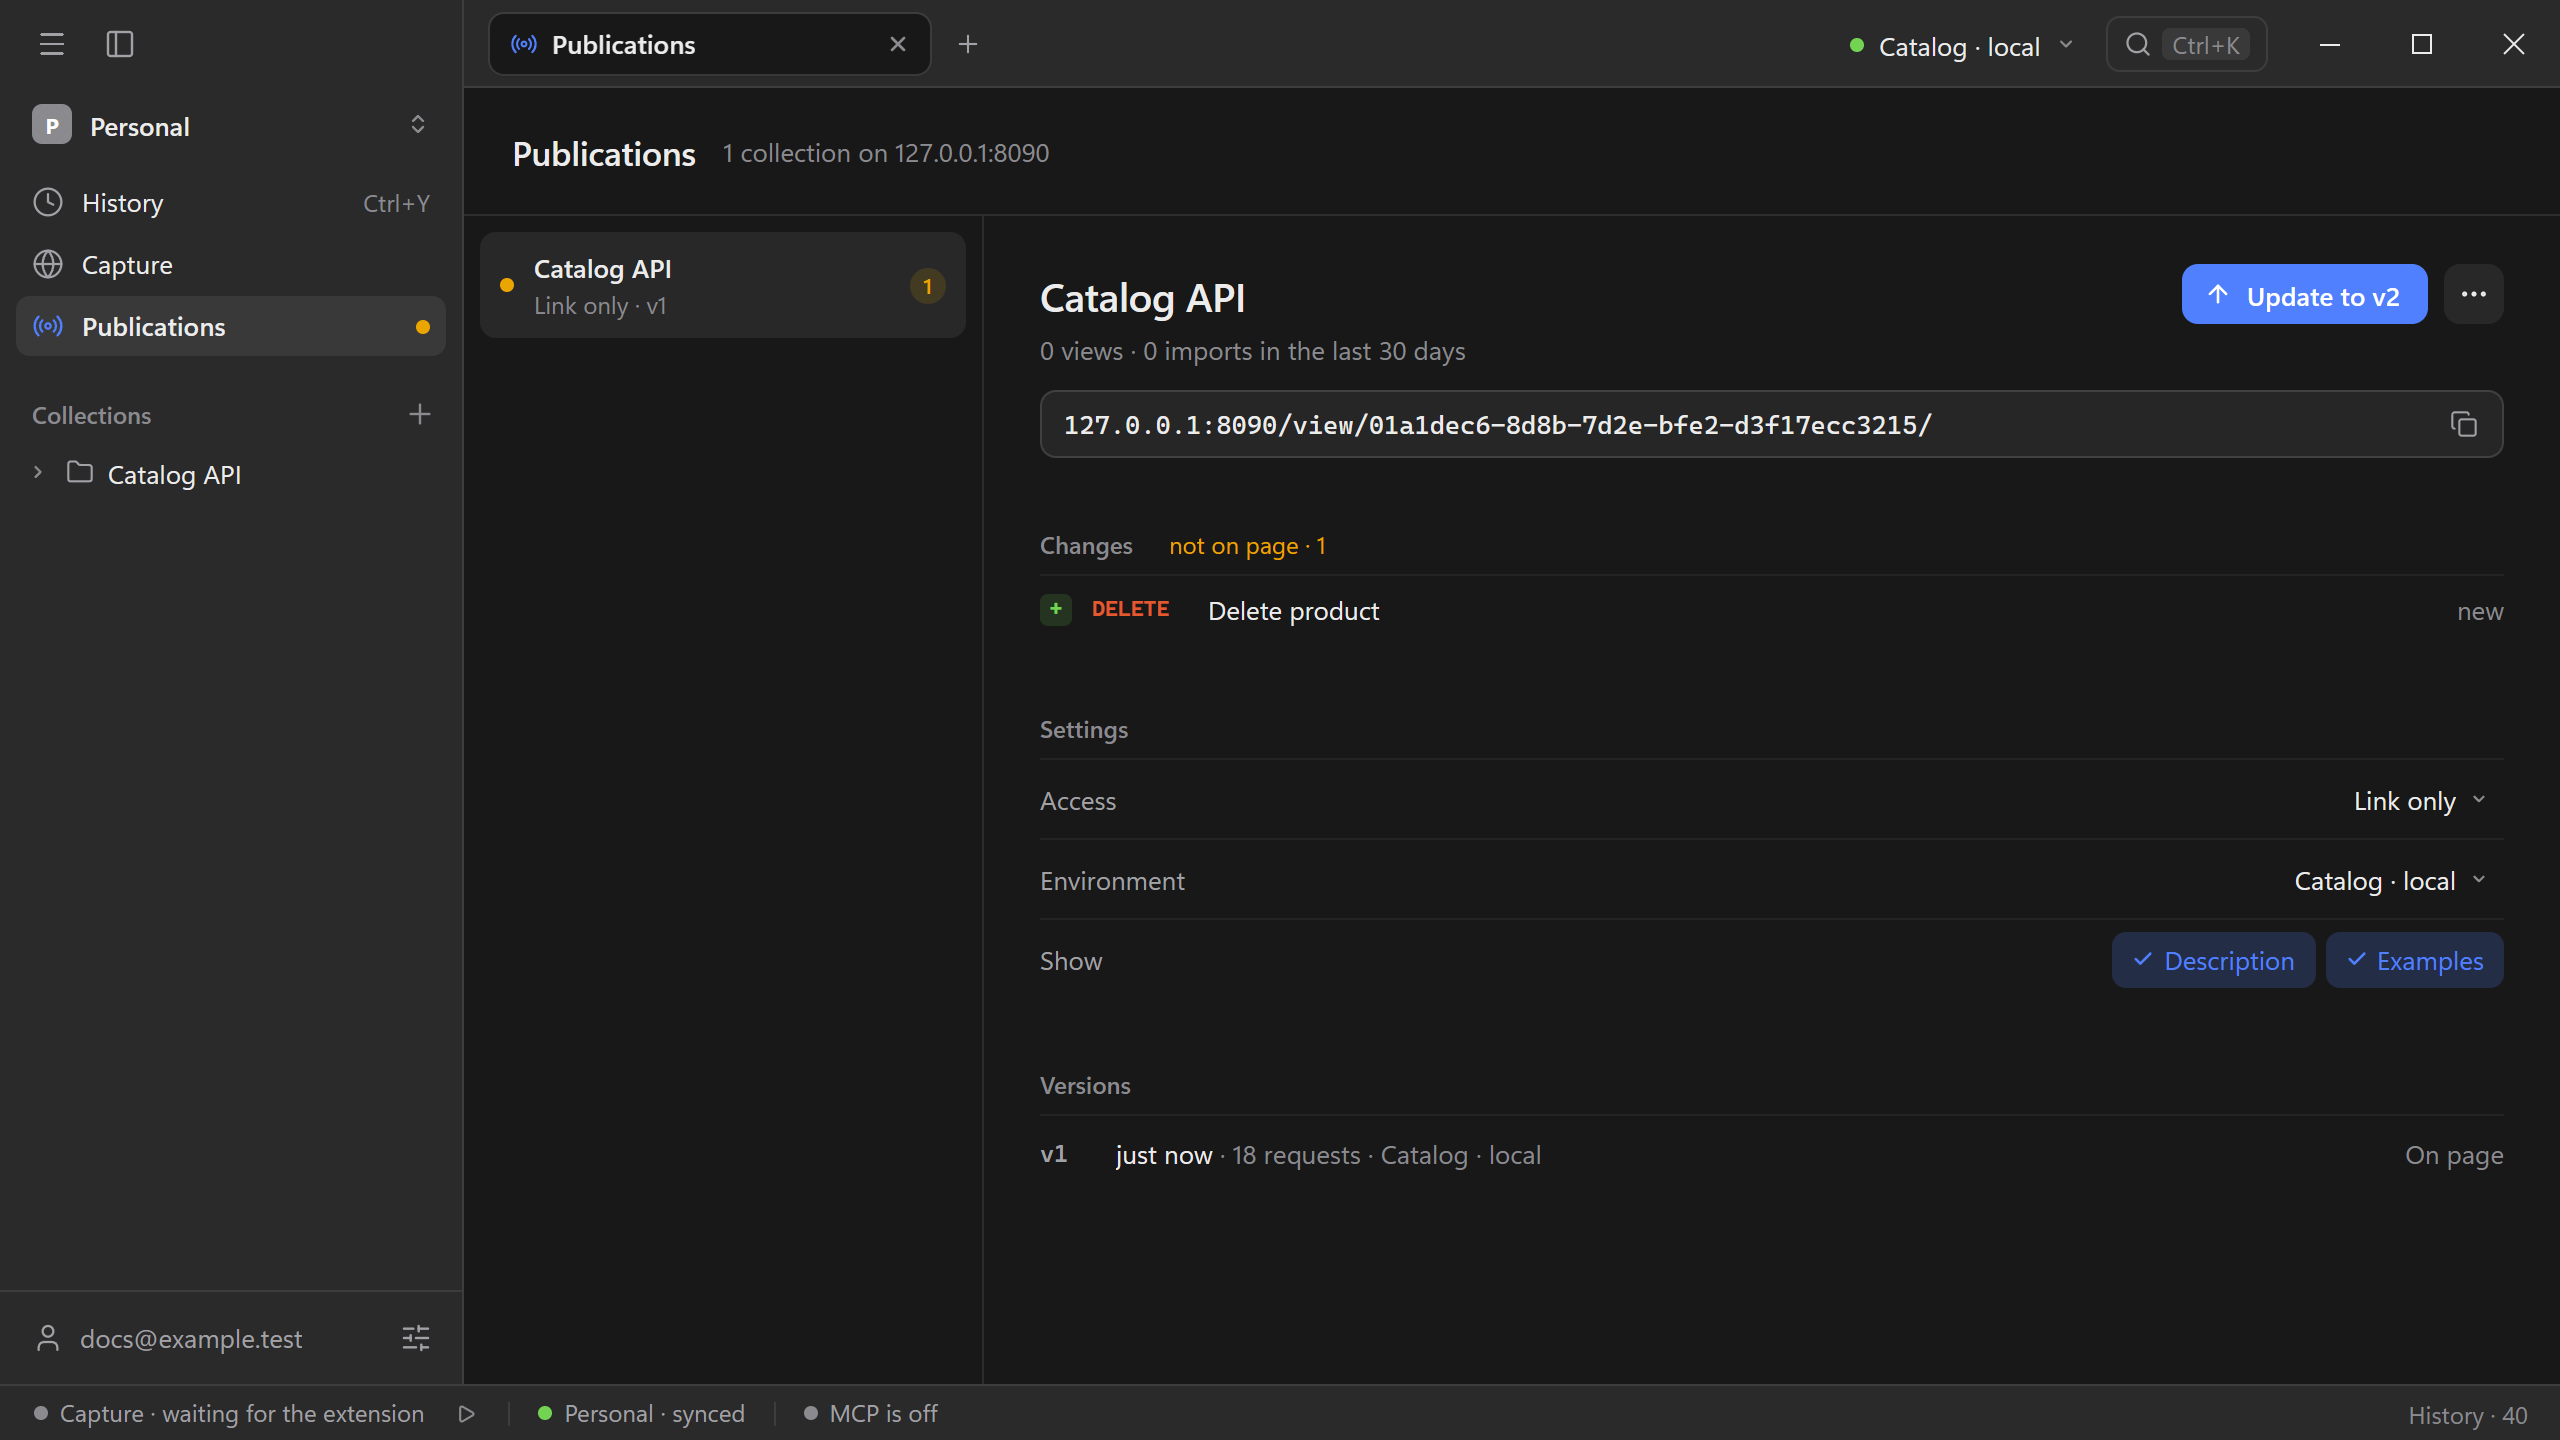
The page does not change when you edit the collection. Select Publications in the sidebar to see every published collection, what changed since the last version, the page settings, and the version history.
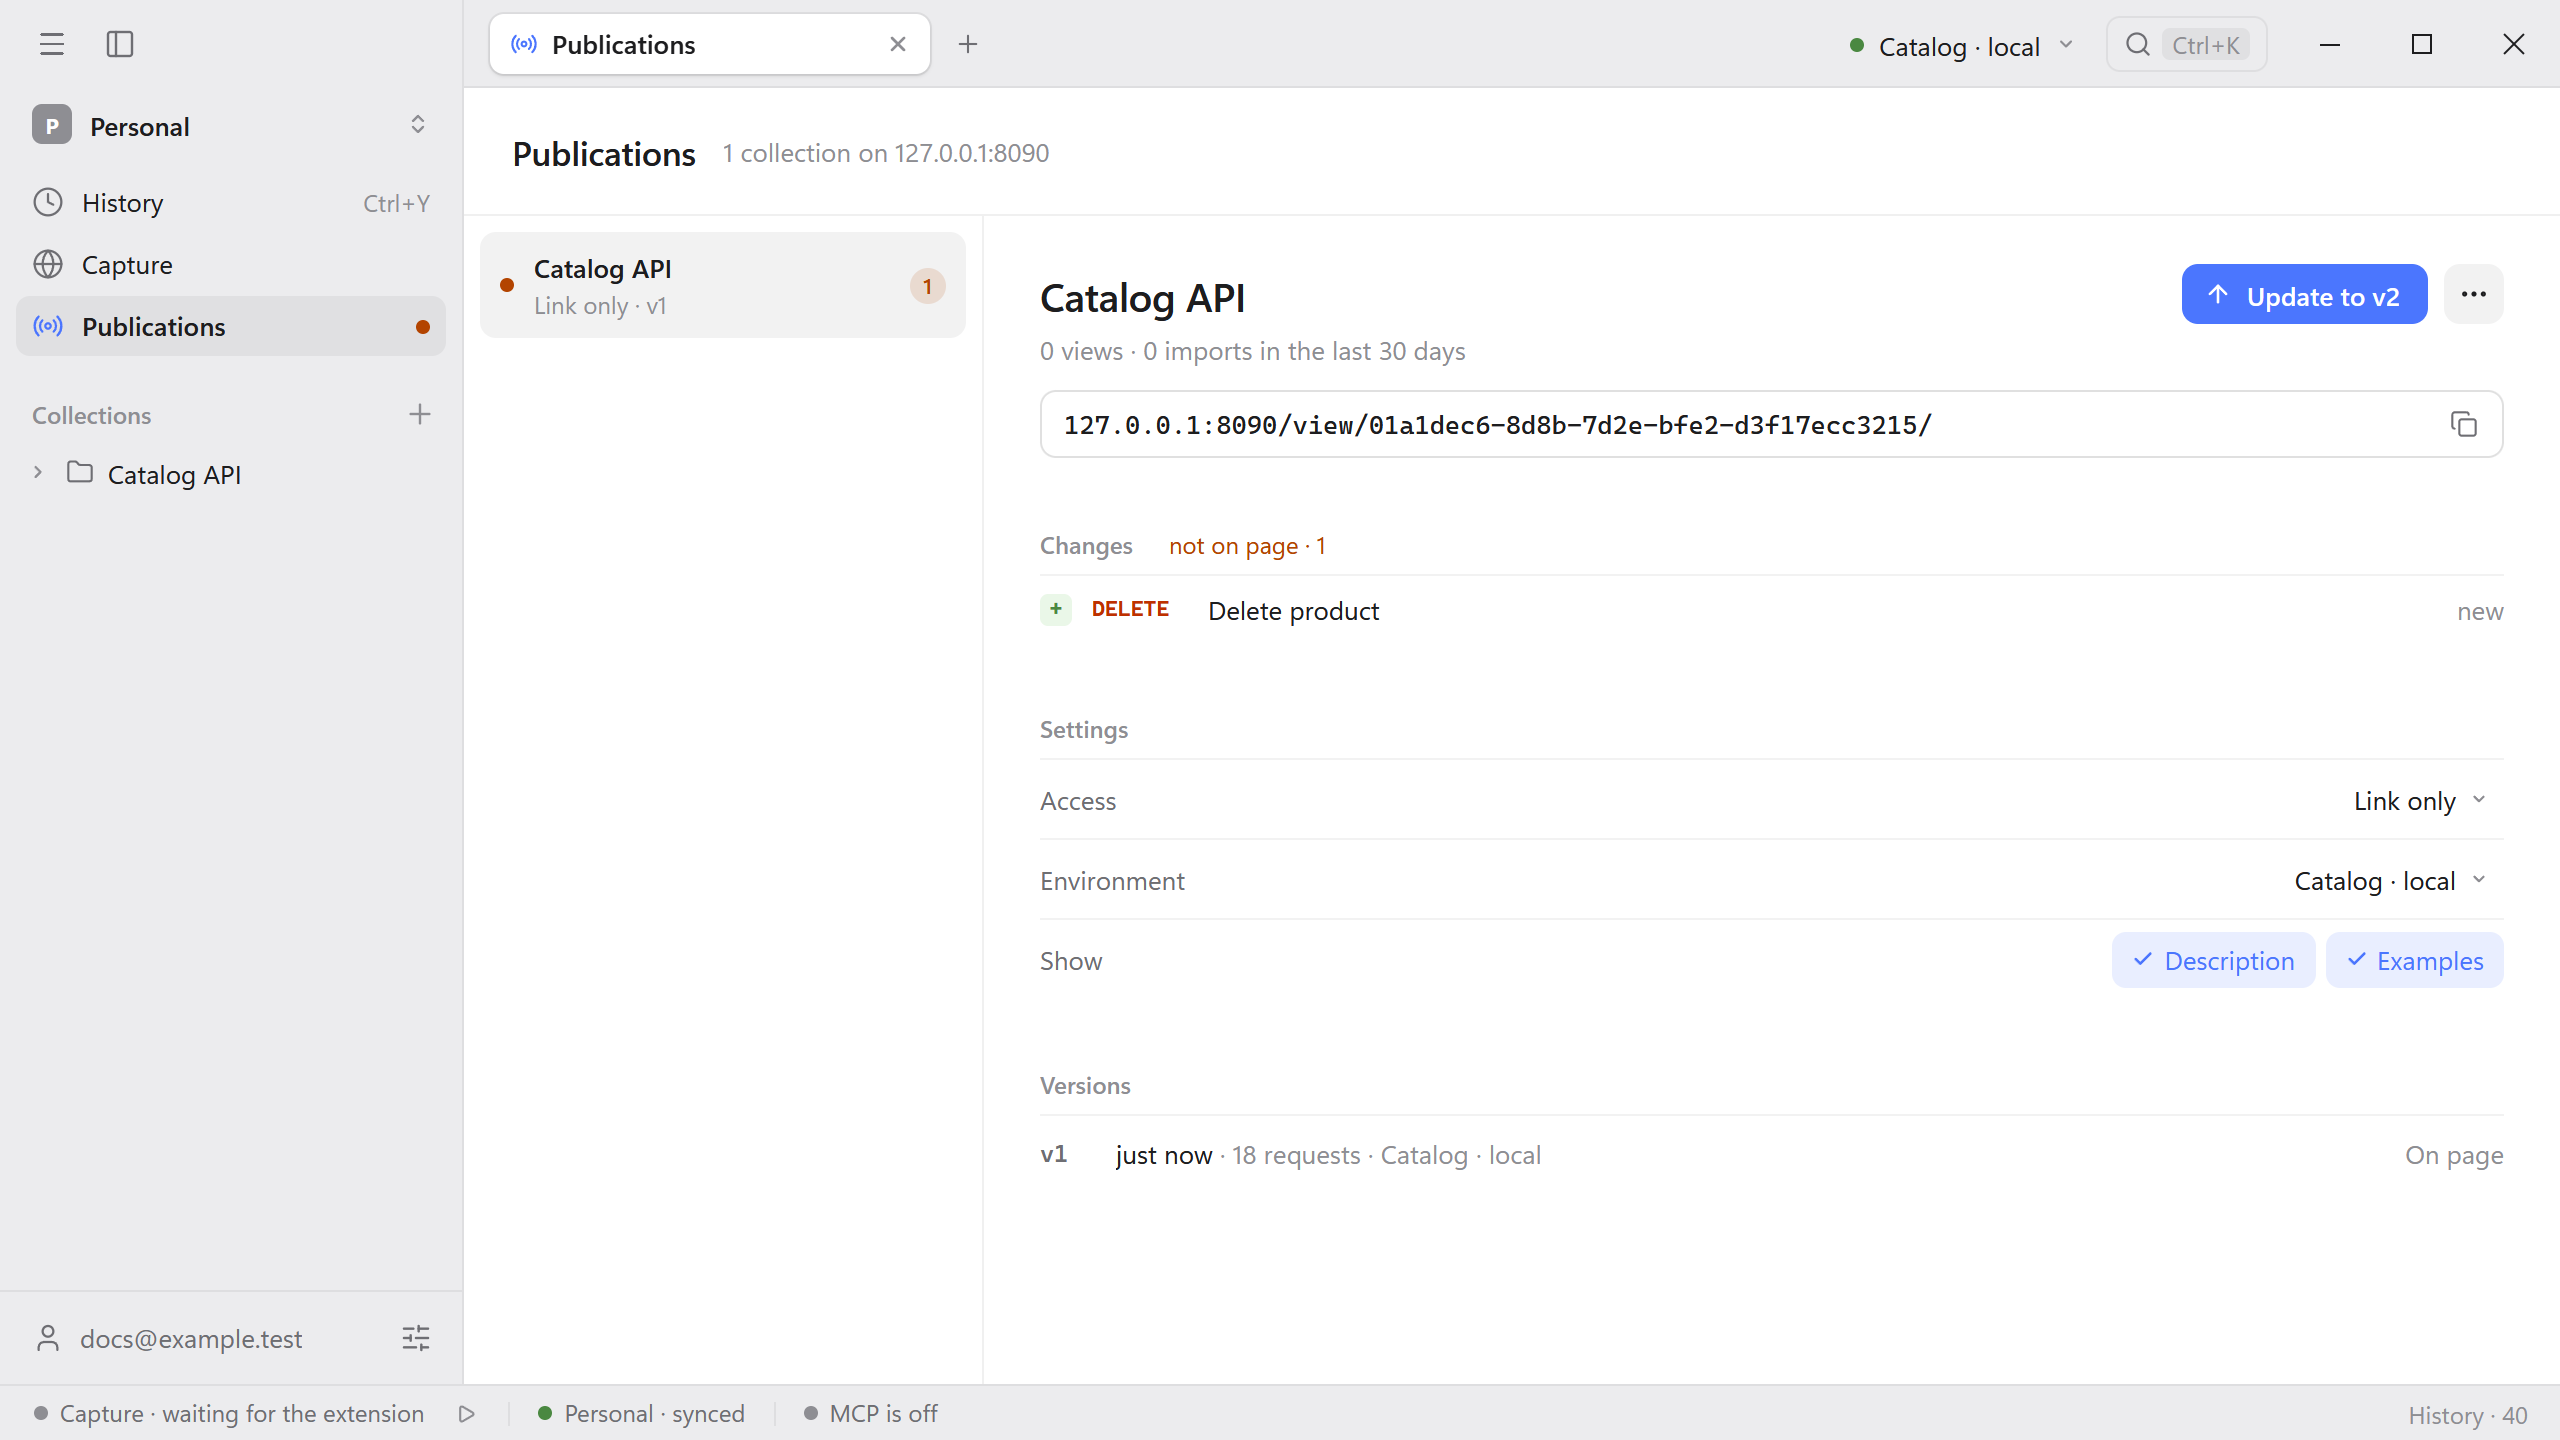
- Select Update to v2 (the next version number) to publish the changes.
- Under Show, choose whether the page includes the Description and Examples.
- Under Versions, select Restore next to an earlier version to put it back on the page. The latest 20 versions are kept.
- The menu next to the update button holds Unpublish, which takes the page down. The collection in Schemo stays as it is.
See Workspaces for team workspaces and Local data for how local and synced data are kept.